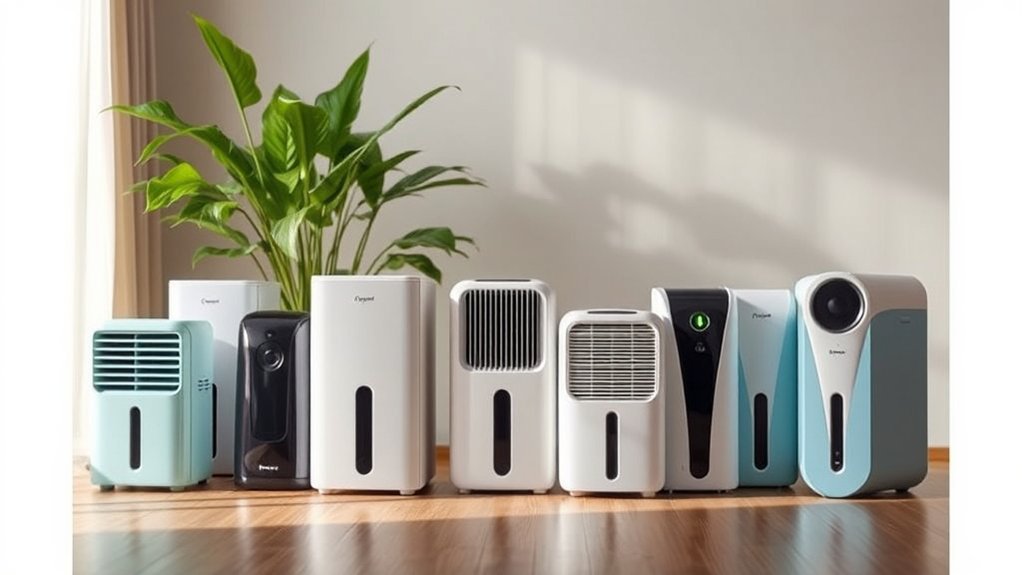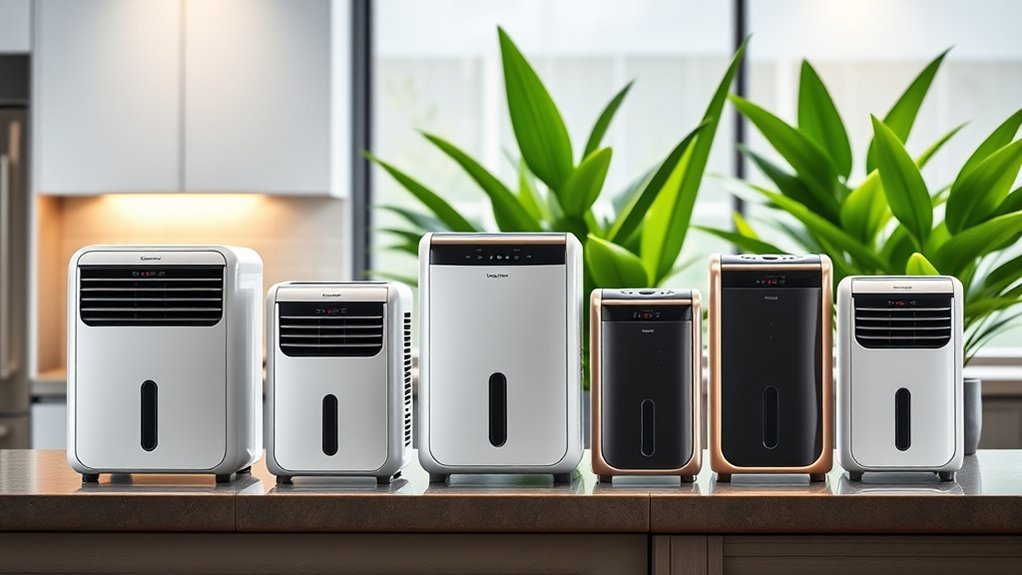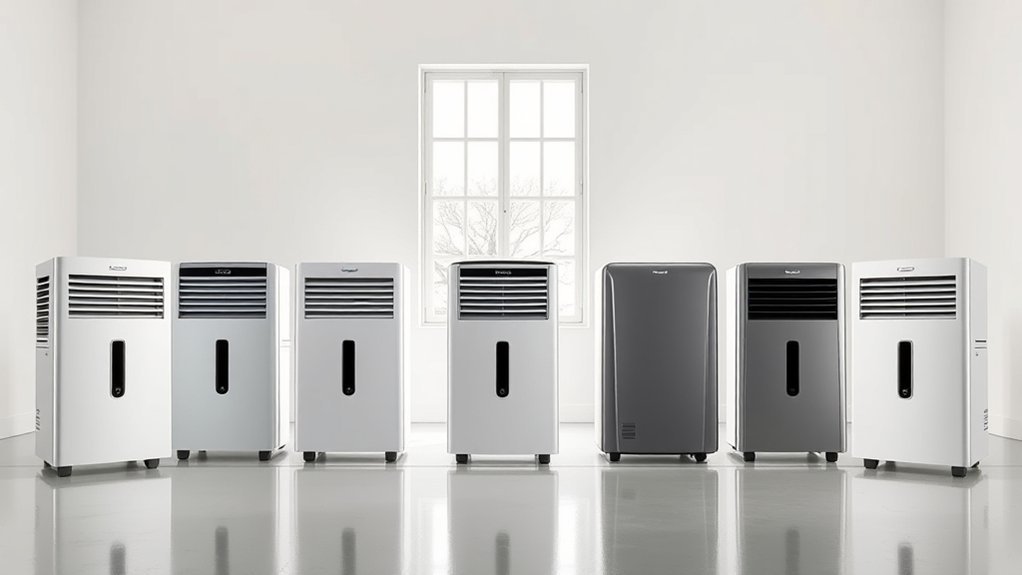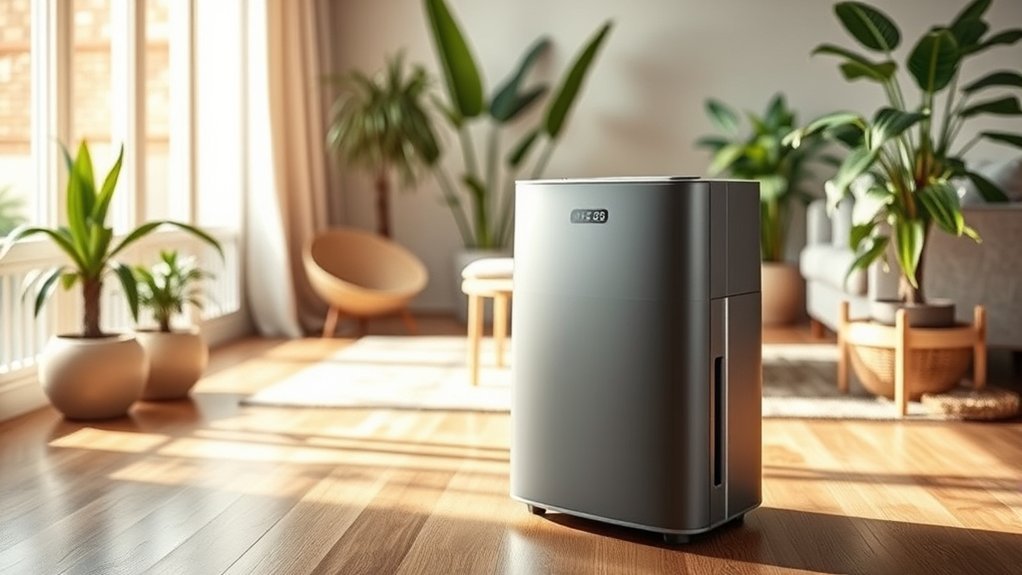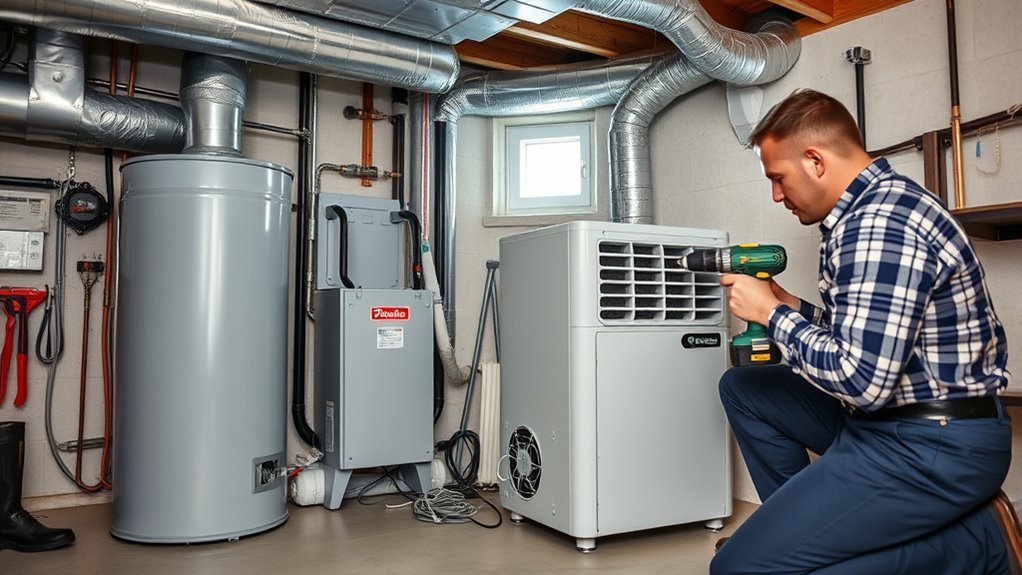
To install a whole-house dehumidifier correctly, first confirm that the home has a whole-house humidity problem rather than an active water leak. Then size the unit for the moisture load, choose a manufacturer-approved duct layout, provide safe condensate drainage and electrical service, place the humidity control correctly, and commission the system by checking airflow, static pressure, drainage, controls, and indoor RH. The exact model manual controls all dimensions, wiring, drain details, and allowable duct configurations.
Last updated: August 19, 2026
Quick Answer
Install a whole-house dehumidifier in a dry, accessible location near the HVAC system or conditioned space. Size it for the home’s moisture load, use a manufacturer-approved duct layout, provide safe condensate drainage and electrical service, place the humidity sensor correctly, and test airflow, static pressure, drainage, controls, and indoor RH before finishing the job.
Key Takeaways
- Do not choose a unit by square footage alone. Moisture load, climate, air leakage, occupancy, ventilation, and existing HVAC performance also matter.
- Dedicated-return-to-HVAC-supply is only one possible duct configuration. Use a layout approved for the exact model.
- Drain traps, pipe sizes, slopes, pumps, circuit requirements, and control wiring vary by manufacturer.
- A secondary drain pan and overflow switch are important when leakage could damage finished space.
- Start near 45% to 50% RH, then adjust according to comfort, condensation, climate, and the equipment’s operating range.
- Commission the system by testing drainage, airflow, static pressure, duct leakage, control response, and actual room humidity.
At a Glance
| Time Required | Project-specific; timing depends on ductwork, electrical service, drainage, structural support, access, and permit or inspection requirements |
| Difficulty | Advanced HVAC work; professional installation is strongly recommended |
| Tools Needed | Drill/driver, sheet-metal tools, duct-sealing materials, level, PVC tools, electrical test equipment, hygrometer, manometer, fasteners, supports, gloves, and eye protection |
| Cost | A 2026 Bryant guide estimates approximately $2,000 to $3,800 installed, but capacity, access, duct changes, controls, drainage, permits, and electrical work can move the price outside that range |
Warning: Whole-house dehumidifier installation involves high-voltage electricity, sharp sheet metal, heavy equipment, condensate that can damage a building, and changes to an HVAC system. Disconnect power before service and use qualified HVAC and electrical professionals where required. Never substitute general online instructions for the manual supplied with the exact model.
How a Whole-House Dehumidifier Works
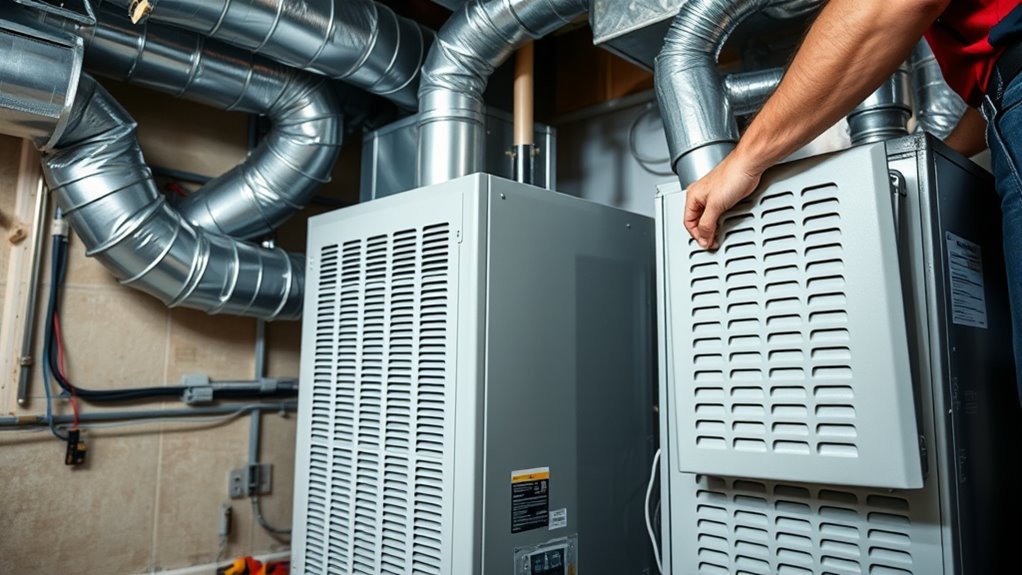
A whole-house dehumidifier draws humid indoor air across a cold evaporator coil. Water vapor condenses on the coil, flows into a drain system, and leaves the building. The unit then passes the dried air across a warm condenser coil before returning it to the house through dedicated grilles or the HVAC duct system.
The process lowers the air’s moisture content, but it does not cool the home like an air conditioner. The discharge air is normally warmer than the inlet air because the refrigeration system returns heat to the air and adds heat from the compressor and fan.
Correct humidity control can improve comfort and reduce conditions that support musty odors, dust mites, condensation, and moisture-related mold growth. It does not repair plumbing leaks, foundation seepage, roof leaks, wet insulation, or existing mold. The U.S. Environmental Protection Agency recommends correcting moisture sources and generally keeping indoor relative humidity below 60%, ideally between 30% and 50%.
A dehumidifier controls airborne moisture. It cannot compensate for an active water leak, standing water, or wet building materials that have not been repaired and dried.
Do You Actually Need a Whole-House Dehumidifier?
A whole-house dehumidifier is most appropriate when elevated RH is a house-wide problem that persists after obvious water entry, exhaust, drainage, and HVAC faults are addressed. If the moisture comes from a roof leak, plumbing leak, foundation seepage, standing water, or wet materials, repair and dry those sources first instead of asking the dehumidifier to mask them.
Before installation:
- Measure RH on more than one floor for several days with reliable hygrometers.
- Check for plumbing, roof, window, foundation, and condensate leaks.
- Confirm that bathroom and kitchen exhaust fans vent outdoors.
- Confirm that the clothes dryer vents outdoors and that its duct is clear.
- Inspect the air conditioner’s coil, filter, drain pan, refrigerant charge, airflow, and runtime.
- Look for unsealed crawl spaces, open attic bypasses, disconnected ducts, and outdoor-air leaks.
- Address standing water and visibly wet materials before relying on a dehumidifier.
Pro Tip: Record indoor RH, indoor temperature, outdoor conditions, and HVAC runtime before installation. Compare those readings after commissioning to confirm that the new system is solving the actual moisture problem.
What Size Whole-House Dehumidifier Do You Need?
Whole-house dehumidifier capacity is usually expressed in pints of water removed per 24 hours under specified test conditions. Square-foot coverage is useful for an initial comparison, but it is not a complete sizing method.
A contractor should consider:
- Conditioned floor area and ceiling height
- Local climate and outdoor dew point
- Measured indoor humidity
- Air leakage and insulation quality
- Basement or crawl-space conditions
- Number of occupants
- Cooking, bathing, laundry, plants, and other moisture sources
- Required outdoor-air ventilation
- Existing air-conditioner size and moisture-removal performance
- Available duct airflow and external static pressure
Compare current whole-home models using current ratings rather than matching them directly to much older labels. The ENERGY STAR capacity guide explains that portable and whole-home dehumidifiers are separate product categories and that federal test procedures have changed over time. Use the current whole-home rating, the manufacturer’s sizing guidance, and the home’s actual moisture load together.
After installation, daily water collection will vary with RH, temperature, runtime, and moisture entering the home. See how much water a dehumidifier should collect per day for a practical performance-check method.
Also check the rated operating-temperature range. Refrigerated dehumidifiers generally remove less water as the entering air becomes colder, and some models are not intended to operate below a stated minimum temperature. ENERGY STAR recommends choosing equipment specifically rated for lower-temperature use when the space commonly falls below 65°F.
Recommended Products
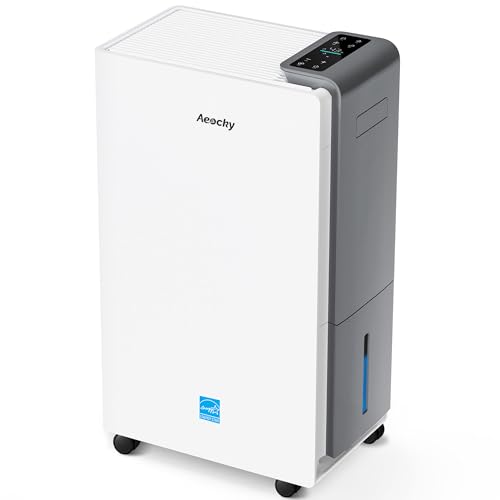
【ENERGY STAR 25 ≠ ENERGY STAR Most Efficient 2025】Don't fall for competitors' word games. With only 2.6% of ENERGY STAR models earning "Most Efficient 2025" title, these options are exceptionally rare on the market. RHEA-001 is one of the few to truly hold this top-tier certification. Many brands use misleading phrases like "Energy Star Efficient 25" or "Energy Star 25" to imply a standard they haven't met. Choosing them is a risk.With AEOCKY, you get verified performance and the peace of mind of authentic, top-tier efficiency.

70-Pint Crawl Space Dehumidifier - This powerful 70-pint commercial dehumidifier features a high-efficiency motor with up to 158 CFM rated circulation, capable of extracting up to 70 pints of water per day (95°F, 90% RH). It effectively reduces humidity in spaces up to 5,000 sq. ft. The adjustable humidity range of 10%-90% RH provides greater control than most models (20%-80% RH). Well-suited for commercial and crawlspaces, storage rooms, garages, living areas, and offices

DEHUMIDIFERS FOR HOME: Removes up to 70 pints of moisture per day to help maintain a healthier, more comfortable home. This AprilAire Whole-House Dehumidifier is ideal for basements, crawl spaces, or ducted to HVAC—prevents mold, odors, and wood damage.
Where Should a Whole-House Dehumidifier Be Installed?
Choose an installation location that remains within the manufacturer’s temperature and humidity limits and provides enough space for the cabinet, duct collars, filter removal, control wiring, drain piping, and service panels.
Common locations include a basement, mechanical room, sealed crawl space, conditioned attic, or accessible utility area. A location near the HVAC system may shorten duct runs, but convenience must not override the unit’s clearance, airflow, drainage, and environmental requirements.
The selected location should:
- Remain protected from rain, flooding, plumbing leaks, and physical damage.
- Provide the exact service clearances listed in the manual.
- Allow the filter to be removed without dismantling ducts or equipment.
- Support the unit’s full operating weight.
- Keep the cabinet level unless the manufacturer specifies another position.
- Provide a practical gravity drain or space for an approved condensate pump.
- Allow duct bends and transitions without crushing flexible duct or sharply restricting airflow.
- Keep fan and compressor noise away from bedrooms where possible.
Installation checkpoint: Do not cut ductwork until you have confirmed five items for the exact model: an approved duct configuration, enough service clearance, a code-compliant drain path or condensate pump, the required electrical supply, and a way to measure or verify airflow/static pressure during commissioning.
If the unit is suspended, support its base with a manufacturer-approved hanging kit or framing method. Do not hang a dehumidifier from sheet-metal cabinet panels unless the manual expressly permits it. Use vibration isolators or short approved flexible duct connectors where recommended to reduce structure-borne sound.
When a unit is installed above finished space or anywhere a leak could cause damage, provide a secondary drain pan and an overflow switch that stops dehumidification if water accumulates. Follow the appliance manual and locally adopted code for pan size, drain routing, and switch wiring.
Recommended Products

POWERFUL 2,500 SQ. FT. COVERAGE - Stop letting sticky, heavy air dictate your comfort. The BANABIE dehumidifier utilizes a high-efficiency rotary compressor to deliver heavy-duty moisture removal, extracting 32 pints daily (at 95°F, 90%RH). Engineered with a smart integrated airflow system, this unit effectively covers up to 2,500 Sq. Ft., ensuring that your basement, crawl space, or large open floor plans stay bone-dry

【The Undisputed Champion — Industry-Leading Dehumidifier Brand】When you choose AEOCKY, you get double market validation. According to data independently verified by Stackline, a leading third-party data analytics company, AEOCKY was an industry‑leading dehumidifier brand on Amazon U.S. in 2025. This means you’re not just choosing a flagship product from a market leader, but a top-performing brand backed by independent market data and trusted by millions of real users, delivering the ultimate combination of performance, quality and trust.

2500 Sq. Ft Dehumidifier - SEMKAP dehumidifier for basement features a quiet, high-performance compressor that removes up to 32 pints of moisture per day (at 95°F, 90% RH). Ideal for basements, offices, bathrooms, bedrooms, kitchens, stockrooms, living rooms, laundry rooms, garages, crawlspaces, or RVs. It helps maintain optimal humidity between 40%–60%RH for healthier, more comfortable living
How Should a Whole-House Dehumidifier Be Ducted?
The correct duct configuration depends on the dehumidifier, HVAC layout, available airflow, control strategy, and manufacturer approval. Do not assume that every unit should pull from a hallway and discharge into the HVAC supply.
| Configuration | How It Works | Important Checks |
|---|---|---|
| Dedicated return to HVAC supply | The dehumidifier draws from a central indoor grille and sends dry air into the HVAC supply duct. | Backdraft damper, supply-duct pressure, HVAC fan controls, and manufacturer approval |
| HVAC return to HVAC supply | The unit draws from the HVAC return and discharges into the supply. | Air-handler interlock, pressure difference, dampers, and prevention of short-circuit airflow |
| HVAC return to HVAC return | The unit removes and returns air through separate points in the return system. | Connection spacing, blower operation, pressure, and an approved control sequence |
| Dedicated return and supply grilles | The dehumidifier uses its own duct system without depending on the central HVAC ducts. | Room-to-room air pathways, grille placement, noise, duct sizing, and even distribution |
Use the inlet and outlet collar sizes listed for the unit. Do not reduce a collar or install a long, restrictive duct run without confirming that the final airflow and static pressure remain within the manufacturer’s limits. Account for straight duct, elbows, transitions, grilles, dampers, filters, and flexible duct when calculating resistance.
Seal metal joints with approved mastic or listed duct-sealing products. Insulate ducts that pass through unconditioned spaces or carry air that could cause surface condensation. Support flexible duct so it remains fully extended and does not sag or collapse.
Avoid placing a dedicated return grille in a bathroom, kitchen, garage, or other area where steam, grease, chemicals, vehicle exhaust, or localized contaminants could be pulled into the system. A central location that stays open to the rest of the home usually provides a more representative moisture sample.
Recommended Products

125 Pint Crawl Space Dehumidifier – Designed for crawl spaces, basements, and large areas up to 6,500 sq. ft., this unit removes up to 125 pints of moisture per day (95°F, 90% RH). A 176 CFM airflow and brushless motor help dry spaces faster with 10%–90% RH adjustable humidity

160 Pints/Day Upgraded Energy-Efficient Dehumidification: Built with an upgraded high-efficiency system, the Moiswell WD160 removes up to 160 pints of moisture per day (65 PPD @DOE) with lower energy consumption(2.25 L/wKh). It maintains optimal humidity levels across large living spaces, helping prevent structural damage such as wood rot and musty odors, while promoting a healthier indoor environment.
How Do You Install a Dedicated Return-to-Supply Layout?
A dedicated return to HVAC supply arrangement is common, but use it only when the selected manufacturer approves it.
- Locate the return grille. Choose a central indoor area with an open airflow path to the rest of the home. Keep it away from supply registers, exterior doors, kitchens, bathrooms, and rooms that remain closed.
- Size the return duct. Match the approved collar and duct dimensions in the manual. Include the resistance of the grille, filter, bends, and total equivalent length.
- Connect the supply duct. Join the dehumidifier outlet to the approved location in the HVAC supply system with a smooth transition.
- Install the required damper. A backdraft or powered damper may be needed to prevent HVAC supply air from flowing backward through an idle dehumidifier.
- Configure the HVAC fan control. Some layouts require the air handler to run with the dehumidifier. Other layouts allow independent operation. Follow the wiring diagram rather than guessing.
- Measure pressure and airflow. Test external static pressure while the dehumidifier operates alone and while the HVAC blower operates in all relevant modes.
- Seal and insulate the ducts. Repair leakage before commissioning the controls.
Do not rely on a universal requirement for 24 inches of straight duct. Use the model’s specified duct diameters, clearances, equivalent lengths, transition details, and static-pressure limit.
Note: Outdoor-air ventilation and dehumidification are different functions. If the unit can introduce outside air, the intake, airflow, filtration, controls, and operating schedule must be designed under local code and the applicable residential ventilation standard. ASHRAE Standard 62.2-2025 is the current national consensus standard for ventilation and indoor air quality in dwelling units, although the locally adopted edition may differ.
How Do You Set Up Drainage, Power, and Controls?
Install the Condensate Drain
A whole-house dehumidifier can remove many gallons of water during humid conditions, so its drainage system must be dependable.
- Use the drain fitting, pipe diameter, and approved materials specified by the manufacturer.
- Keep the unit level or positioned exactly as required for its internal drain pan.
- Install a trap only when the manual requires one. Some products require a trap for proper drainage, while some current AprilAire E-series models normally do not.
- Pitch gravity drain piping continuously toward an approved disposal point using the slope stated in the manual and local code.
- Avoid high spots, double traps, crushed tubing, and submerged drain outlets.
- Use an approved condensate pump when gravity drainage is impossible.
- Connect the pump’s safety switch or a separate overflow switch so the dehumidifier stops producing condensate if drainage fails.
- Install a secondary pan and overflow protection where leakage could damage the building.
Before leaving the job, pour water into the drain pan or use the manufacturer’s drain-test procedure. Confirm that water flows freely, the trap remains primed when required, the pump operates, and every safety switch stops the unit. If a gravity hose later stops draining, use the checks in why a dehumidifier may not drain through the hose before assuming the refrigeration system has failed.
Provide the Correct Electrical Service
Read the equipment nameplate and installation manual before providing power. Whole-house units commonly use a grounded 115- or 120-volt supply, but amperage and minimum circuit capacity vary significantly.
- Use the voltage, frequency, circuit capacity, overcurrent protection, and connection method listed by the manufacturer.
- Do not assume that a 6- or 7-amp circuit load applies to every model.
- Provide a dedicated circuit when the manual or local code requires one.
- Use GFCI protection where required by code or the manufacturer, especially in wet or potentially wet locations.
- Do not use an extension cord.
- Keep low-voltage control wiring separate from line-voltage wiring.
- Have a qualified electrician install a new receptacle, circuit, disconnect, or permanent wiring.
Place and Wire the Humidity Control
The dehumidifier may use an onboard humidistat, a remote wall control, a thermostat with indoor-air-quality functions, or an external sensor. Use only controls approved for the unit.
Place a remote sensor in a representative part of the conditioned space. Avoid exterior walls, direct sunlight, bathrooms, kitchens, supply registers, return grilles, windows, doors, and plumbing fixtures. These locations can produce readings that do not represent the rest of the home.
Follow the exact low-voltage terminal diagram. Never connect a 24-volt control terminal to line voltage, and do not assume terminal labels are interchangeable between manufacturers.
How Do You Commission a Whole-House Dehumidifier?
Installation is not complete when the unit first turns on. Commissioning verifies that it can remove moisture safely without creating airflow, noise, drainage, or control problems.
Commissioning Checklist
- Confirm that the unit is level, stable, and accessible.
- Confirm that all shipping restraints have been removed when applicable.
- Verify filter orientation and service clearance.
- Inspect duct supports, seals, insulation, dampers, and grille openings.
- Measure airflow or external static pressure using the manufacturer’s procedure.
- Test the dehumidifier with the HVAC blower off and in each relevant HVAC mode.
- Verify that required fan interlocks and dampers respond correctly.
- Check for reverse airflow through an idle unit.
- Test gravity drainage, the condensate pump, drain pan, and overflow switches.
- Confirm supply voltage and operating current.
- Compare the control’s RH reading with a separate calibrated hygrometer.
- Set the initial target and confirm that the compressor cycles off when the target is reached.
- Listen for vibration, rattling, duct drumming, and air noise.
- Record the final settings, pressure readings, model, serial number, filter size, and maintenance date.
Pro Tip: Place independent hygrometers on different floors for the first two weeks. A single control can reach its target while closed rooms or remote floors remain humid because of poor air circulation.
What Installation Mistakes Should You Avoid?
- Choosing by square footage alone: Capacity must match the moisture load, not just floor area.
- Using one duct layout for every model: Select a configuration listed in the exact installation manual.
- Ignoring static pressure: A running fan does not prove that airflow is adequate.
- Reducing duct size: Small ducts, tight elbows, restrictive grilles, and crushed flexible duct can reduce capacity and increase noise.
- Pulling from a bathroom or kitchen: Local steam and contaminants can distort control and overload the return.
- Skipping a backdraft damper: Supply air may flow backward through an idle unit when a damper is required.
- Using the wrong drain trap: A missing required trap or an unnecessary incorrect trap can stop drainage.
- Omitting overflow protection: A blocked drain or failed pump can damage ceilings, floors, and insulation.
- Placing the sensor near a register: The system may short cycle before the house reaches the target RH.
- Setting RH too low: An aggressive target increases runtime and may not provide a noticeable benefit.
- Ignoring air leaks and water entry: The equipment may run continuously while the underlying moisture problem remains.
- Blocking maintenance access: Filters, panels, drains, and controls must remain reachable.
What Humidity Should You Set a Whole-House Dehumidifier To?
Set the whole-house dehumidifier near 45% to 50% RH as an initial target, then evaluate readings throughout the home. The EPA generally recommends indoor RH between 30% and 50%, while keeping it below 60% helps reduce conditions that support mold growth.
A lower setpoint is not automatically better. It can increase energy use and equipment runtime without solving comfort problems caused by high temperature, poor air circulation, air leakage, or an oversized air conditioner.
Ideal Humidity Range
Use a separate hygrometer to verify the control rather than relying on one display. Compare readings in more than one representative location before changing the setpoint, because airflow and sensor placement can make one location differ from the rest of the home.
- Above 55% RH: Check moisture sources, ventilation, air leakage, equipment capacity, airflow, and control placement.
- About 45% to 50% RH: A practical starting range for many homes during humid weather.
- Below 40% RH: Often unnecessary during the cooling season unless a specific building or preservation need has been evaluated.
Seasonal Humidity Adjustments
| Season | Starting Target | Adjustment |
|---|---|---|
| Spring and fall | About 45% to 50% RH when dehumidification is needed | Watch outdoor dew point, open-window use, and periods when the air conditioner runs very little. |
| Summer | About 45% to 50% RH | Investigate capacity, airflow, ventilation, or moisture entry if the unit cannot remain below roughly 55% RH. |
| Winter | Operate only when measured RH remains high and the unit is within its rated temperature range | Cold-climate homes may need a lower indoor RH to limit window or surface condensation. Use measured condensation and the building’s conditions to guide the target; reducing humidification, repairing leaks, improving ventilation, or insulating cold surfaces may be more appropriate than running a dehumidifier. |
How Do You Maintain a Whole-House Dehumidifier?
Maintenance intervals depend on the model, filter, dust level, runtime, and installation environment. Use the schedule in the owner’s manual rather than applying one replacement interval to every unit.
- First month: Inspect the filter and drain more frequently to catch construction dust, installation debris, or drainage problems.
- At each filter check: Inspect grille openings, the drain path, trap when fitted, condensate pump, and secondary pan.
- At the manufacturer’s interval: Wash or replace the approved filter. Some manuals specify three-to-six-month filter intervals, but the exact schedule is model- and site-specific.
- Before each humid season: Clean the accessible drain components as allowed by the manual, test overflow protection, compare the RH control with a separate hygrometer, and inspect duct insulation and seals.
- Professional service: Arrange service at the interval recommended for the equipment or whenever airflow, drainage, electrical, control, coil, or refrigerant-system performance is abnormal.
Turn off electrical power before opening service panels or removing a filter where required. Do not operate the system without the approved filter.
How Do You Troubleshoot Common Problems?
| Problem | Likely Causes | What to Check |
|---|---|---|
| Unit runs almost constantly | Setpoint too low, unit undersized, high outdoor-air load, water leak, open windows, dirty filter, or duct leakage | Compare independent RH readings, inspect moisture sources, clean the filter, and verify airflow and capacity |
| Humidity remains high | Poor air distribution, sensor in the wrong location, airflow restriction, excessive moisture load, or incorrect control wiring | Measure RH on each floor, inspect closed rooms, test static pressure, and confirm control operation |
| No water reaches the drain | Low moisture load, blocked drain, incorrect trap, inadequate slope, frozen coil, or failed pump | Perform the approved drain test, inspect the trap and hose, and check operating temperature |
| Water leaks from the unit | Blocked drain, unit out of level, cracked fitting, failed pump, overflowing pan, or missing trap where required | Turn the unit off, protect the building, clear the drain, and test all overflow switches |
| Excessive noise or vibration | Rigid duct transmission, loose panels, poor support, excessive air velocity, shipping restraint, or cabinet contact | Check supports, isolation, fasteners, duct sizing, flex connectors, and shipping-material removal |
| HVAC airflow moves backward through the unit | Missing, failed, or incorrectly oriented damper | Inspect the approved backdraft or powered damper and verify its control sequence |
Frequently Asked Questions
Do whole-house dehumidifiers need a permit?
Permit requirements depend on the jurisdiction and the work being performed. A permanently installed unit may trigger mechanical, electrical, plumbing, or building-permit requirements when ducts, wiring, drainage, or framing are altered. The 2024 International Mechanical Code lists permit exemptions for certain portable equipment, but the locally adopted code controls. Contact the authority having jurisdiction before work begins.
Can I install one without modifying existing HVAC ductwork?
Sometimes. Certain models support dedicated return and supply grilles or a manufacturer-approved stand-alone configuration. The unit still needs adequate air pathways, correctly sized ducts or grilles, drainage, electrical service, controls, and service clearance. Confirm the intended layout in the installation manual before purchasing the equipment.
How much does professional installation typically cost?
A 2026 Bryant cost guide estimates approximately $2,000 to $3,800 for equipment and professional installation. Local prices can be lower or higher depending on capacity, access, duct modifications, drainage, controls, electrical work, permits, labor rates, and whether moisture repairs are needed. Request a written quote that lists the model, duct configuration, drainage safeguards, control method, commissioning tests, permits, and warranty.
Will a whole-house dehumidifier work with a heat pump?
Potentially. Heat-pump compatibility is model- and control-specific. The installer must select a manufacturer-approved duct configuration and control sequence, confirm whether the heat-pump blower must run during dehumidification, and prevent excessive static pressure or reverse airflow. Verify compatibility in both equipment manuals before wiring or duct changes.
How noisy is a whole-house dehumidifier?
Noise depends on the compressor, fan speed, airflow, cabinet insulation, duct velocity, supports, and location. Published figures are model-specific. For example, Santa Fe lists an average sound level of 47.5 dBA for its Ultra98 and 56.4 dBA for its Ultra120. A utility-room location, vibration isolation, correctly sized ducts, and short flexible connectors can reduce sound transmitted into living spaces.
Can a homeowner install a whole-house dehumidifier?
A homeowner may be able to plan the location, compare models, monitor humidity, and perform routine filter or drain maintenance. The full installation is advanced work involving electricity, heavy equipment, sheet metal, airflow measurements, drainage safeguards, and HVAC controls. Professional installation is the safer choice and may be required for permits, warranty coverage, or code compliance.
Does the HVAC blower need to run with the dehumidifier?
It depends on the duct configuration and manufacturer. Some arrangements operate independently, while others require the HVAC blower to distribute dry air or prevent short-circuit airflow. Follow the approved wiring and control sequence for the selected unit rather than forcing the blower on continuously.
Does every whole-house dehumidifier need a drain trap?
No. Drain requirements vary. Some Santa Fe whole-house models require a trap for proper drainage, while AprilAire states that its E070, E080, E100, and E130 models normally do not require one. Install a trap only as directed by the exact manual and local code.
How do I choose the right pint capacity?
Use a moisture-load assessment that considers floor area, ceiling height, climate, measured RH, air leakage, basement or crawl-space conditions, occupancy, ventilation, and existing HVAC performance. Manufacturer coverage estimates are starting points, not complete load calculations. Compare capacities under the current test procedure and confirm that the available ducts can deliver the required airflow.
What relative humidity should I set a whole-house dehumidifier to?
A practical starting target during humid weather is about 45% to 50% RH, then adjust based on comfort, condensation, climate, and how evenly the home responds. The U.S. EPA recommends keeping indoor RH below 60% and ideally between 30% and 50% when possible. Verify the control with a separate hygrometer.
Will a dehumidifier remove existing mold?
No. It can lower airborne moisture and reduce conditions that support future growth, but it does not remove established mold or repair the water source. Fix leaks, dry wet materials promptly, and use appropriate professional remediation when contamination is extensive or hidden.
Conclusion
A successful whole-house dehumidifier installation begins with the moisture problem, not the equipment. Repair water entry, measure indoor conditions, size the unit for the actual load, and choose a duct configuration approved by the manufacturer. Then provide safe structural support, model-correct drainage, adequate electrical service, accurate controls, and full commissioning.
After installation, monitor humidity on more than one floor, keep the filter and drain clean, test overflow protection, and investigate any musty odor, condensation, water leak, excessive runtime, or uneven RH. A correctly selected and commissioned system can provide reliable humidity control, but only when the ducts, drain, controls, and building moisture sources work together.
Sources
- U.S. EPA: A Brief Guide to Mold, Moisture and Your Home — indoor RH, moisture control, condensation, and mold guidance
- ENERGY STAR: Dehumidifiers — whole-home selection, capacity, efficiency, operating temperature, and professional installation
- Santa Fe Dehumidifiers: Product Manuals and Installation Resources — model-specific ducting, drainage, electrical, controls, and maintenance guidance
- AprilAire Dehumidifier FAQs — drain-trap differences, controls, temperature limitations, and maintenance guidance
- ASHRAE Standard 62.2-2025 — residential ventilation and acceptable indoor air quality
- 2024 International Mechanical Code, Chapter 1 — mechanical permit scope and exemptions
- Bryant: Whole House Dehumidifier Cost & Installation Guide — 2026 equipment and professional-installation cost range
- Santa Fe Ultra98 and Santa Fe Ultra120 — published model-specific sound levels and operating specifications