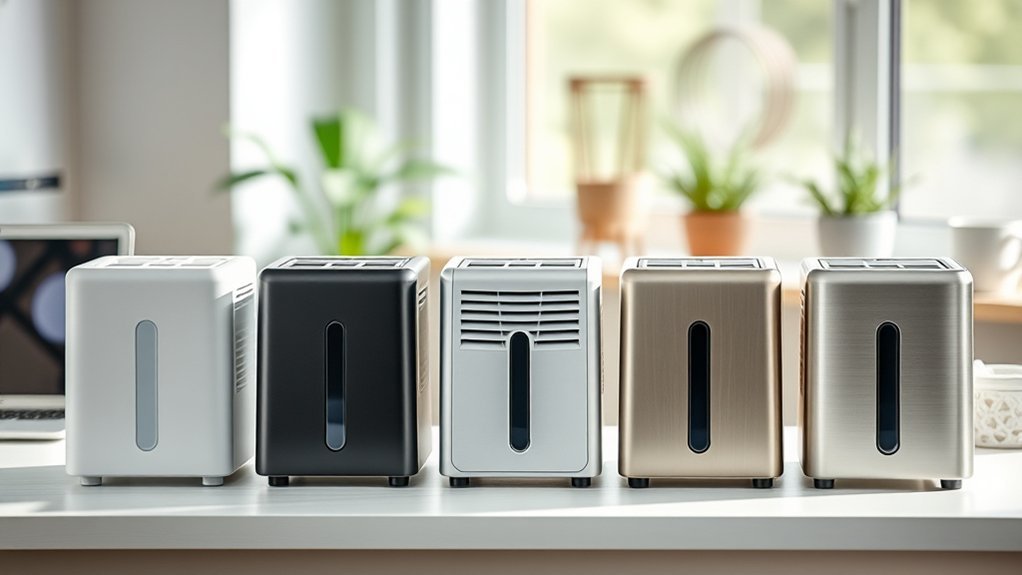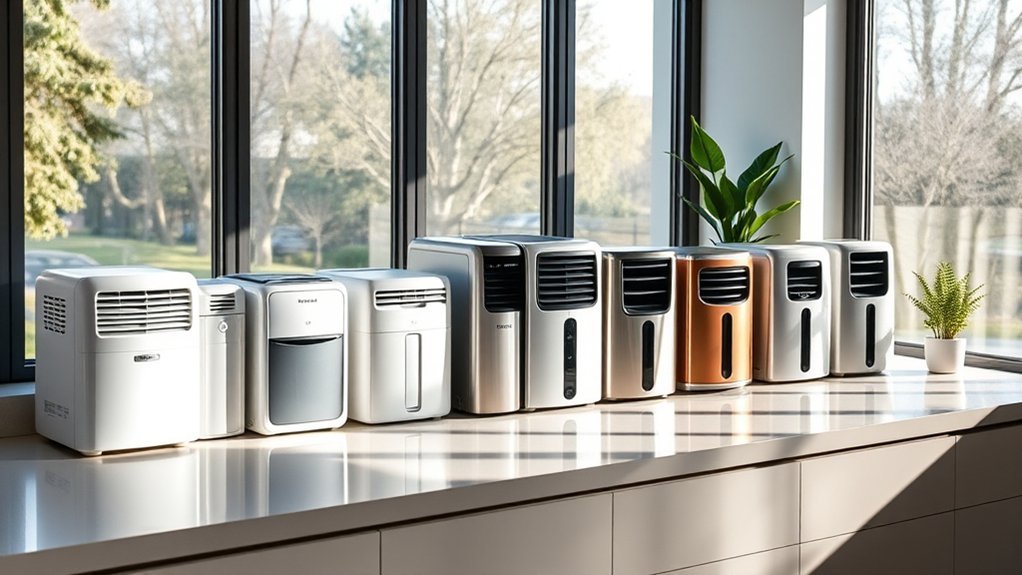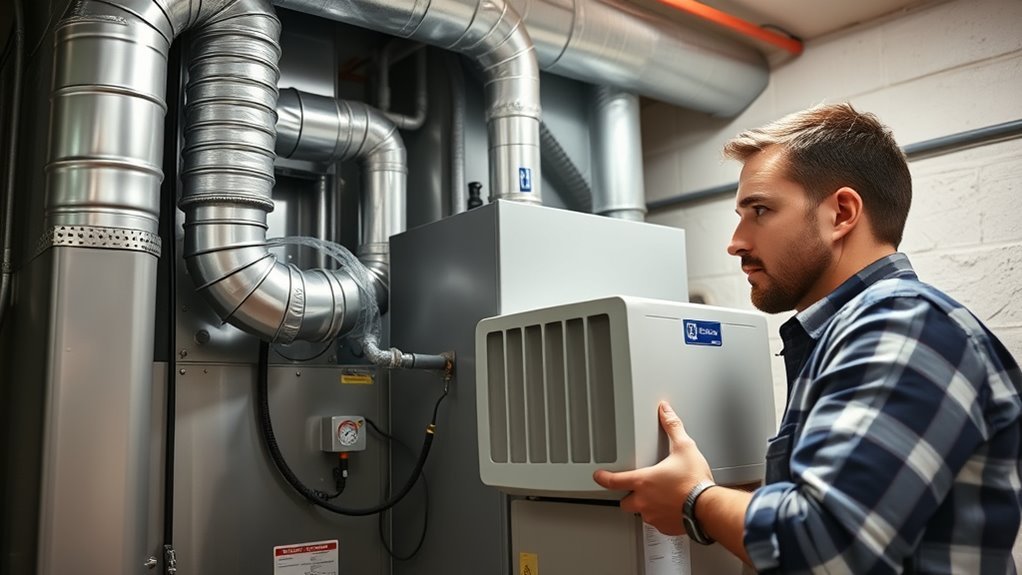
Adding a whole-house dehumidifier to an existing HVAC system can control moisture across the home, but the installation must match the equipment manual, duct layout, drainage path, electrical supply, and local code. The safest approach is to measure the problem first, choose a correctly sized ducted unit, and have an HVAC professional design, install, and commission the system.
Quick Answer
To add a dehumidifier to your HVAC system, confirm that whole-home humidity stays high, select a properly sized ducted unit, follow its approved return-and-supply layout, provide safe drainage and power, connect the controls, and test airflow and condensate removal. Because duct, wiring, and code requirements vary, professional installation is strongly recommended.
Key Takeaways
- Measure indoor relative humidity with a reliable hygrometer before buying equipment, and correct leaks, drainage problems, and ventilation faults first.
- There is no single best duct layout for every model. Use a configuration approved in the manufacturer’s installation manual.
- Size the unit by the home’s moisture load, climate, construction, occupancy, and rated pints per day, not by square footage alone.
- Plan the condensate drain, overflow protection, electrical circuit, controls, filter access, and service clearance before cutting ductwork.
- Commission the finished system by checking airflow, static pressure, blower coordination, drain flow, humidity sensing, noise, and room-to-room performance.
At a Glance
| Time Required | About 4 to 6 hours for a straightforward professional installation; difficult access, new wiring, drainage, zoning, or major duct changes can take longer. |
| Difficulty | Advanced. Duct design, electrical work, condensate handling, controls, and code compliance usually require licensed professionals. |
| Tools Needed | Hygrometer, airflow and static-pressure instruments, drill, sheet-metal tools, level, approved duct and fittings, dampers, sealant, drain materials, and electrical test equipment. |
| Cost | A 2026 U.S. cost guide reports about $1,300 to $2,800 installed. Local labor, permits, capacity, duct changes, pumps, controls, and electrical work can move the price outside that range. |
How to Add a Dehumidifier to Your HVAC System
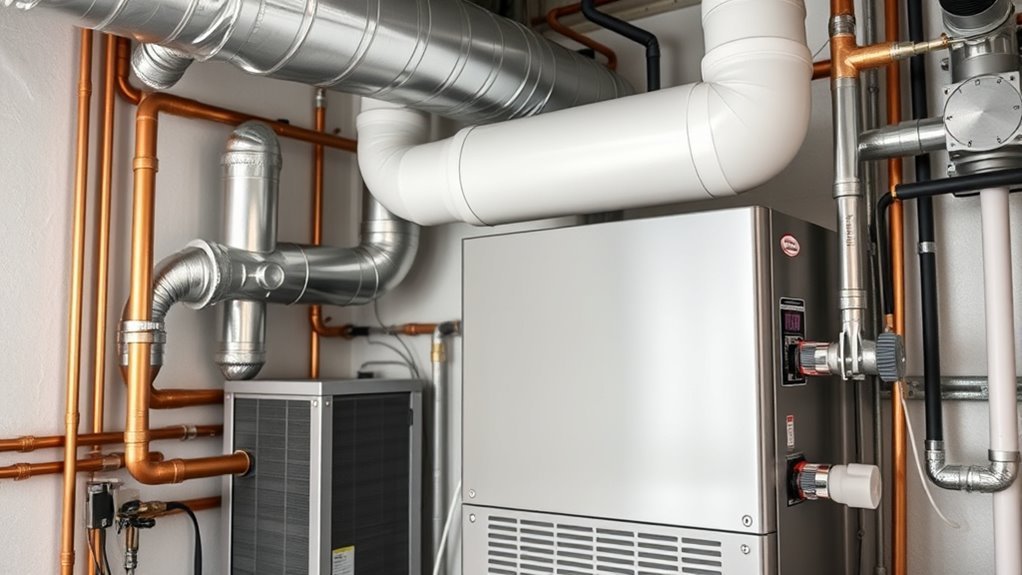
A whole-house dehumidifier draws humid air across a cold coil, condenses water into a drain, reheats the drier air, and returns that air to the home. It can operate during periods when the air conditioner is off, which is useful when the home feels damp but does not need much cooling. The goal is controlled moisture removal, not simply adding the largest unit available.
Warning: Turn off electrical power before opening equipment or making control connections. Do not cut, wire, hang, or drain a ducted dehumidifier unless you are qualified to do that work. Poor installation can cause shock, fire, condensate damage, excessive duct pressure, equipment failure, or loss of warranty coverage.
1. Confirm That You Need Whole-House Dehumidification
Use a calibrated hygrometer to check several rooms over at least a few humid days. The U.S. Environmental Protection Agency recommends keeping indoor relative humidity between 30% and 50% when practical. A whole-house unit may be worth considering when readings remain above about 55%, the home feels clammy, or musty odors and condensation continue after obvious moisture sources are corrected.
Before adding equipment, check for roof or plumbing leaks, wet foundations, unvented clothes dryers, weak bathroom or kitchen exhaust, open crawl-space vents in humid weather, disconnected ducts, poor air-conditioner airflow, and an oversized cooling system that short-cycles. A dehumidifier controls water vapor in the air. It does not repair liquid-water entry or remove existing mold-contaminated materials.
2. Choose a Compatible Whole-House Unit
Choose a model designed for ducted whole-home use. Compare its rated moisture-removal capacity, airflow, allowable external static pressure, operating-temperature range, filtration, controls, drain connection, sound level, service clearances, and electrical requirements. An ENERGY STAR certified whole-home dehumidifier meets current efficiency criteria, but correct sizing and installation still determine real performance.
3. Select a Safe, Serviceable Location
Install the unit indoors where it is protected from rain, flooding, freezing conditions, and physical damage. Leave the clearances listed in the manual so a technician can remove the filter and service panels. Support the cabinet as directed, control vibration, and keep the unit level or at the specified pitch for drainage. If it is above a finished ceiling or another damage-sensitive area, provide a secondary drain pan and an approved overflow shutoff when required.
4. Design the Duct and Control Plan
Map the return path, dry-air discharge, backdraft or motorized dampers, HVAC blower interlock, humidity control, fresh-air option, and access points before installation. The design must keep the dehumidifier within its airflow and static-pressure limits in every operating mode. The installer should also confirm what happens when the dehumidifier runs alone, when the HVAC blower runs alone, and when both run together.
5. Install Drainage and Power Before Startup
Complete the condensate drain, trap if required, pump if needed, overflow switch, and electrical connection before operating the unit. Follow the exact model manual and local code. Do not assume that every dehumidifier uses the same voltage, circuit size, drain slope, or trap arrangement.
6. Commission the System
After installation, verify the humidity sensor reading against a separate hygrometer. Measure airflow and external static pressure, test every damper and blower interlock, pour water through the drain or pump test port, confirm the overflow switch stops the unit, and check each occupied area for balanced dry-air delivery. Record the final settings and measurements for future service.
Choose the Right Dehumidifier Ducting Method
The correct ducting method is the one approved for your model and proven to work with your air handler. A dedicated return with discharge to the HVAC supply is common, but some equipment permits independent ducting, return-to-return, or other layouts. Do not choose by a generic diagram alone. Compare the manufacturer’s manual with the actual duct pressures and blower-control options in your home.
| Ducting layout | Main advantage | Main design concern |
|---|---|---|
| Independent return and independent supply | Can operate without the HVAC blower and gives direct control of distribution | Requires more ductwork and enough return paths between rooms |
| Dedicated dehumidifier return to HVAC supply | Common manufacturer-approved layout that distributes dry air through existing supply ducts | Needs a backdraft damper, proper mixing distance, and pressure verification |
| HVAC return to HVAC return | May simplify connections near the air handler | Often requires HVAC blower coordination or a check-damper arrangement |
| HVAC return to HVAC supply | Uses existing return air and distributes dry air through the supply system | Can create unwanted airflow when both blowers run unless the manual specifically allows the layout |
Independent Ducting Setup
Independent ducting gives the dehumidifier its own return grille and one or more supply outlets. This lets its blower move air without relying on the HVAC fan. It can be a good option for homes with ductless cooling, zoned areas, or air-handler layouts that do not support a shared connection.
The return should be in a central, open area rather than a bathroom, kitchen, or small room that is often closed. Supplies should reach enough areas to create a full circulation path. Size every duct and grille from the unit’s required airflow, keep runs short and smooth, seal joints, insulate ducts in unconditioned spaces, and measure final static pressure.
Supply-Side Connection Benefits
A dedicated dehumidifier return connected to the HVAC supply can spread dry air through the home’s existing supply network. For example, the Santa Fe Ultra70 installation manual shows a dedicated central return, discharge to the HVAC supply, and a backdraft damper as a recommended layout for that model.
This arrangement can let the dehumidifier operate independently of a cooling call, but it still needs adequate distance before the first branch so the warmer discharge air mixes well. The installer must confirm that the HVAC supply pressure is within the dehumidifier’s limit and that air cannot flow backward through the idle unit.
Bypass and Injection Options
Terms such as “bypass” and “injection” are not used consistently across brands. In practice, they usually describe a shared return-and-supply arrangement or a method that injects dehumidified air into one side of the air handler. These layouts can work, but only when the equipment manual permits them and the controls prevent competing airflow.
Some return-to-return arrangements require the HVAC fan to run whenever the dehumidifier runs. Others use a check damper so the dehumidifier can operate without the central fan. A return-to-supply arrangement may need a backdraft damper and a maximum pressure check. Have the installer document which blowers and dampers operate in each mode.
Note: A duct layout recommended for one brand or model may be prohibited for another. The installation manual, measured static pressure, and local mechanical code take priority over generic online diagrams.
Add a Dedicated Return for Better Airflow
A dedicated return allows the dehumidifier to sample mixed air from the home without pulling directly from the air handler’s return. Place the grille in a central area that stays open to the rest of the house. Avoid kitchens and bathrooms because short bursts of moisture can distort control, and avoid closed bedrooms unless transfer grilles, jump ducts, or door undercuts provide a reliable return path.
Size the return from the manufacturer’s airflow table, not from the collar diameter alone. Use gradual fittings, limit tight elbows, seal all seams with approved materials, and insulate ducts that pass through hot or cold unconditioned areas. After startup, measure the pressure at the dehumidifier rather than assuming the duct is large enough.
Pro Tip: Place the humidity control or remote sensor in a representative living area, away from supply registers, exterior doors, windows, kitchens, bathrooms, and direct sunlight. Compare its reading with a separate hygrometer during commissioning.
Send Dry Air to the Supply Plenum
When the selected model allows it, connect the dehumidifier discharge to the HVAC supply plenum or supply trunk at the location shown in the manual. Install the specified backdraft damper, use the required duct size, and leave enough straight or mixed-air distance before the first branch. This helps distribute the dry air and reduces the chance that one room receives most of the warmer discharge.
Do not connect to a section of duct where positive pressure exceeds the dehumidifier’s rating. Confirm airflow with the HVAC blower off and on. Also test heating, cooling, fan-only, and dehumidification modes to make sure air does not reverse through either appliance.
When Supply-Side Ducting Works Better
Supply-side ducting works well when the dehumidifier has a dedicated return, the manufacturer approves supply injection, the pressure is within limits, and the existing supply network reaches the areas that need drying. It can distribute moisture-reduced air without waiting for an air-conditioning call and may reduce uneven humidity between rooms.
It is not automatically more efficient or more effective than every other method. A poor supply connection can create high static pressure, backflow, noise, excess heat in one area, or weak airflow to distant rooms. Independent ducting or a different shared layout may be better when the air handler is highly zoned, the supply plenum is inaccessible, or the model manual recommends another arrangement.
The best duct layout is not the one with the fewest fittings. It is the approved layout that delivers rated airflow, prevents backflow, drains safely, and controls humidity evenly in the actual home.
Add Fresh Air Ventilation
Some whole-house dehumidifiers can bring in measured outdoor air through an optional motorized damper. This feature can support a mechanical ventilation plan, but it is not a substitute for designing one. Outdoor air adds both ventilation and a new heating, cooling, and moisture load, especially in hot, humid climates.
Fresh Air Intake
Use an insulated outdoor-air duct, screened weather hood, accessible filter, and controlled damper approved for the equipment. Locate the intake away from exhaust outlets, vehicle areas, plumbing vents, standing water, and other contamination sources. Set the airflow and runtime from a ventilation calculation, then measure the delivered airflow after installation.
The current ANSI/ASHRAE Standard 62.2-2025 covers dwelling-unit ventilation, local exhaust, source control, filtration, and related indoor-air-quality measures. Local codes may use a different edition or add requirements, so the contractor must verify the rule adopted in your area.
Ventilation and Filtration
Filtration can reduce particles carried in the incoming airstream, but a dehumidifier is not a complete air cleaner. Use the filter type and pressure drop allowed by the unit. A high-resistance filter can reduce airflow if the equipment was not designed for it. Replace or clean the filter on the manufacturer’s schedule and sooner when construction dust, pets, smoke, or other loads are heavy.
Do not run outdoor-air ventilation only because indoor humidity is high. In humid weather, added outdoor air can increase the moisture load. Coordinate the ventilation damper, dehumidifier compressor, and HVAC system so the home receives required fresh air without losing humidity control.
Size the Dehumidifier for Your Home
Dehumidifier capacity is rated in pints of water removed per 24 hours under specified test conditions. Square footage is only one input. A reliable selection also considers outdoor climate, target indoor humidity, building tightness, ceiling height, basement or crawl-space conditions, ventilation airflow, occupancy, showers, cooking, indoor laundry, known water intrusion, and how much moisture the air conditioner already removes.
Do not use a universal “20 pints per 1,000 square feet” rule for a whole-house system. Instead:
- Measure the conditioned floor area, ceiling height, and current humidity pattern.
- Correct liquid-water sources and obvious air leaks before estimating the remaining load.
- Check the manufacturer’s application and sizing data for the exact model.
- Include the moisture load from any planned outdoor-air ventilation.
- Choose a unit that can meet the load at realistic operating conditions without exceeding duct-pressure limits.
- Have the contractor confirm capacity, airflow, electrical demand, drainage, and controls as one system.
An undersized unit may run almost continuously and still miss the target. A badly selected oversized unit may short-cycle or create uneven control, although a properly controlled higher-capacity unit can be appropriate for a heavy moisture load. Capacity should be judged with runtime, measured humidity, and water removal after commissioning.
Recommended Products
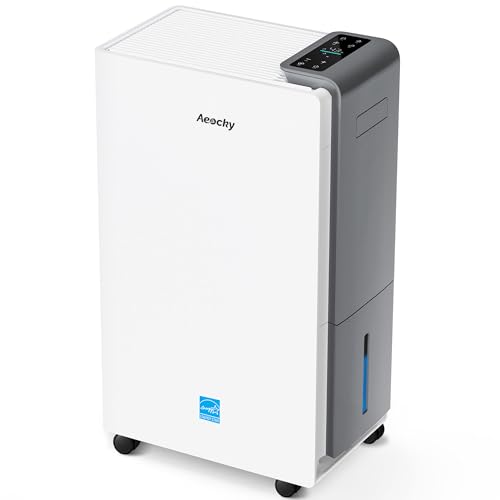
【ENERGY STAR 25 ≠ ENERGY STAR Most Efficient 2025】Don't fall for competitors' word games. With only 2.6% of ENERGY STAR models earning "Most Efficient 2025" title, these options are exceptionally rare on the market. RHEA-001 is one of the few to truly hold this top-tier certification. Many brands use misleading phrases like "Energy Star Efficient 25" or "Energy Star 25" to imply a standard they haven't met. Choosing them is a risk.With AEOCKY, you get verified performance and the peace of mind of authentic, top-tier efficiency.

【The Undisputed Champion — Industry-Leading Dehumidifier Brand】When you choose AEOCKY, you get double market validation. According to data independently verified by Stackline, a leading third-party data analytics company, AEOCKY was an industry‑leading dehumidifier brand on Amazon U.S. in 2025. This means you’re not just choosing a flagship product from a market leader, but a top-performing brand backed by independent market data and trusted by millions of real users, delivering the ultimate combination of performance, quality and trust.

2500 Sq. Ft Dehumidifier - SEMKAP dehumidifier for basement features a quiet, high-performance compressor that removes up to 32 pints of moisture per day (at 95°F, 90% RH). Ideal for basements, offices, bathrooms, bedrooms, kitchens, stockrooms, living rooms, laundry rooms, garages, crawlspaces, or RVs. It helps maintain optimal humidity between 40%–60%RH for healthier, more comfortable living
Plan Drainage and Power
Plan the drain and electrical service before setting the cabinet. The drain must remain accessible, protected from freezing, and routed to a legal discharge point. The power connection must match the nameplate, installation manual, and local electrical code. Provide room to test the float switch, clear the trap, service the pump, and disconnect power.
Drain Line Routing
Use the pipe or tubing size and material listed in the manual. Some dehumidifiers require an external trap because the drain pan operates under negative pressure, while others include an internal trap. The required slope also varies by product and code, so do not apply one universal number.
- Level or pitch the cabinet exactly as directed.
- Install the required trap, vent, cleanout, and adapters.
- Support the line so it cannot sag and hold water.
- Route it to an approved floor drain, condensate receptor, sump, or other permitted point.
- Install a secondary pan and float switch where leakage could damage finished areas.
- Test the complete path with water before leaving the job.
Never connect condensate in a way that can allow sewer gas, dirty water, or air to move backward into the unit. Follow local plumbing and mechanical requirements for traps, air gaps, indirect waste, and termination.
Dedicated Electrical Circuit
Whole-house dehumidifiers do not all use the same electrical supply. Many residential models use a grounded 115- or 120-volt connection and a 15-amp circuit, but the nameplate and manual control the final requirement. Larger or different models may vary. Use a dedicated circuit when the manufacturer or code requires it, and provide GFCI protection where required for the location.
Keep line-voltage wiring separate from low-voltage control wiring. Do not connect thermostat terminals by color alone. Use the model’s wiring diagram and verify the HVAC fan interlock, damper outputs, remote humidistat, and overflow switch before energizing the system.
Condensate Pump Options
Use a condensate pump when gravity drainage is not practical. Select it by the actual vertical lift, horizontal run, flow rate, tubing size, duty rating, temperature rating, and approved discharge point. Do not assume that every pump can lift water 20 to 30 feet.
Choose a pump with a safety switch that can stop the dehumidifier or trigger an alarm if the reservoir rises too high. Mount it where it can be cleaned and tested. Secure the discharge tube, protect it from kinks and freezing, and follow the pump manufacturer’s maximum lift chart.
Avoid Airflow, Drainage, and Control Errors
Most installation failures come from a small number of design and setup mistakes. Use this table to catch them before they damage the home or hide the real moisture problem.
| Problem | Likely causes | What to check |
|---|---|---|
| Humidity does not fall | Undersized unit, open building leaks, wet foundation, low airflow, wrong sensor location, dirty filter, low operating temperature | Measure room RH, runtime, airflow, static pressure, temperature, and actual water removal; correct the moisture source |
| Unit short-cycles | Sensor near dry-air discharge, control wiring error, narrow differential, poor air mixing, oversized capacity for the active zone | Move or compare the sensor, review control settings, and verify circulation paths |
| Water leaks or overflow occurs | Clogged line, missing or wrong trap, unlevel cabinet, failed pump, blocked vent, no overflow shutoff | Shut the unit off, clear and test the drain, inspect the pan and pump, and verify the float switch |
| Rooms feel too warm | Discharge concentrated in one area, excessive runtime, poor mixing, supply connection too close to a branch | Balance the supply path, confirm sizing and setpoint, and improve mixing distance |
| Noise or weak airflow | High static pressure, undersized ducts, tight elbows, cabinet vibration, dirty filter, closed damper | Measure pressure and airflow, open or resize restrictions, isolate vibration, and service the filter |
| HVAC fan runs when it should not | Incorrect interlock, wrong duct configuration, stuck relay, control programming error | Compare wiring and operating sequence with both equipment manuals |
Commissioning and Maintenance Checklist
A successful startup proves that the system works under real conditions. The installer should leave a record of model and serial numbers, duct sizes, measured airflow, external static pressure, control setpoint, sensor location, drain test, pump lift, electrical circuit, damper sequence, filter size, and maintenance instructions.
- At startup: Test cooling, heating, fan-only, dehumidification-only, and combined modes.
- After the first week: Compare room humidity readings and correct any room-to-room imbalance.
- Monthly at first: Inspect the filter, drain, pump reservoir, and any signs of cabinet or duct condensation.
- On the manual’s schedule: Clean or replace the filter and service the drain components.
- At least yearly: Have the system inspected if the home has a heavy moisture load, complex controls, fresh-air ventilation, or hard-to-access drainage.
Keep the humidity setpoint high enough to avoid over-drying. Many homes perform well near 45% to 50% RH during humid weather, while cold-weather targets may need to be lower to prevent window or wall condensation. Use measured conditions rather than one fixed setting all year.
When You Need an HVAC Pro
Professional help is appropriate whenever the job changes ductwork, adds line-voltage wiring, alters HVAC controls, penetrates fire or air barriers, suspends equipment, introduces outdoor air, or routes condensate through finished areas. A qualified contractor can also determine whether the real problem is an oversized air conditioner, poor return airflow, duct leakage, water intrusion, or inadequate exhaust rather than a lack of dehumidifier capacity.
- The HVAC professional measures humidity, airflow, static pressure, temperature, and the home’s moisture sources.
- They select an approved duct configuration and size the return, supply, dampers, and grilles.
- A qualified electrician provides the required circuit and disconnect when needed.
- The installer builds and tests the condensate path, pump, pan, and overflow protection.
- They program and verify the operating sequence, then document final measurements.
Ask for the equipment manual, load or sizing basis, duct diagram, commissioning readings, warranty registration, permit information, and maintenance schedule before final payment.
Frequently Asked Questions
Can you add a dehumidifier to an existing HVAC system?
Yes. Many ducted whole-house dehumidifiers are designed for retrofit installations. The contractor must confirm available space, service access, approved duct connections, airflow and static pressure, electrical capacity, drainage, control compatibility, and local permit requirements. Homes with ductless systems can sometimes use independently ducted dehumidification instead.
How much does it cost to add a dehumidifier to your HVAC system?
A 2026 national U.S. cost guide reports a typical installed range of about $1,300 to $2,800. Your price may be lower or higher based on capacity, brand, access, duct modifications, drainage, pump needs, controls, electrical work, permits, and local labor. Get an itemized quote that separates equipment, materials, labor, electrical work, and permits.
Should you use a dehumidifier if you have COPD?
A dehumidifier is not a COPD treatment. High humidity can be a symptom trigger for some people, but air that is too dry may also be uncomfortable. The American Lung Association lists high humidity among possible COPD triggers and advises using air conditioning on hot or humid days. Ask your healthcare professional what indoor range is appropriate for you, and seek medical care for worsening breathing.
Does a dehumidifier help with rhinitis?
It may help when allergic rhinitis is triggered by dust mites or mold in a damp home. The American Academy of Allergy, Asthma & Immunology recommends keeping humidity low to reduce dust-mite exposure. However, humidity changes can trigger nonallergic rhinitis, and overly dry air may irritate the nose. A dehumidifier does not replace diagnosis or treatment.
What humidity setting should a whole-house dehumidifier use?
Start near 45% to 50% RH during humid weather, then adjust from measured comfort, condensation, and building conditions. The EPA recommends 30% to 50% when practical and keeping indoor humidity below 60%. In cold weather, a lower setting may be needed to prevent condensation on windows or exterior surfaces.
Can a whole-house dehumidifier remove mold?
No. It can lower humidity and make future mold growth less likely, but it does not remove existing mold, repair wet materials, or stop a leak. Correct the moisture source first. Clean or remediate contaminated materials using guidance appropriate to the size and location of the problem.
Conclusion
Adding a dehumidifier to your HVAC system can improve moisture control when the home stays humid after leaks, exhaust, airflow, and cooling problems have been addressed. The project succeeds when the unit is sized for the real load, installed in an approved duct configuration, given safe drainage and power, and tested under every operating mode. Do not rely on a universal duct diagram or capacity shortcut. Use the exact equipment manual, measured airflow and pressure, local code, and professional commissioning.
Sources
- U.S. Environmental Protection Agency: Care for Your Air — supports the recommended indoor relative-humidity range and moisture-control guidance.
- ENERGY STAR: Dehumidifiers — supports capacity, efficiency, whole-home installation, and sizing guidance.
- ANSI/ASHRAE Standards 62.1 and 62.2 — supports residential mechanical-ventilation and indoor-air-quality planning.
- Santa Fe Ultra70 Installation & Operation Instructions — supports model-specific ducting, electrical, drainage, damper, and overflow-protection examples.
- American Lung Association: Prevent a COPD Flare-Up — supports the medical caution about high humidity as a possible COPD trigger.
- American Academy of Allergy, Asthma & Immunology: Indoor Allergens — supports humidity control for dust-mite and indoor-allergen reduction.