Your dehumidifier is usually leaking from the bottom because the tank isn’t seated correctly, the float switch is stuck, the drain hose is kinked or clogged, or the base has a crack. Check that the unit sits level, the bucket seals tightly, and the hose runs downhill with no leaks. Clean the filter and drain tray, and look for ice or internal overflow. If the leak persists, there’s likely a hidden fault you’ll want to identify.
Why Is My Dehumidifier Leaking From the Bottom?
If your dehumidifier is leaking from the bottom, the cause is usually a drainage problem. You should inspect the drain hose first. Make sure it isn’t kinked, clogged, or cracked, and confirm the connectors seal tightly. If you use continuous drainage, a blockage can stop water flow and force moisture out of the base. Next, check that the unit sits flat and level on a firm surface; tilt can misroute condensate and create overflow. You also need to verify the hose path stays below the outlet and doesn’t trap water. If the catch tray or internal channel has ice, it can melt and spill once the system warms up. Don’t ignore a damaged hose fitting or loose attachment, because small failures can waste water and undermine the machine’s performance. Clean the line, realign the unit, and replace worn parts promptly so you can restore controlled, efficient dehumidification.
Check the Water Tank and Float Switch
Check the water tank for cracks, warping, or other damage that could let water escape when it fills. Make sure the tank sits fully and squarely in place, then test the float switch to confirm it moves freely and isn’t blocked. If the float sticks or the tank doesn’t seat correctly, the unit can overflow and leak from the bottom.
Inspect Tank For Cracks
A cracked water tank can let water escape as soon as it fills, so start by removing the tank and inspecting it closely for visible cracks, holes, or other damage. In Home Improvement terms, this is a fast, practical fix that protects your space and your freedom from mess.
| Check | Action |
|---|---|
| Tank walls | Look for hairline cracks |
| Seams | Inspect for separation |
| Bottom edge | Find chips or punctures |
| Float switch area | Clear obstructions |
| Damage found | Replace the tank |
If you spot damage, replace the tank; repairs rarely hold under repeated fill cycles. Also confirm the float switch isn’t obstructed by debris, since a stuck switch can block proper drainage and trigger overflow. Make this inspection routine to keep the unit working cleanly and prevent bottom leaks.
Test Float Switch Movement
Once you’ve ruled out tank damage, test the float switch inside the water tank to make sure it moves freely. Let residue settle for about 30 minutes before you remove the tank, then lift and lower the float by hand. It shouldn’t bind, stick, or scrape against the housing. Clear any lint, mineral buildup, or plastic debris that blocks travel, because obstruction can stop the tank-full signal and cause overflow. Reinstall the tank squarely; misalignment can throw off float switch calibration and trigger leaks. If the switch still hangs up, compare its travel to your maintenance checklist and apply targeted troubleshooting tips. You want the unit to work with you, not against you, so confirm the tank seats firmly and the float responds smoothly every time.
Fix a Clogged or Kinked Drain Hose
Check the drain hose for kinks or tight bends that can restrict flow and force water back into the unit. Clear any blockages in the hose with a flush or compressed air, then reseat both ends so the connections are snug and sealed. If the hose is cracked, split, or still won’t drain properly, replace it to stop leaks at the source.
Check Hose for Kinks
If your dehumidifier is leaking from the bottom, inspect the drain hose for kinks, clogs, or loose connections that could be blocking water flow. You need a straight, downward route so gravity can move water out freely. Use these hose maintenance tips and proper installation techniques to protect drainage.
| Check | What to look for | Action |
|---|---|---|
| Bend radius | Sharp turns | Straighten hose |
| Connection | Loose fitting | Secure tightly |
| Surface | Wear or damage | Replace hose |
These common hose issues reduce flow and let water pool inside the unit. Reposition the hose so it doesn’t twist, sag, or rise above the outlet. A clear, stable path restores efficient drainage and keeps your dehumidifier working without unnecessary leaks.
Clear Hose Blockages
A clogged or kinked drain hose can stop water from flowing out properly, causing the dehumidifier to overflow and leak from the bottom. Inspect the hose for dirt, sludge, or debris, since these common blockage causes restrict drainage. Follow hose maintenance tips by detaching the hose periodically and flushing it with clean water to restore full flow. If you use continuous drainage, keep the line straight and free of bends or twists so gravity can do its job. These drainage troubleshooting methods help you isolate whether the blockage sits in the hose or within the unit’s outlet path. Recheck the hose after cleaning, then run the dehumidifier and confirm water moves out steadily without pooling.
Reseat Drain Hose Connections
Make sure the drain hose is fully seated and tightly connected at both ends, because a loose fitting or partial disconnect can let water escape before it reaches the drain. Then verify the hose runs with a steady downward slope so gravity can move condensate out freely.
- Check each connector for secure connections and tighten any loose clamp or fitting.
- Inspect the drain hose for kinks, bends, or debris that can slow water flow and cause overflow.
- Examine the washer in the connector; a worn rubber or plastic washer can leak even when the joint looks tight.
If you find damage, replace the part immediately. Restoring a clear, sloped path keeps the unit draining properly and helps you reclaim a dry, safe space without needless frustration.
Seal Leaks Around the Bucket
Check that the dehumidifier sits on a flat, level surface so the bucket doesn’t tilt and spill water. Next, verify the bucket seats fully in its cradle; bucket alignment issues often leave small gaps that defeat the seal. Pull the bucket out, wipe the rim and mating surfaces, and remove dust, lint, or mineral buildup that can block a tight fit. These simple sealing solutions reduce unintended drainage and keep water where it belongs. Inspect the bucket for wear, warping, or visible damage, and replace it if the material no longer seals cleanly. Your maintenance tips should include regular cleaning after emptying, especially if you run the unit daily or in a dusty space. If the bucket still leaks after proper seating and cleaning, don’t force it; a compromised bucket needs replacement. A secure fit protects your space and keeps the machine working with you, not against you.
Inspect the Base for Cracks
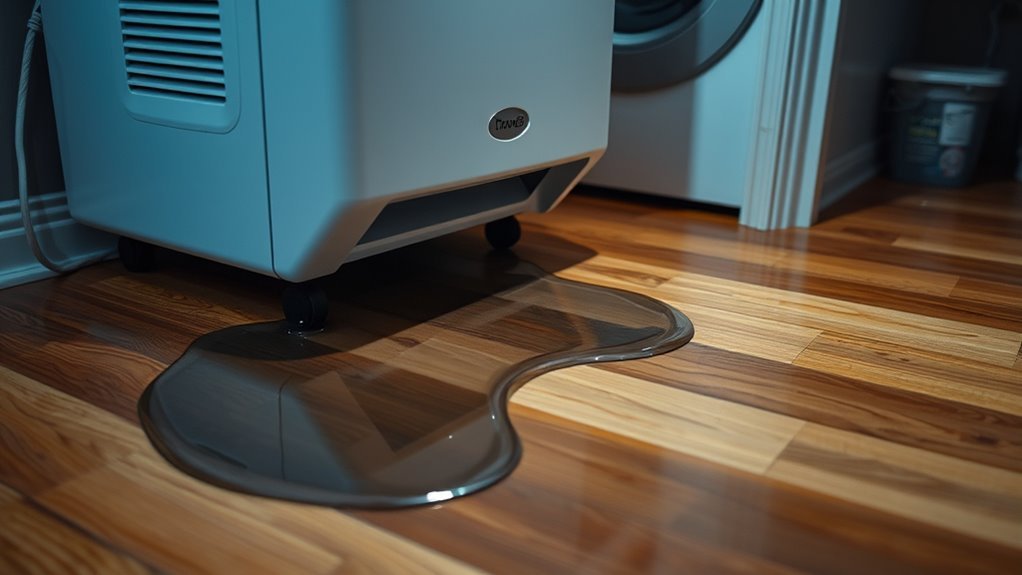
Inspect the base for visible cracks or holes, because even a small opening can let water seep out during operation. Use crack detection methods like a bright flashlight, a dry paper towel, and close visual inspection along seams, corners, and the reservoir edge. If you spot damage, treat it as a failure point, not a minor blemish. A cracked drip pan or reservoir can collect water, then release it under load.
- Set the unit on a flat, level surface to reduce stress on the base.
- Check the bottom for pooling, seepage, or warped plastic.
- Replace any cracked parts immediately for reliable water leak prevention.
Also verify that drainage paths aren’t blocked, since backup pressure can force water through weak spots. These maintenance tips help you keep control of the machine and stop leaks before they own your floor.
Clean the Filter and Drain Tray
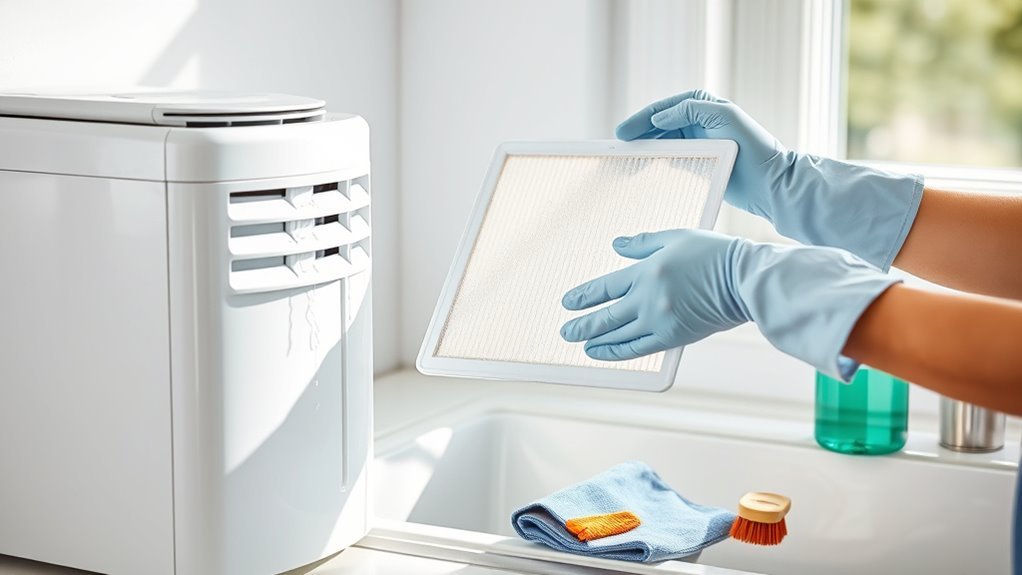
A clogged filter can quietly drive a dehumidifier to leak, so clean it every two weeks to keep airflow moving and limit excess condensation in the drain tray. Use simple filter maintenance tips: remove the filter, vacuum loose dust, then wash and dry it fully before reinstalling. When airflow stays open, you improve dehumidifier efficiency and reduce stress on internal components.
Next, perform drain tray cleaning. Pull the tray out, empty it, and wipe away sludge, scale, or debris that could block drainage. Check that the tray sits squarely in its track; even slight misalignment can send water toward the cabinet bottom. If you spot cracks, chips, or warping, replace the tray right away. A damaged tray can’t collect moisture reliably, and leaks will return.
Make this routine part of regular maintenance. You’ll extend service life, cut waste, and keep your unit working cleanly, safely, and independently for the long haul.
Stop Condensation and Ice Overflow
When temperatures drop outside the dehumidifier’s recommended 15°C to 35°C operating range, ice can form on internal coils and later melt into an overflow leak. To stop it, keep your unit in range and protect condensation control.
- Check room temperature daily for ice prevention.
- Clean the filter so airflow management stays strong.
- Inspect the drain hose for kinks, damage, or clogs.
If the hose drains continuously, verify that it’s seated firmly and routed downward. Then use a level to confirm the cabinet sits flat; even a slight tilt can shift water toward the base and trigger bottom leaks. A clean filter, open airflow path, and stable placement let the unit shed moisture efficiently instead of trapping it inside. You’re not stuck with drip after drip—tighten these basics, and the machine can work freely, with water moving where it should: out, not under your floor.
When to Call for Dehumidifier Repair
If your dehumidifier keeps leaking after you’ve cleared blockages and confirmed the water tank is seated correctly, the problem is likely inside the unit and needs professional repair. At that point, stop guessing and request professional diagnostics. Persistent moisture at the base, repeated overflow, or leaks that survive drainage cleaning usually point to failed seals, a damaged pump assembly, or another internal fault you can’t fix safely at home. If the unit’s under warranty, contact the installer or customer support first; warranty considerations matter because self-repair can void coverage. For a dehumidifier older than 30 days with continuous leakage, book a qualified technician to isolate the defect and restore proper operation. Regular inspections help you prevent recurrence, but they won’t correct hidden component failure. If repairs cost more than the unit’s value, ask when to replace it instead of pouring time and money into a failing machine.
Frequently Asked Questions
How Do I Stop My Dehumidifier From Leaking?
You stop your dehumidifier from leaking by checking dehumidifier maintenance, clearing water drainage, and fixing common problems: reseat the bucket, clean the hose, free the float switch, level the unit, and replace cracked parts.
Are Dehumidifiers Meant to Leak From the Bottom?
No, your dehumidifier isn’t meant to leak from the bottom. That usually signals common issues needing dehumidifier maintenance. Use troubleshooting tips: check the tank, hose, drip pan, and float switch, then fix any fault quickly.
What Is the Lifespan of a Dehumidifier?
A dehumidifier usually lasts 5–10 years, but you can stretch that span. Maintain filters, manage moisture control, and protect air quality. Watch for fading performance; when it groans, your unit’s nearing retirement.
Why Is My Humidifier Leaking Out the Bottom?
You’re likely seeing common issues like a full bucket, a clogged drain hose, or a stuck float switch. Check dehumidifier maintenance, water collection, and coil frost, then clean filters and reseat all connections to stop leaks.
Conclusion
In short, if your dehumidifier is leaking from the bottom, you need to check the tank, hose, seals, base, filter, and drain path. A small clog or crack can send water where it should never go. Think of it like a blocked gutter in a storm: overflow follows the path of least resistance. Fix the source quickly, keep the unit clean and level, and call for repair if the leak won’t stop.