Last updated: August 19, 2026
How often should you clean a dehumidifier? Empty the bucket whenever it is full, wash the bucket every one to two weeks during regular use, check the filter every two to three weeks or when its reminder appears, and vacuum exterior grilles about monthly. Inspect only manufacturer-approved accessible coils once per season, and check a continuous drain hose monthly as a preventive baseline. Your owner’s manual overrides any general schedule because filter intervals, washable parts, cleaner approvals, and coil access vary by model.
Quick Answer
Empty the bucket whenever it is full, wash it every one to two weeks during regular use, and inspect the filter every two to three weeks or when its reminder appears. Vacuum the exterior grilles monthly. Inspect only accessible coils once per season, and clean the drain hose monthly when using continuous drainage.
Key Takeaways
- Follow your model’s manual whenever its schedule or cleaning instructions differ from general advice.
- Unplug the dehumidifier before cleaning and keep water away from controls, wiring, motors, and internal electrical parts.
- Use mild dish soap and water unless the manufacturer specifically approves another cleaner.
- Do not remove the cabinet or clean internal coils unless the owner’s manual says the part is user-accessible.
- Use a hygrometer and the humidistat to judge performance. The EPA generally recommends keeping indoor relative humidity around 30% to 50%.
At a Glance
| Time Required | 15 to 30 minutes for routine cleaning; longer if the bucket or drain hose has residue |
| Difficulty | Easy for user-accessible parts |
| Tools Needed | Soft cloth, mild dish soap, warm water, vacuum with brush attachment, soft brush, and optional bottle brush for an approved drain hose |
| Cost | No added cost if you already have mild soap, water, a cloth, and a vacuum; otherwise supply cost varies |
Warning: Turn the unit off and unplug it before cleaning. Never immerse the appliance, spray liquid into its vents, clean it with wet hands, or allow water to reach the controls. Do not mix bleach, ammonia, vinegar, or other cleaners. Use bleach only when the manual for your exact model permits it.
How Often Should You Clean It?
Your owner’s manual is the best source for the cleaning schedule because dehumidifier designs differ. For example, some filters are checked every few weeks, while newer units may display a reminder after a set number of operating hours. The following schedule is a practical baseline for a portable household dehumidifier.
| Part | Practical Baseline | Clean Sooner When |
|---|---|---|
| Water bucket | Empty whenever full; wash every 1 to 2 weeks during active use | You notice slime, film, spots, or odor |
| Air filter | Inspect every 2 to 3 weeks or when the filter reminder appears | The room is dusty, pets shed nearby, airflow drops, or the unit becomes louder |
| Intake and exhaust grilles | Vacuum about once a month | Lint or dust is visible |
| Accessible coils | Inspect once per season if the manual allows access | Dust is visible or performance remains weak after filter cleaning |
| Drain hose or pump pickup | Inspect monthly during continuous use | Water returns to the bucket, drainage slows, or a pump error appears |
| Full unit | Clean and dry before storage and before restarting after long storage | The unit has been exposed to construction dust, water damage, or heavy contamination |
Use this priority order: follow the owner’s manual first, then respond to a filter or service reminder, then clean when you see buildup or performance symptoms, and use the calendar only as a baseline. A unit running continuously in a dusty basement will need attention sooner than one used occasionally in a clean bedroom.
How Do You Know a Dehumidifier Needs Cleaning?
Clean the unit before the next scheduled date if you notice visible dust on the filter or grilles, a musty odor, slime or film in the bucket, slower drainage, weaker airflow, a filter reminder, or recurring frost that appears alongside restricted airflow. These signs point to maintenance needs, but cleaning will not fix an active leak, an undersized unit, or a failed fan, sensor, pump, or refrigeration component.
Signs Your Dehumidifier Needs Emptying
Check the bucket during heavy use and empty it whenever the full-bucket indicator appears. Most portable bucket-style dehumidifiers pause or shut off when the bucket reaches its limit. Make sure the bucket is seated correctly after emptying because a misaligned bucket or float can prevent the unit from restarting.
Do not judge the appliance only by how much water it collects. Rated dehumidifier capacity is expressed in pints per day under standardized test conditions. Actual collection changes with room humidity, temperature, unit size, air leakage, wet materials, drainage setup, and runtime.
Full Tank Indicators
A light, message, audible alert, or automatic shutoff usually means the bucket needs attention. Follow these steps:
- Turn the unit off if it has not already stopped.
- Pull the bucket out carefully and support it with both hands.
- Empty the water into a suitable drain.
- Check the bucket, float, and seating surfaces for residue or damage.
- Reinstall the bucket fully so its safety switch can engage.
If the full indicator stays on after the empty bucket is reinstalled, check whether the float moves freely and whether the bucket is level. Do not tape down or bypass a bucket safety switch.
Rapid Water Accumulation
A bucket that fills within several hours does not automatically mean the unit is faulty. It may be removing moisture from humid air, damp concrete, wet laundry, a recent leak, or building materials that have absorbed water. Check the room with a separate hygrometer and look for open windows, plumbing leaks, foundation seepage, or other moisture sources. For a deeper performance check, see how much water a dehumidifier should collect per day.
If the unit is supposed to use continuous drainage but the bucket keeps filling, inspect the drain setup. Confirm that the hose is connected securely, slopes downward without high points, and is not kinked, frozen, clogged, or submerged at its outlet. Pump models may also require the bucket and pump pickup to be installed correctly before pumping begins.
Pro Tip: Place a separate hygrometer several feet from the dehumidifier. The appliance’s sensor is close to its airflow and may not match humidity in another part of the room.
How Often to Clean the Water Tank
Empty the water tank whenever it becomes full. During regular use, wash it every one to two weeks or at the interval listed in the manual. Clean it sooner if you see a slippery film, mineral residue, spots, algae-like growth, or smell a musty odor.
- Turn the dehumidifier off and unplug it.
- Remove and empty the bucket.
- Take off the handle, splash guard, or lid only when the manual shows that those parts are removable.
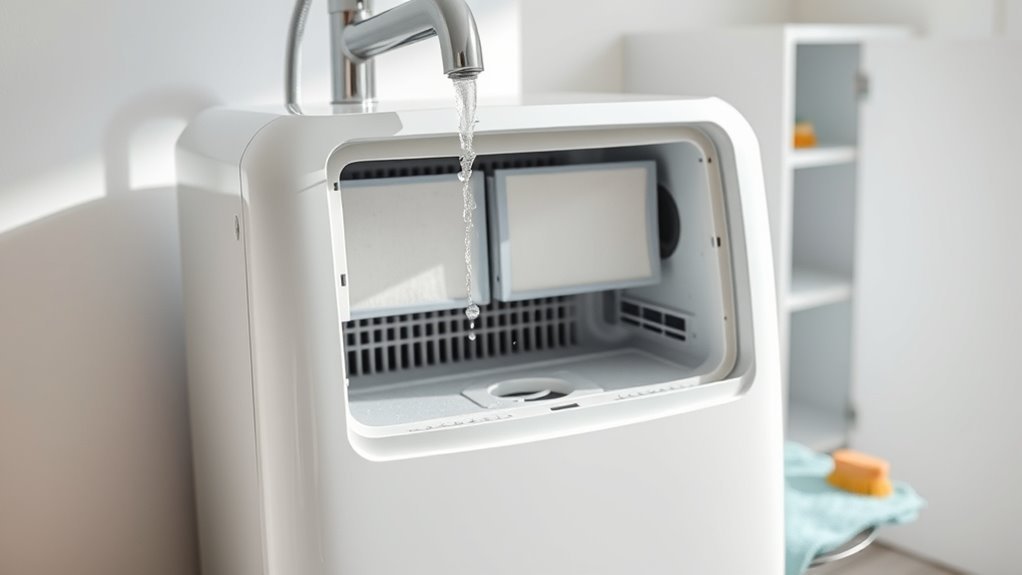
- Wash the bucket with warm water and a small amount of mild dish soap.
- Use a soft cloth or nonabrasive brush on corners and seams.
- Rinse away all soap.
- Dry the bucket completely before reinstalling it.
- Check for cracks, warped edges, a sticking float, or a damaged seal.
Do not place the bucket in a dishwasher unless the manufacturer specifically says it is dishwasher-safe. Heat may warp the bucket and prevent it from engaging the full-bucket switch correctly.
Check the Filter Every 2 to 3 Weeks or as Directed
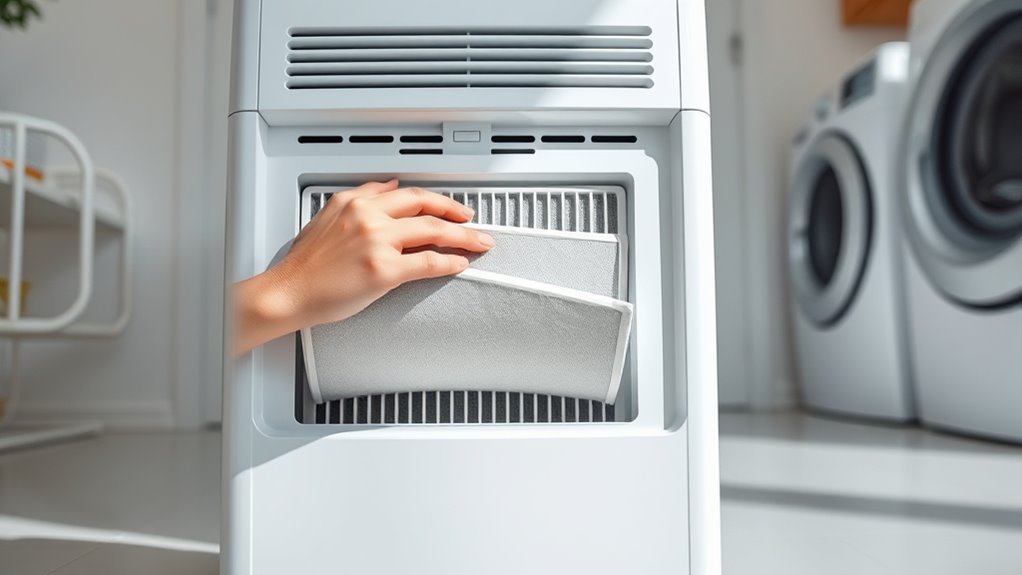
A dirty filter restricts airflow and can reduce moisture removal. Inspect the filter every two to three weeks during regular use, when its reminder appears, or at the interval stated in the manual. Check it more frequently in pet-friendly homes, workshops, laundry areas, or rooms with visible dust.
- Turn the appliance off and unplug it.
- Remove the filter according to the manual.
- Vacuum loose dust with a soft brush attachment.
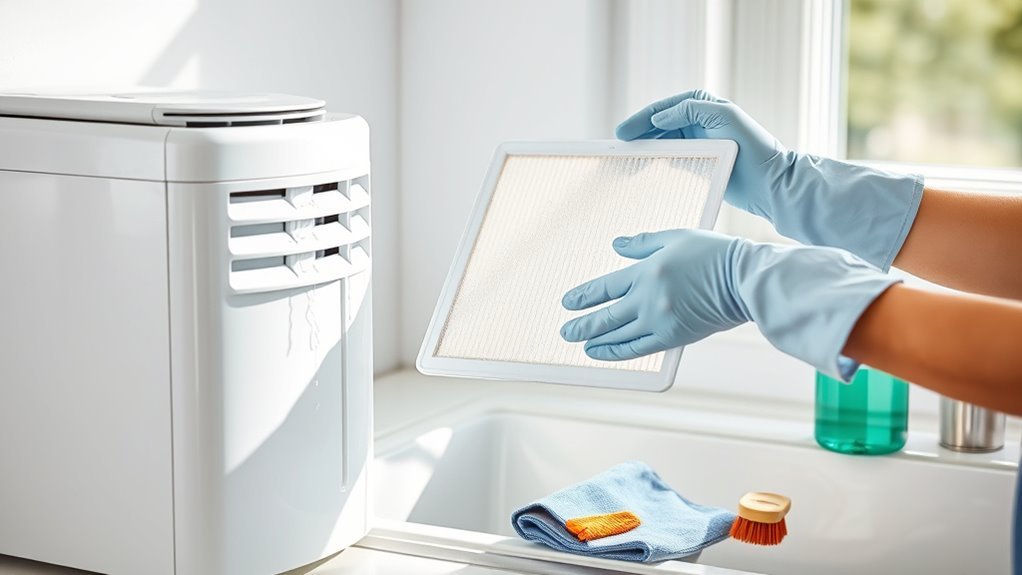
- If the filter is washable, rinse it or wash it with warm, mildly soapy water.
- Do not use hot water, harsh chemicals, or a dishwasher.
- Let the filter air-dry completely.
- Reinstall it in the correct direction.
- Reset the filter reminder using the model’s control-panel instructions.
Never operate the dehumidifier without its required filter. The filter protects internal surfaces from lint and dust. However, a standard dehumidifier prefilter is not a replacement for a dedicated air purifier and should not be described as removing every allergen or fine particle.
When to Clean the Coils and Grilles
Vacuum the exterior intake and exhaust grilles about once a month. Inspect user-accessible coils once per season if the manual permits you to see or reach them without removing the cabinet. Keeping the filter and grilles clean usually limits the amount of dust that reaches the coils.
Cleaning Frequency
- Normal household use: Vacuum exterior grilles monthly and inspect accessible coils seasonally.
- Dusty or pet-heavy rooms: Check the grilles every two weeks and clean visible buildup promptly.
- Heavy seasonal use: Inspect the filter, grilles, bucket, and drain system at the beginning and end of the season.
- Before storage: Clean and dry the bucket and filter, flush an approved drain hose, and store the unit upright in a dry location.
Coil Care
Clean only coils that the manufacturer identifies as user-accessible. Unplug the dehumidifier and use a soft vacuum brush to lift loose surface dust without pressing against the aluminum fins. Do not bend the fins, spray water or cleaner into the unit, or insert tools through the grille.
Warning: Do not remove the cabinet, control panel, fan guard, or sealed-system parts unless the owner’s manual provides a consumer procedure. Internal cleaning may expose sharp metal, charged components, wiring, and refrigeration parts that require trained service.
If heavy frost or ice forms, turn the unit off and let the ice melt naturally. Clean the filter, remove objects blocking airflow, check the model’s minimum operating temperature, and avoid using continuous mode in conditions the manual does not permit. Repeated heavy icing may indicate a sensor, airflow, fan, or sealed-system problem.
Grille Blockages
Dust, lint, curtains, furniture, and stored boxes can block the intake or exhaust. Restricted airflow may lower water removal, increase noise, and contribute to frosting.
- Unplug the unit.
- Move loose objects away from every air opening.
- Vacuum the grille with a soft brush attachment.
- Wipe the exterior case with a lightly damp cloth and mild soap.
- Dry the case before reconnecting power.
- Restore the clearance required in the owner’s manual.
How to Clean the Tank, Filter, and Coils
Use the following routine for a general portable dehumidifier. Stop whenever your model’s instructions differ.
- Shut down safely. Turn the unit off, unplug it, and move it only after the fan has stopped.
- Empty the bucket. Remove the bucket carefully and pour out the water.
- Wash the bucket. Use warm water, mild dish soap, and a soft cloth or brush. Rinse thoroughly.
- Inspect the float. Make sure it moves freely and is not blocked by residue.
- Clean the filter. Vacuum it or wash it only if the manual identifies it as washable.
- Vacuum the grilles. Remove loose dust from the intake and exhaust without pushing debris inside.
- Inspect accessible coils. Use a soft vacuum brush only when the manual permits access without cabinet removal.
- Check drainage. Inspect the hose, connector, pump pickup, and outlet for buildup or kinks.
- Dry every washable part. Never reinstall a dripping filter or bucket.
- Reassemble and test. Seat the bucket and filter correctly, reconnect power, reset the filter reminder if necessary, and confirm normal operation.
For routine cleaning, mild soap is usually enough. Strong fragrances and chemical residues can remain in the bucket or irritate sensitive users. If the manual permits a disinfecting solution, follow its exact dilution, contact-time, rinsing, and ventilation instructions.
Recommended Products
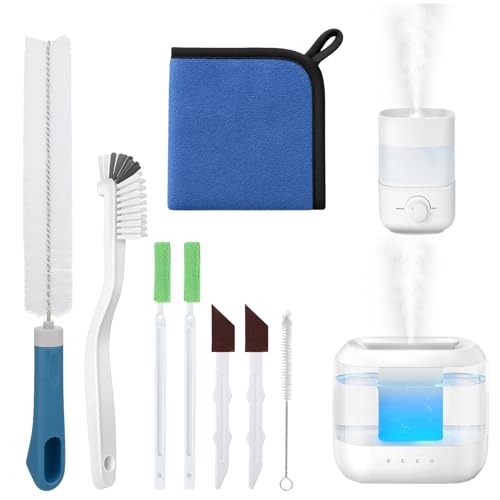
Humidifier Cleaning Solution:Still looking for a cleaning tool that can thoroughly clean your humidifier? Come and try our humidifier cleaning brush set!The nylon brush cleans the stains on the base, the sandpaper brush powerfully removes the severe scale at the bottom, and the long brush can easily reach the air outlet and the interior of the water storage tank, thoroughly cleaning every corner of the humidifier in all aspects, making your humidifier look brand new and more reassuring to use.

【All-in-One Dryer Duct Cleaning Kit】No more running to the hardware store for missing parts. This complete vent cleaning kit includes a heavy-duty dryer vent cleaning brush for 4-inch pipes, a set of flexible nylon rods, a dedicated lint brush, a dryer vent cleaner drill attachment, and protective gloves—everything you need in one box, ready to use right away.

All-in-One Dryer Duct Cleaning Kit — No more running to the hardware store for missing parts. This complete vent cleaning kit includes a heavy-duty dryer vent cleaning brush for 4-inch pipes, a set of flexible nylon rods, a dedicated lint brush, a dryer vent cleaner drill attachment, and protective gloves—everything you need in one box, ready to use right away.
Continuous Drain Hose and Pump Maintenance
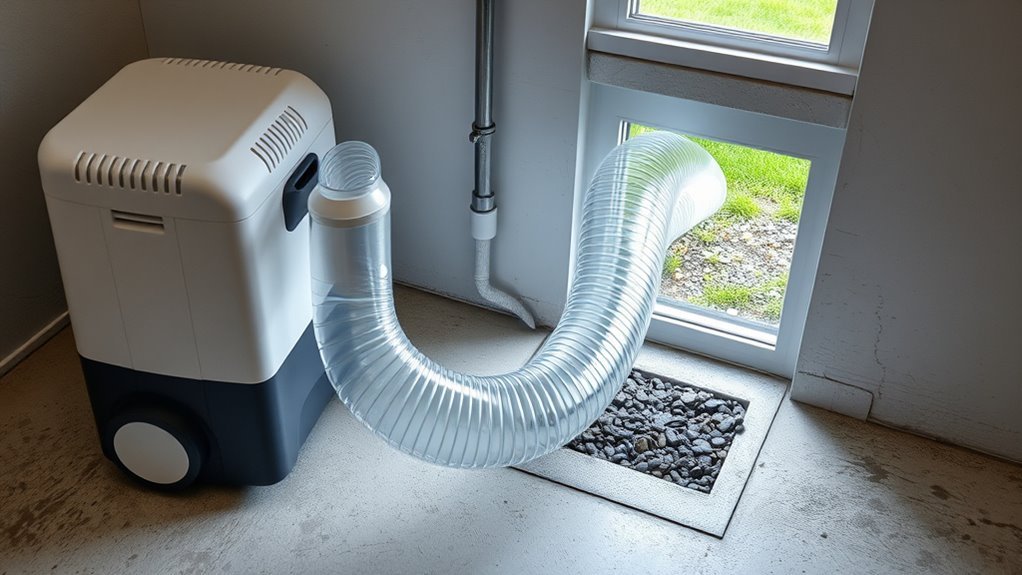
A continuous drain setup also needs cleaning. Fine debris can combine with standing water and create sludge inside the hose or pump pickup. If the bucket keeps filling even though a hose is attached, see why a dehumidifier may not be draining through the hose before assuming the appliance has failed.
- Unplug the dehumidifier and disconnect the hose.
- Check the full hose for kinks, cracks, flattened sections, or low spots.
- Flush the hose with clean water if the manufacturer permits it.
- Use a soft bottle brush only when it fits without damaging the hose.
- Clean an accessible pump pickup or screen according to the manual.
- Reconnect every fitting securely.
- For gravity drainage, route the hose continuously downhill to an approved drain.
- Run a supervised test and check every connection for leaks.
Do not add an improvised check valve, reduce the hose diameter, or exceed a pump’s allowed lift or hose length without confirming the model specifications.
Recommended Products
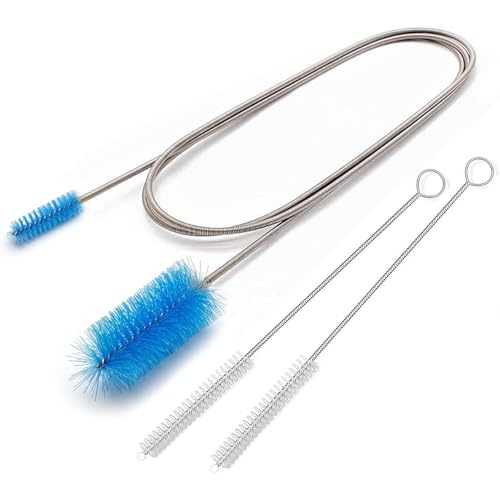
🚫UNCLOG NARROW TUBES INSTANTLY: Tired of water pooling in your fridge or grime clogging your aquarium filters? This 67-inch (170cm) extra-long flexible drain brush is the ultimate problem-solver. It easily snakes through deep, narrow, and curved tubing to effortlessly remove gunky buildup, dirt, and residue.
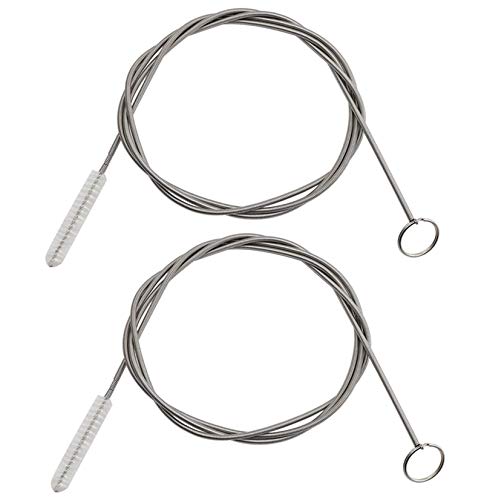
This tube cleaner brush is made from stainless steel and nylon bristles head,which can softly scrub away buildup and avoid destroying the tubing.
What Happens If You Skip Cleaning?
Skipping maintenance can gradually reduce airflow and moisture removal. A dirty filter or blocked grille may force the unit to run longer to reach its set humidity. Residue in the bucket or drainage system may also cause odor, slime, drainage errors, or leakage.
- Reduced performance: Restricted airflow limits how effectively humid air reaches the cold coil.
- Longer run cycles: The appliance may need more time to reach its humidity setting.
- Odors and residue: Water, dust, and organic debris can leave film inside the bucket or hose.
- Drainage problems: Sludge, algae-like growth, or a kinked hose can interrupt continuous drainage.
- Frosting: Low temperatures and poor airflow can allow excessive frost to develop.
- Leaks or shutdowns: A damaged bucket, stuck float, loose hose, or blocked pump pickup can interfere with water handling.
Cleaning supports performance, but it cannot correct an undersized unit, an active water leak, improper drainage, a failed sensor, or a sealed refrigeration-system fault.
Troubleshooting After Cleaning
Recommended Products

Versatile Universal Hose: This 12-foot hose is designed for multiple applications, including dehumidifier drainage and a variety of gardening tasks. It can be easily cut to the desired length, offering customizable flexibility to fit your specific needs

Versatile Universal Hose: This 16-foot hose is designed for multiple applications, including dehumidifier drainage and a variety of gardening tasks. It can be easily cut to the desired length, offering customizable flexibility to fit your specific needs

Multi-Purpose Hose, 6ft Cut-to-Fit:This 6-foot hose is designed for various applications, including dehumidifier drainage and gardening tasks. It can be easily cut to the desired length for flexible use. Please confirm the required length before purchase.
The Unit Runs but Collects Little Water
Check the room’s relative humidity before assuming the appliance has failed. It may collect little water when the air is already below the set point. Also confirm that doors and windows are closed, the filter is clean, the grilles have clearance, the bucket is seated, and the room temperature is within the model’s operating range.
The Bucket Fills Very Quickly
Measure the room humidity and look for an active moisture source. Wet concrete, foundation seepage, plumbing leaks, drying laundry, an open window, or recent water damage can create a large moisture load. If the dehumidifier uses continuous drainage, check whether the hose is blocked or incorrectly sloped.
A Musty Odor Returns
Clean and dry the bucket, filter, splash guard, drain hose, and accessible surfaces. Inspect the room for mold, wet materials, and leaks. A dehumidifier can control airborne moisture, but it cannot remove mold growing in walls, carpet, insulation, or other building materials. The moisture source must be corrected.
Ice Keeps Forming
Turn the unit off and allow it to defrost. Clean the filter, restore airflow clearance, and check the room temperature against the manual. If heavy ice returns under approved operating conditions, arrange service.
Water Leaks From the Unit
Unplug it immediately. Check the bucket for cracks, confirm that it is seated, and inspect the hose connection and slope. Do not keep operating a unit that leaks near its cord, outlet, controls, or internal wiring.
Cleaning Before Storage
Prepare the dehumidifier before long-term storage so trapped water does not create odor or residue.
- Turn it off and unplug it.
- Disconnect and drain all hoses.
- Wash and dry the bucket.
- Clean and fully dry the filter.
- Vacuum the exterior grilles.
- Allow the appliance and hoses to dry in a ventilated place.
- Store the unit upright in a dry location.
- Cover it against dust without sealing moisture inside.
Before using it again, inspect the cord, plug, bucket, filter, hose, and grilles. Clean any storage dust and run the unit while you are present to check for leaks, unusual sounds, or error codes.
When It’s Time to Call a Pro
Routine cleaning cannot solve every problem. Stop using the dehumidifier and contact the manufacturer, an authorized servicer, or a qualified appliance technician when:
- Water reaches the controls, cord, plug, outlet, motor, or internal wiring.
- The unit repeatedly trips a breaker or has a damaged cord or plug.
- Heavy ice returns after the filter, clearance, settings, and room temperature have been checked.
- A fan, compressor, pump, sensor, or error code continues to malfunction.
- The appliance makes grinding, buzzing, rattling, or electrical arcing sounds.
- The bucket overflows because the automatic shutoff or float is not working.
- There is evidence of refrigerant-system damage.
- Visible contamination is inside a sealed area that the manual does not allow you to access.
For widespread indoor mold, contact a qualified remediation professional rather than relying on appliance cleaning alone. Mold will return unless the underlying water or humidity problem is corrected.
Frequently Asked Questions
How Often Should You Clean a Dehumidifier?
Use the owner’s manual first. As a practical baseline, empty the bucket whenever it is full, wash the bucket every one to two weeks during active use, inspect the filter every two to three weeks or when its reminder appears, vacuum exterior grilles about monthly, and inspect only user-accessible coils once per season. Check a continuous drain hose about monthly and sooner if flow slows.
Does a Dehumidifier Need to Be Cleaned?
Yes. The bucket, filter, grilles, and drainage parts collect water, dust, lint, and residue. Regular cleaning helps maintain airflow, limits odors, and makes it easier to spot leaks or blocked drainage before they become larger problems.
How Do You Know if a Dehumidifier Needs Cleaning?
Clean it sooner than the calendar suggests if you see dust on the filter or grilles, film or slime in the bucket, a filter reminder, weaker airflow, a musty odor, slow drainage, or recurring frost associated with restricted airflow. If symptoms continue after approved cleaning and normal setup checks, the problem may require service rather than more cleaning.
Can You Use Bleach to Clean a Dehumidifier Bucket?
Use bleach only when the manual for your exact model permits it and provides a dilution. Mild dish soap and water are the safer general choice. Never mix bleach with ammonia, vinegar, or another cleaning product, and rinse the bucket thoroughly before reinstalling it.
Can You Use Vinegar to Clean a Dehumidifier?
Do not assume vinegar is safe for every model or every part. Use mild dish soap and water as the general default, and use vinegar only if the owner’s manual or manufacturer specifically allows it for the part you are cleaning. Never combine vinegar with bleach or another cleaner.
Can You Clean Dehumidifier Coils?
Clean only coils the manufacturer identifies as user-accessible. Unplug the unit and remove loose surface dust with a soft vacuum brush or another method approved in the manual. Do not remove the cabinet, bend the fins, or spray liquid into the appliance unless the manufacturer provides a consumer cleaning procedure.
Can Mold Grow in a Dehumidifier?
Moisture and residue in a bucket, hose, or other damp area can support mold or mildew. Empty standing water, clean user-accessible wet parts, keep the filter and grilles maintained, and correct leaks or drainage problems. If contamination is inside a sealed area the manual does not allow you to access, arrange service instead of dismantling the appliance.
How Often Should You Clean a Continuous Drain Hose?
Inspect it about once a month during continuous use as a preventive baseline and flush it when drainage slows or residue appears, if the manufacturer permits flushing. Keep a gravity hose sloped downward without kinks or low spots. Follow the manual for pump-hose cleaning, maximum hose length, and lift limits.
Conclusion
A consistent cleaning routine helps your dehumidifier move air, collect water, and drain as intended. Empty the bucket whenever it is full, wash it every one to two weeks during active use, inspect the filter every two to three weeks or at its reminder, and vacuum the grilles monthly. Clean only user-accessible coils and drainage parts according to the manual.
Stop and troubleshoot when you see recurring ice, leaks, error codes, weak airflow, unusual noise, or a full-bucket switch that does not work. Cleaning can restore normal operation when dust or residue is the cause, but active water intrusion, failed components, and widespread mold require a different solution.
Sources
- GE Appliances: Dehumidifier Cleaning and Maintenance — supports safe filter, grille, and case cleaning, including checking many filters every two to three weeks and following model-specific reminders.
- ENERGY STAR: Dehumidifiers — supports portable-dehumidifier bucket indicators, automatic shutoff, capacity terminology, and drainage options.
- U.S. Environmental Protection Agency: Care for Your Air — supports the general 30% to 50% indoor relative-humidity target and use of a humidity gauge.
- Centers for Disease Control and Prevention: Mold — supports moisture control, keeping indoor humidity low, and correcting leaks and water problems.
- Frigidaire: Dehumidifier Frost Buildup — supports frost troubleshooting, filter checks, airflow clearance, and model operating-temperature limits.
- GE Appliances: Dehumidifier Drain Hose Issues — supports unplugging before drain cleaning and checking or cleaning an accessible drain and hose.
- Centers for Disease Control and Prevention: Cleaning and Disinfecting With Bleach — supports never mixing bleach or disinfectants with other cleaners.