A robot vacuum bumper can stick for a few simple reasons: dust buildup, trapped hair, minor misalignment, or impact wear. The fix should begin with power removed and the right tools at hand, since forcing the part can worsen the problem. A careful cleaning may restore smooth movement, but a dislodged bumper can also signal a deeper issue. The next step depends on what is found.
What Causes a Roomba Bumper to Stick
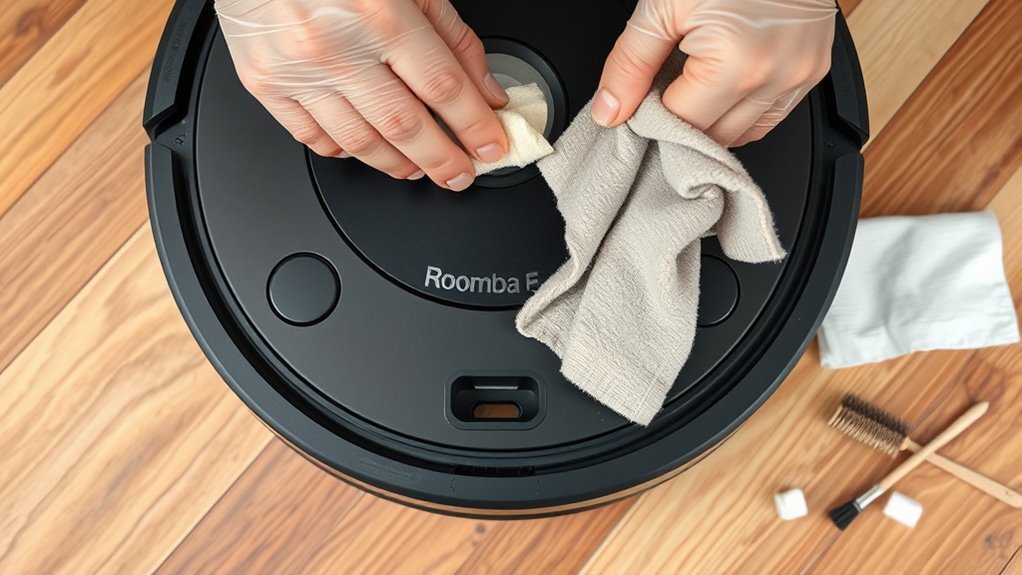
A Roomba bumper may stick when repeated contact with furniture or other obstacles dislodges it from alignment, making movement less smooth. The bumper can then bind, resist retraction, or fail to extend fully.
Repeated bumps can knock a Roomba bumper out of alignment, causing it to stick, bind, or retract poorly.
Dust and debris around the edges may add friction, while any obstruction inside the housing can create operational issues during cleaning cycles. When the sensor path is affected, the robot may interpret the fault as an error message, often codes 9 or 16, indicating the bumper needs attention.
Regular maintenance supports freedom from avoidable interruptions: a consistent maintenance schedule helps keep the bumper area clear and responsive. Cleaning the exposed surfaces and checking for misalignment can reduce sticking before it spreads into larger performance problems.
In practical terms, the cause is usually mechanical contamination, impact-related shift, or both, and early inspection preserves smooth navigation and reliable cleaning cycles.
Power Off and Gather Safe Tools
Before any bumper cleaning begins, the robot vacuum should be powered off and undocked to prevent accidental activation.
A dry microfiber cloth, tweezers, and a Phillips screwdriver should be gathered in advance for safe, controlled maintenance.
The bumper can then be inspected for debris or loose parts before any wiping or adjustment is attempted.
Power Off First
Powering down the robot vacuum is the first safety step before cleaning the bumper, preventing accidental activation and reducing the risk of injury. It is best to power off fully, then inspect the bumper for visible debris or tangles. A calm, controlled approach supports thorough maintenance and protects sensitive functions.
| Step | Purpose | Result |
|---|---|---|
| Power off | Stop movement | Safer handling |
| Inspect bumper | Find obstructions | Faster cleaning |
| Use soft brush | Lift dust and hair | Better responsiveness |
With the unit silent, a soft brush can clear crevices without strain, and a dry cloth can follow if needed. Moisture should never remain on the bumper, since electronics must stay protected. This method keeps upkeep precise and preserves freedom from avoidable damage.
Gather Safe Tools
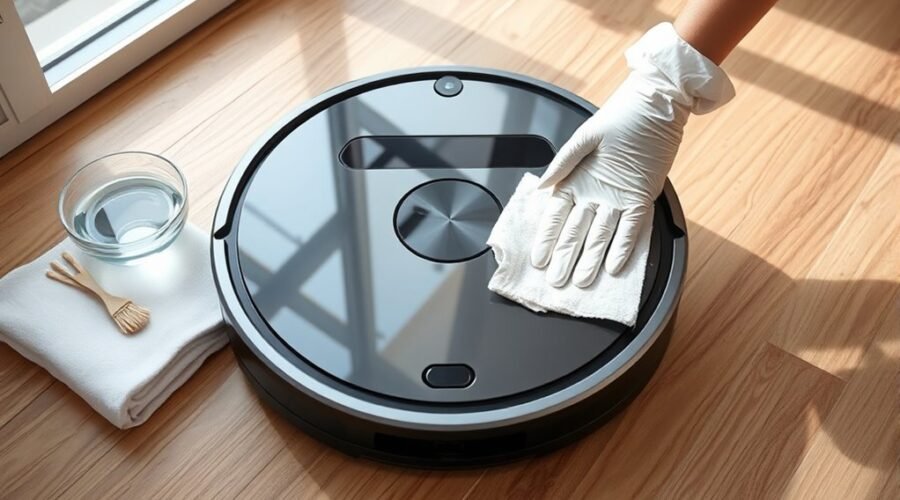
With the robot vacuum powered off and undocked, the next step is to gather safe cleaning tools: a dry microfiber cloth, a soft brush, tweezers, and disposable gloves.
These tools support careful cleaning without exposing the unit to moisture or abrasion. The dry microfiber cloth can wipe the bumper’s surface, while the soft brush helps remove debris such as hair and dust from edges and seams.
Tweezers may be used for trapped strands, and disposable gloves provide a clean, protected grip. Each tool should be kept ready before inspection begins, so the process remains orderly and controlled.
This method preserves the bumper, supports peak performance, and aligns with manufacturer guidelines. By preparing properly, the user protects the device and maintains the freedom of reliable, uninterrupted operation.
Clean the Bumper and Sensors
Once the robot vacuum is powered off, the bumper should be gently wiped with a dry microfiber cloth to remove dust and debris without affecting the sensors or internal components. This simple maintenance step helps clean the charging area nearby, keeps the bumper responsive, and supports safe operation.
A soft cloth may be used on visible surfaces, but a dry microfiber cloth is preferred to remove dust without residue. The cleaner should inspect the bumper and sensors for trapped hair, dirt, or signs of wear, then clear obstructions with a soft brush or tweezers if needed.
Regular attention also benefits cliff and LiDAR sensors, improving navigation accuracy and preserving freedom from avoidable interruptions.
- Calm, careful cleaning protects delicate components.
- Clear sensors restore confident movement.
- Consistent inspection prevents small issues from limiting performance.
Re-seat a Dislodged Roomba Bumper
After switching the Roomba off and undocking it, the bumper should be inspected for misalignment or debris that may be holding it out of place.
With the robot and dock separated, the casing can be checked without strain. Any loose dust should be removed so the bumper can move freely; if needed, the dust box and filter, main brush, and contacts on the dock may also need to clean as part of good care.
The bumper should then be pressed firmly back into position until a clear click is heard, confirming secure reattachment. A gentle push can verify that the robot moves normally and that the bumper no longer obstructs motion.
This step helps clean the cliff response area indirectly by restoring proper contact. If the bumper still resists or feels uneven, the user manual should be consulted for the model, or customer support should be contacted for further guidance.
Check for Error 9 or 16
Error 9 typically signals a bumper-related fault, often after repeated impacts have shifted it from position.
Error 16 warrants a careful check for misalignment, sticking, or obstruction that may prevent normal movement.
A visual inspection should confirm whether the bumper sits flush and moves freely before further use.
Error 9 Signals
A robot vacuum that displays Error 9 or 16 is often signaling a bumper problem, usually caused by the bumper being dislodged after repeated contact with obstacles. A careful inspection of the bumpers can restore operational freedom and protect performance during cleaning cycles. Signs include a bumper sticking out, refusal to move, or unresponsiveness.
- Visible misalignment can feel frustrating.
- Stalled cleaning may interrupt daily routines.
- Prompt maintenance helps prevent repeated collisions.
The bumper should be checked for seating in its housing and adjusted if needed. On e/i, j, or 600–900 Series Roomba models, damaged parts may require replacement for safe, reliable operation.
Regular cleaning and maintenance reduce operational issues and extend service life, supporting smoother, more independent use.
Error 16 Checks
When Error 16 appears, the bumper should be inspected for misalignment, since repeated collisions can dislodge it from the robot’s body and prevent normal movement. On a robot vacuum, this check preserves safe, independent cleaning.
| Check | Action |
|---|---|
| Bumper position | Inspect for sticking out |
| Series | e/i, j, 600, 700, 800, 900 |
| Obstructions | Remove debris carefully |
| Reset | Gently push the bumper back |
| Result | Confirm restored performance |
If the bumpers are dislodged, inspect for obstructions and clean the edge area. A proper fit supports correct operation and reduces error codes. For liberated, reliable cleaning, keep the bumper free of debris and repeat the check after any collision.
Dry, Refit, and Test the Bumper
Once the bumper has been cleaned, it should be allowed to dry completely before reinstallation to protect the robot’s internal components from moisture damage. This step in cleaning and maintenance preserves safe function and helps keep the unit operational.
After drying, the bumper should be refit by aligning it carefully with the robot’s body; it must secure with a clear click and sit flush, with no gaps. A careful inspect of the fit reduces the risk of misalignment and later trouble.
To test the bumper, the user should press it gently and confirm it moves freely, then returns without resistance.
- Drying prevents hidden moisture from stealing reliability.
- A secure refit restores confidence in daily operation.
- A smooth test confirms the machine is free to move.
Regular inspect of the bumper for wear and tear remains wise, since damage can hinder navigation and cause malfunction.
Prevent Bumper Problems in the Future
To reduce future bumper problems, the robot vacuum should be inspected regularly for any sign of dislodgment, ensuring the bumper remains aligned and securely attached. This routine maintenance supports freedom from avoidable repairs and keeps movement smooth.
The cleaning path should stay clear of obstacles, because repeated contact with furniture or walls can cause misalignment and reduce responsiveness. During routine cleaning, the bumper area should be cleared of debris and hair, since buildup can hinder function and increase wear.
Keep the cleaning path clear and the bumper free of debris to prevent misalignment and wear.
The iRobot Home App can be used to set virtual barriers, limiting unnecessary impacts and preserving the bumper’s condition. When handling the bumper for maintenance, gentle pressure should be used at all times; excessive force may damage internal parts or shift alignment.
With consistent inspection, careful upkeep, and thoughtful path management, the robot vacuum can operate more reliably while resisting preventable bumper issues over time.
Frequently Asked Questions
How to Clean a Roomba Bumper?
Power off Roomba, then wipe the bumper with a dry microfiber cloth; use tweezers for debris. Bumper maintenance tips, cleaning frequency recommendations, effective cleaning tools, avoiding scratches guide, troubleshooting bumper issues, safe cleaning solutions, common bumper problems, enhancing bumper durability.
What Are the Downsides of Using a Robotic Vacuum Cleaner?
Roughly 30% of owners report missed areas: robotic vacuums can suffer navigation issues, limited battery lifespan, pet hair tangles, floor compatibility gaps, higher robot vacuum maintenance, reduced cleaning efficiency, lower cost effectiveness, and disruptive noise levels.
Can I Use Vinegar in My Robot Vacuum?
No; vinegar is generally unsuitable for robot vacuum maintenance. It offers limited vinegar benefits, but cleaning solutions should match surface compatibility. Safe alternatives and manufacturer-approved methods support odor removal, proper cleaning frequency, and dispel vinegar myths.
What Is the Average Lifespan of a Robot Vacuum?
The average robot vacuum lasts 2 to 5 years. Regular robot vacuum maintenance, cleaning tips, battery care, and parts replacement improve vacuum longevity, performance enhancement, and troubleshooting issues, according to user experiences, especially with frequent use.
Conclusion
In the end, a Roomba bumper is only as reliable as the care it receives. Powering down first, then brushing away dust, hair, and hidden grit, prevents tiny obstructions from becoming stubborn mechanical drama. A properly seated bumper should move with smooth, confident clicks, not resist like a jammed gate. With regular checks, drying, refitting, and testing, the vacuum avoids error messages, glides freely, and remains ready for the next relentless sweep of the floor.