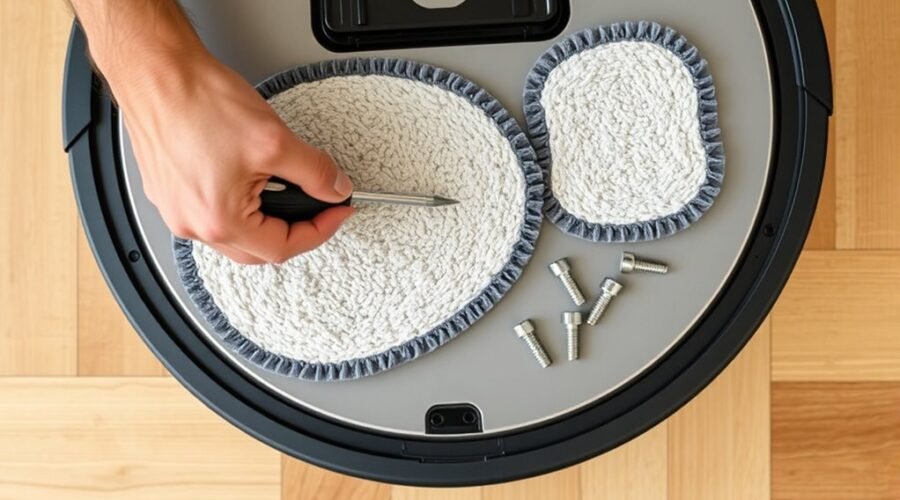
A robot vacuum mop pad holder that slips, wobbles, or fails to register usually points to a simple mechanical or contact issue. The first checks involve alignment, locking, and cleanliness, followed by a careful reinstall and a review of the magnetic attachment. If the fault remains, a restart and settings check may expose a deeper detection problem that is easy to miss.
Check That the Mop Pad Holder Locks In
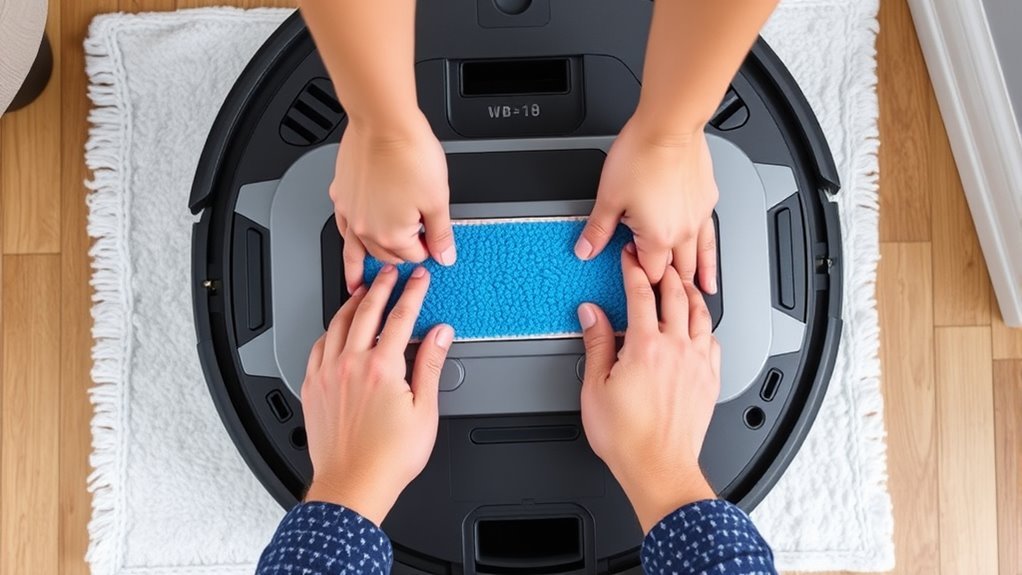
Check that the mop pad holder is fully aligned with the designated slots and pressed into place until it clicks, confirming a secure lock. The mop pad holder should sit flush, with no lateral movement or visible gap.
On robot vacuums, a firm magnetic hold is a useful secondary check: when placed manually, the part should resist wobble and remain centered. If the fit is loose, remove and reinstall the mop pad holder, then repeat the alignment process with controlled pressure.
Any resistance may indicate wear, bending, or damage on the holder or disc, which can prevent locking. The operator should inspect both components for deformation before continuing.
If debris is present at the attachment points, it should be cleared to restore proper engagement. Manufacturer instructions remain the reference for model-specific locking behavior and compatibility, ensuring the assembly is secure and ready for service without dependence on guesswork.
Clean the Mop Disc and Contact Points
The mop disc should be cleaned with a damp cloth to remove dirt and debris that could interfere with attachment and operation. A careful clean of the disc surface reduces friction, preserves alignment, and supports reliable mop performance.
The contact points on both the mop disc and the robot vacuum should then be inspected for grime, dust, or residue. If buildup is present, a soft brush or cotton swab can be used to clean the contact points without scratching them. This step helps maintain strong magnetization and stable engagement between components.
After cleaning, the disc must be fully dry, since moisture can weaken the magnetic connection and disrupt function. The surface should also be checked for visible wear, cracking, or deformation that may prevent proper operation. If damage is found, replacement is the practical solution.
Careful maintenance of the mop and contact points keeps the system free to work as designed.
Reinstall the Mop Pad Holder Correctly
The holder should be aligned with the mounting guides and seated evenly against the attachment points.
Attachment surfaces should be clean and free of debris before reinstallation, since residue can weaken the magnetic connection.
If the unit was off, it should be restarted before the holder is fitted so magnetization can engage properly.
Check Holder Alignment
Reinstalling the mop pad holder begins with confirming that it aligns exactly with the designated slots on the robot vacuum before pressing it firmly into place. Proper alignment protects installation integrity and helps the machine recognize the mop pad holder without hesitation.
| Check | Action | Result |
|---|---|---|
| Slots | Match holder edges | Exact fit |
| Magnet | Place manually | Snug hold |
| Wear | Inspect surface | No damage |
If the holder resists seating, the technician should verify orientation and compare it with the manufacturer’s guide. Any deformation can interrupt detection and weaken the magnetic connection. A precise installation restores autonomy and keeps the cleaning system ready for duty.
Clean Attachment Points
Dust and debris should be cleared from the attachment points before the mop pad holder is reinstalled, since even minor buildup can prevent a secure fit. The contact surfaces should be cleaned with a dry, lint-free cloth, and any lodged particles removed from the slots.
A careful inspection should follow to confirm that the mop pad holder shows no visible wear, cracks, or warped edges that could weaken attachment. Once the points are clean, the holder should be aligned with the designated slots and pressed in evenly until it seats snugly.
This precise fit supports a secure connection and helps the robot vacuum operate without avoidable resistance. If alignment remains difficult, the surfaces should be checked again for contamination or obstruction before proceeding.
Reinstall After Restart
With the attachment points cleaned and inspected, the robot vacuum should be powered off completely for a few seconds, then turned back on to reset the system before the mop pad holder is installed again.
After restart, the operator should verify that no debris or obstructions remain near the magnetic connection points. The mop pad holder can then be aligned precisely and pressed into place until a distinct click confirms secure attachment.
This reinstall step should not be forced; accurate positioning preserves function and prevents damage. Once secured, the robot vacuum should be observed to confirm that it recognizes the mop pad holder and enters mopping mode normally.
If detection fails, the holder should be removed, checked, and seated again with careful pressure and alignment.
Confirm the Magnetic Attachment
Confirm the magnetic attachment by placing the mop pad holder onto the robot vacuum and verifying that it seats firmly without wobble or separation. The Pad should align evenly with the disc, and the user should make sure no debris blocks the contact points.
A brief manual pull can assess magnetic strength; the holder must resist light resistance without slipping free. Inspection should then focus on wear, cracks, or deformation on either component, since damage weakens retention and may require replacement.
On different floor types, the connection should remain consistent, showing stable engagement rather than intermittent release. This check preserves functional independence by ensuring the machine can hold its cleaning tool without constant supervision.
A Software License has no bearing on the magnet, but the hardware must still meet practical standards of fit, force, and reliability. If the holder passes these tests, the attachment is ready for continued use.
Restart the Robot Vacuum and Test Again
Power down the robot vacuum completely, wait a few seconds, then restore power to reset its internal systems. This simple restart clears transient faults and can release the unit from minor state conflicts that block mop pad holder detection.
After power returns, the operator should reinstall the holder and verify that the vacuum recognizes it on contact. A successful reseat after reboot indicates the issue was likely temporary rather than mechanical.
If recognition improves, the machine may resume normal mopping with fewer interruptions, supporting cleaner cleaning schedules and more reliable autonomy.
When the fault remains, another reset sequence may be required to continue troubleshooting errors without unnecessary disassembly. Any voice prompts or on-screen alerts should be noted carefully, since they often direct the next corrective step.
These vacuum maintenance tips help keep the system responsive, independent, and ready for service.
Set Mopping No-Go Zones
The robot vacuum’s app should be used to define mopping no-go zones that keep the mop pad away from carpets, thresholds, and other sensitive surfaces. Accurate home mapping is essential, because mapping accuracy determines whether boundaries are placed where the machine can honor them.
Within the app, specific zones can be marked to support disciplined mopping strategies and prevent unnecessary contact with restricted flooring. No go adjustments should be reviewed whenever the layout changes. New furniture, area rugs, or relocated barriers can alter the path, so the digital map should be updated promptly.
Boundaries must remain clear and separate from intended mopping areas, avoiding overlap that could reduce performance or waste water. The user manual should be consulted for model-specific steps, since setup menus and controls vary.
Precise zone management gives the operator greater control, reduces avoidable wear, and preserves freedom from repeated manual intervention.
Fix Persistent Mop Detection Issues
Persistent mop detection issues should first be addressed by verifying that the mop pad holder is installed correctly and free of visible damage or obstructions.
The magnetic contact should then be checked manually for proper holding strength, with any debris removed from the connection points.
If the problem remains, the robot should be fully powered off for a few seconds, restarted, and the pad holder reinstalled to refresh detection.
Check Mop Installation
Verify that the mop pad holder is installed securely after the robot vacuum has been powered on, since an off state can prevent proper magnetization and lead to repeated detection failures.
The holder should sit flush against the disc, with no tilt or looseness that could weaken the magnetic bond. Inspect the contact points for wear, cracks, or residue from cleaning solutions that may interfere with attachment. Confirm that the mop pad materials are intact and not folded under the holder.
- Remove dust or hair blocking the mounting surface.
- Test the magnetic fit by pressing the holder into place manually.
- Replace damaged parts before continuing robot maintenance.
A clean, aligned installation restores reliable detection and lets the machine operate without unnecessary restraint.
Reset The Robot
A full power reset can clear software glitches that interfere with mop pad holder detection. The robot should be turned off completely, then left idle for a few seconds before powering back on to trigger a system refresh.
After restart, the mop pad holder should be reinstalled to confirm whether detection resumes normally. During this process, the holder must sit securely in place to avoid common errors that mimic hardware failure.
If the fault remains, additional reset techniques may be applied in sequence, each followed by another installation attempt. Regular resets can help free the unit from persistent software drift, restoring reliable operation without unnecessary intervention.
This controlled approach supports troubleshooting efficiency and helps users regain dependable cleaning performance.
Inspect Magnetic Contact
When a reset does not restore mop pad holder detection, the magnetic contact points should be inspected for wear, misalignment, or surface contamination. A careful magnetic strength assessment should compare the holder, disc, and robot interface for chips, bending, or weakened pull.
Clean both attachment points so debris does not block magnetization during installation. Use attachment troubleshooting techniques by pressing the holder manually against the vacuum and confirming a firm, centered fit.
- Check for cracks or worn edges on both parts.
- Wipe contact zones until no dust remains.
- Test the fit on different floors for surface compatibility analysis.
If the attachment still slips or vanishes from detection, repeat the reset and reattach sequence. This practical approach preserves autonomy by restoring a reliable connection without unnecessary service calls.
Frequently Asked Questions
My Roborock Mop Pad Keeps Falling Off. What Can I Do to Fix This?
It should be resecured by checking alignment, removing debris, and cleaning contact points. Routine mop pad maintenance, troubleshooting tips, and cleaning techniques can restore magnetic grip; damaged holders should be replaced, and restricted zones configured.
What Are the Most Common Problems With Robot Vacuums?
Common robot vacuum problems include poor navigation, sensor errors, weak suction, failing batteries, clogged brushes, mop-pad detachment, and app glitches. Routine robot vacuum maintenance preserves vacuum cleaning efficiency and smart home integration, reducing downtime and dependency.
My Dreame Mop Pads Keep Falling Off. How Can I Fix This?
It should check pad compatibility, then secure the holder, clean attachment points, and remove debris. Practical troubleshooting tips include avoiding carpets and thresholds, inspecting wear, and resetting the unit if cleaning techniques do not restore adhesion.
How to Install Roborock Mop Pad?
Install the Roborock mop pad by powering the robot on, aligning the holder, and pressing until it clicks; a strong magnet usually confirms the theory. He should inspect mop pad maintenance, cleaning solution types, and robot vacuum performance.
Conclusion
In the end, a robot vacuum mop pad holder usually fails for simple mechanical reasons: misalignment, debris, or a weak magnetic bond. Once those points are corrected, the system typically seats properly and resumes normal operation. In one case, a unit that wobbled like a loose hinge was restored after cleaning and reinstalling the holder. A final restart and test run confirmed the fix, and no further mop-detection errors appeared.