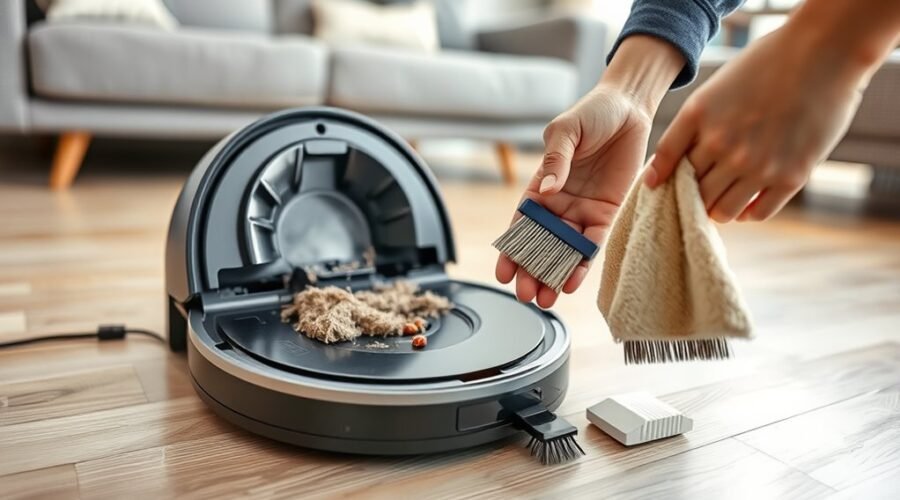
A clogged robot vacuum dock usually starts with a blocked evacuation path, a packed dust bag, or a jammed trap door. The first step is to cut power and inspect the dock for visible debris. From there, the auto-empty duct can be cleared, and compacted material may need to be loosened with a drain snake. The remaining parts require careful cleaning, but the critical fault is often not where it first appears.
What’s Clogging the Robot Vacuum Dock
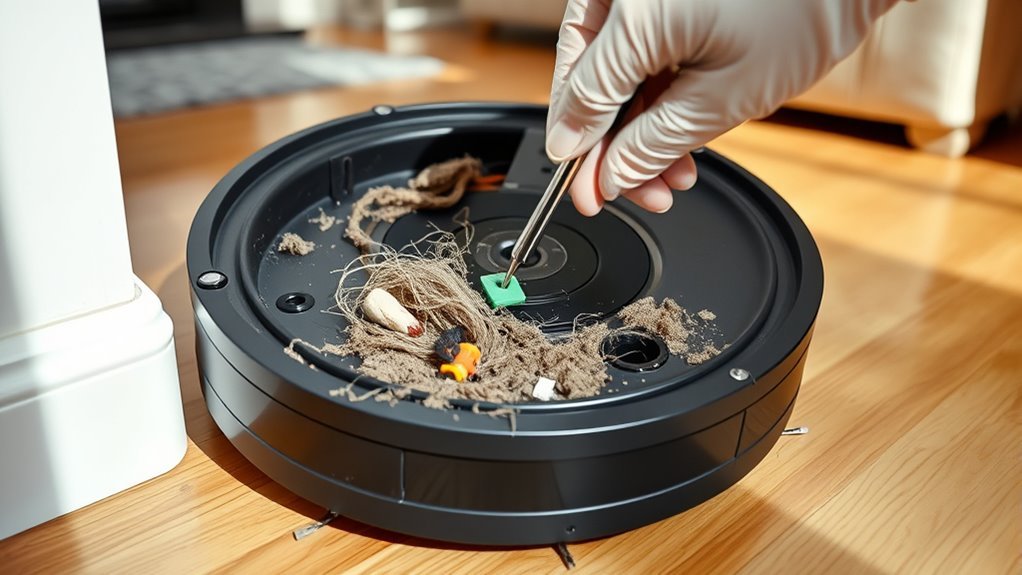
Robot vacuum docks typically clog when dust, debris, and pet hair accumulate in the auto-emptying mechanism or block the disposal pathway. In such cases, the vacuum dock loses efficiency as clogs form in the dust bin, transfer channel, or collection chamber.
Robot vacuum docks clog when dust, debris, and pet hair block the auto-emptying path, reducing efficiency.
A dirty filter can restrict airflow, allowing debris to back up and create blockages that reduce suction and disrupt emptying. A full or misaligned dust bag may also stop waste from moving through the evacuation path, causing repeated obstructions.
Narrow internal passages intensify the problem because particles cannot exit cleanly. Systematic maintenance is thus essential: the dock area should be inspected regularly, and the filter and dust bin should be kept clear.
When buildup persists, removal of compacted material along the evacuation path may be necessary to restore normal auto-emptying performance and prevent further clog formation.
Unplug the Dock and Check for Blockages
Begin by unplugging the dock from the power source to eliminate electrical risk during inspection.
The operator should then unplug the dock fully and check for blockages along the docking station’s evacuation path. Visible debris, such as dust, hair, or foreign objects, should be removed at once with careful clearing blockages from openings and channels.
A flashlight helps inspect interior spaces where hidden obstructions may restrict airflow. The filter and dust bag should also be examined, because a packed or damaged component can reduce suction power and prevent normal emptying.
If either part is full or compromised, replacement is the correct corrective action. Each step should be executed methodically so the robot vacuum regains reliable passage and the user remains free from repeated failures.
After the area is cleared, reconnect power and test the vacuum to confirm it empties correctly and operates without resistance.
Clear the Auto-Empty Duct
If the dock still fails to empty properly after visible blockages have been removed, the auto-empty duct should be checked next. The technician should first identify the clog through app alerts or indicator lights, then power off the vacuum and unplug the dock.
If the dock still won’t empty after clearing visible blockages, inspect the auto-empty duct next.
With safe access established, inspect the auto-empty duct for debris or blockages. A drain snake can be inserted carefully to dislodge compacted material without damaging internal surfaces.
- Confirm the clog location before probing.
- Power off the vacuum and dock completely.
- Remove debris or blockages with measured pressure.
- Clean filters, including the dust bin filter, to restore suction efficiency.
- Reassemble, then test functionality during a cleaning cycle.
Afterward, suction performance should improve, and the unit should resume normal transfer of dust.
Regular maintenance with iRobot® Accessories supports consistent airflow and preserves the liberated operation of the system.
Clean the Dust Bag, Filter, and Trap Doors
The dust bag should be inspected and cleaned regularly, with replacement recommended at roughly 75% capacity to prevent airflow restriction and maintain efficient emptying. To clean the dust bag, the technician should remove dust with a soft brush and gently wipe seams to limit release of particulate matter. A clogged filter should be serviced every 1-2 weeks, or per manufacturer guidance, to preserve strong suction and steady airflow. Trap doors must be checked for debris obstructions and cleared so they open and close without binding, reducing robot vacuum issues.
| Component | Action |
|---|---|
| Dust bag | Inspect and clean |
| Filter | Service on schedule |
| Trap doors | Clear obstructions |
| Surfaces | Gently wipe |
| Result | Ideal performance |
These maintenance procedures vary by model, so the specific cleaning guide should be followed exactly. Regular attention to these elements supports reliable emptying and helps the dock remain free of accumulated blockage, enabling cleaner operation and longer service life.
Reassemble and Test the Dock
Once the dust bag, filter, and trap doors have been cleared and serviced, all dock components should be fully dry before reassembly to avoid moisture-related faults.
The technician should reassemble the dock in reverse order, then inspect every part for secure fit and alignment. Any removable components should be returned firmly to prevent air leaks and maintain unrestricted airflow. Charging contacts on the dock and vacuum must be matched precisely; even slight misalignment can interrupt charging and reduce autonomy.
Reassemble the dock in reverse order, ensuring each part fits securely and charging contacts align precisely.
- Remove residual debris from seams and contact points.
- Verify each component seats without force.
- Inspect housing, seals, and guides for wear.
- Test manual placement of the vacuum on the dock.
- Initiate a docking command to confirm functionality.
If the vacuum fails to settle or charge, the dock should be opened again and checked for hidden obstructions or damaged contacts.
This systematic process helps restore reliable performance and preserves operational freedom.
Frequently Asked Questions
How to Unclog Roomba Base?
To unclog a Roomba base, one should power down, inspect ducts, remove debris, and clear blockages with a brush. Roomba maintenance tips, docking station care, and regular vacuum upkeep improve robot vacuum lifespan and reduce troubleshooting docking issues.
Why Won’t My Robot Vacuum Dock?
Robot vacuum issues usually stem from dock connection problems, charging failures, dustbin obstruction, navigation errors, battery lifespan limits, sensor malfunctions, or outdated software updates; disciplined maintenance tips and cleaning routines restore reliable docking, systematically.
What Are the Most Common Problems With Robot Vacuums?
Battery blunders, brush jams, and sensor snags dominate; navigation problems, connectivity errors, dustbin capacity limits, software glitches, charging failures, wheel obstructions, and maintenance tips govern performance, demanding systematic diagnosis for liberated, reliable automated cleaning.
My Roborock Dock Drain Port Is Blocked. What Can I Do to Fix It?
Unplug the dock, inspect the clogged drain, remove debris, and apply cleaning techniques with a soft brush. If blockage persists, use repair solutions or a drain snake. These maintenance tips improve water flow, vacuum performance, and robot care, minimizing dock issues, suction problems.
Conclusion
To sum up, a clogged robot vacuum dock is usually resolved by isolating the unit, removing visible debris, clearing the auto-empty duct, and servicing the dust bag, filter, and trap doors. A systematic inspection and reassembly process reduces the risk of recurring airflow restrictions and mechanical blockage. Importantly, many service technicians report that more than 75% of dock failures are linked to simple dust accumulation rather than hardware damage. Final testing confirms restored docking and evacuation performance.