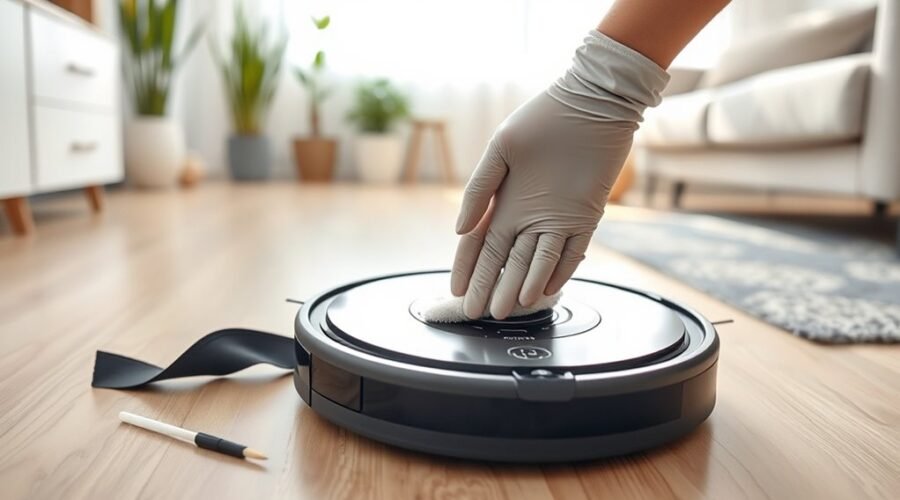
Robot vacuum dock sensors need careful cleaning to preserve alignment and charging reliability. The unit should be powered off and unplugged before any contact is made. A dry microfiber cloth or soft brush is usually sufficient for removing dust without scratching the surface. Harsh solvents, alcohol, and abrasive tools can cause damage. Yet some sensor faults are not caused by dirt alone, which raises a more specific question about diagnosis.
Why Clean Robot Vacuum Sensors
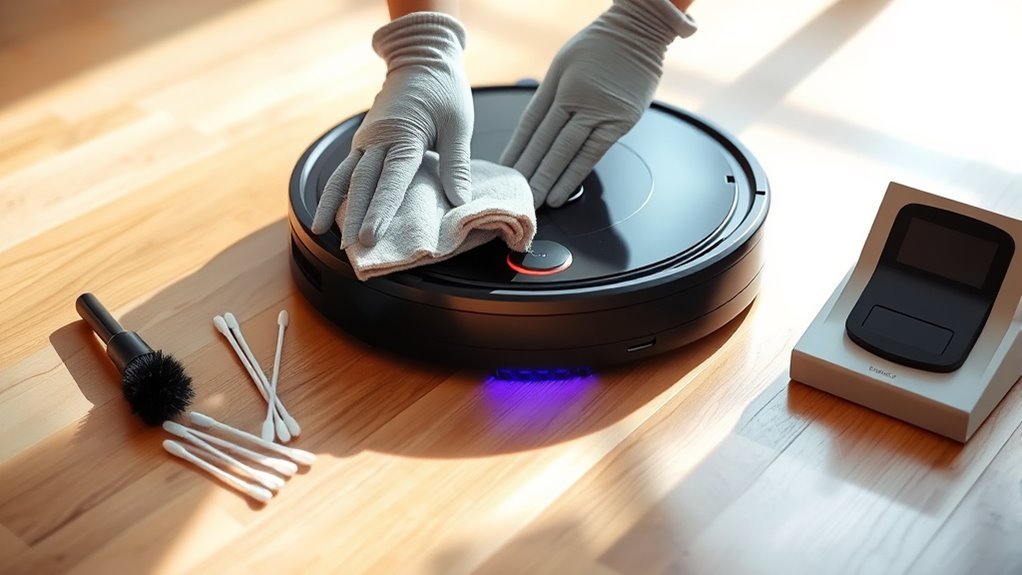
Keeping robot vacuum sensors clean is essential for accurate navigation and efficient operation. For any robot vacuum, cleaning sensors supports peak performance by preserving navigation accuracy and reliable obstacle avoidance.
When debris coats the sensors, the machine may misread its surroundings, collide with objects, or leave missed dirt patches that force additional manual work. Regular maintenance reduces these failures and limits error messages that interrupt service.
It also lowers unnecessary strain on internal components, which can improve battery life by preventing repeated correction cycles and wasted movement. Dirty sensors can escalate into mechanical problems, raising repair costs and shortening service life.
A disciplined cleaning routine consequently protects the device’s efficiency, safety, and long-term independence from avoidable intervention. By keeping the sensors clear, the robot vacuum can operate with greater precision, fewer interruptions, and stronger overall reliability in daily use.
Where Robot Vacuum Sensors Are Located
Robot vacuum sensors are distributed across several key areas of the unit to support navigation, obstacle detection, and docking. Their placement affects any cleaning routine, because access points differ by model and function. The front bumper often houses obstacle-detecting robot vacuum sensors; the underside contains Cliff Sensors and related detection elements near the floor; the wheels may include position or movement inputs; and the front face may carry camera-based modules for mapping. Docking sensors usually rely on infrared sensors mounted on the docking base, while dirt detection parts sit near the suction inlet. A careful user should identify each sensor window before attempting to clean the sensors.
| Location | Sensor type | Purpose |
|---|---|---|
| Front bumper | robot vacuum sensors | Obstacle detection |
| Underside | Cliff Sensors | Fall prevention |
| Front face | Camera sensors | Mapping |
| Docking base | infrared sensors | Return guidance |
| Suction inlet | Dirt sensors | Dirt recognition |
These cleaning tips help users clean efficiently and preserve liberated operation with a soft cloth.
How to Clean Robot Vacuum Sensors Safely
Before any cleaning begins, the robot vacuum should be powered off and unplugged to prevent accidental activation and reduce the risk of damage.
To Clean Your Robot Vacuum safely, use a dry microfiber cloth or a soft brush to gently clean exposed sensor surfaces. The docking sensor window should be inspected and wiped with light pressure, since dust or debris can interrupt alignment and charging.
Users should avoid harsh chemicals, alcohol, or abrasive materials, because these can degrade optical coatings and housing seals. For infrared components, cleaning should occur away from the docking station, maintaining at least 0.5 meters distance to reduce interference.
Regular cleaning of sensors regularly helps maintain your robot vacuum and preserves navigation accuracy. A user manual should be consulted for exact sensor locations, approved tools, and recommended intervals.
In most cases, a thorough cleaning every 1–2 weeks is sufficient for regular cleaning and safe operation.
Signs Your Robot Vacuum Sensors Need Cleaning
When a robot vacuum begins bumping into furniture, moving erratically, or missing dirty patches during a cleaning cycle, its sensors may be obstructed and require cleaning.
Bumping into furniture or missing spots often means the vacuum’s sensors need a careful cleaning.
Repeated collision, skipped debris, or poor room mapping can indicate sensor issues rather than navigation failure. If the Robot displays error messages, pauses unexpectedly, or refuses to return to the charging dock, the infrared sensors may be blocked.
Persistent cliff sensors warnings or abrupt stops near stairs also suggest contamination. Dirt detection faults are common when the vacuum leaves visible soil behind in open areas.
These symptoms warrant inspection before further use, since dirt can impair control logic and reduce safety margins. A clean sensor surface supports accurate detection, stable movement, and reliable docking.
If the condition continues after a careful wipe, customer support should be contacted to rule out internal fault.
How Often to Clean Robot Vacuum Sensors
A robot vacuum’s cleaning schedule for sensors depends on usage patterns and household conditions. For daily use, a smart vacuum should be regularly cleaned weekly so dust does not compromise navigation or docking.
In homes with pet hair, heavy traffic, or frequent vacuum runs, inspection and sensor cleaning may be needed every few days. When the unit is used only 2–3 times a week, cleaning every 2–4 weeks can prevent buildup. Smaller homes and lighter use often allow sensors monthly, provided performance remains stable.
A dry microfiber cloth, compressed air, or a minimal cleaning solution on a cloth can reduce debris without damage. The same routine should include a check to clean the Charging Contacts, because poor contact can mimic sensor failure.
Users who clean my robot according to these intervals preserve accuracy, reduce wear, and support safer, more independent operation. Any erratic movement or docking failure signals that cleaning should occur sooner.
Frequently Asked Questions
How to Clean a Robot Vacuum Sensor?
Power off the robot; then, using best cleaning tools, wipe sensors gently. This sensor troubleshooting guide covers sensor types explained, common sensor issues, DIY cleaning solutions, vacuum maintenance tips, cleaning frequency recommendations, avoiding sensor damage, robot vacuum upgrades.
How to Properly Clean Roborock Sensors?
Roborock sensors should be cleaned with power off using a dry microfiber cloth and minimal water. These roborock maintenance tips, sensor cleaning tools, and vacuum dock care support sensor performance enhancement, preventive maintenance strategies, and troubleshooting sensor problems.
What Is the Best Way to Clean Sensors?
The best way is dry microfiber sensor care with lint-free cleaning materials, power off, and gentle wiping. Monthly cleaning frequency prevents common problems and troubleshooting issues, while safe products, DIY solutions, and maintenance tips improve sensor functionality and performance improvement.
How Do I Clean the Lidar Sensors on My Roborock Vacuum?
He should power off, locate the vacuum sensor location, and use sensor cleaning tools: a dry microfiber cloth, soft brush, or compressed air. These lidar maintenance tips support lidar sensor technology, robot vacuum care, and troubleshooting common problems.
Conclusion
In the quiet logic of a well-kept machine, clean dock sensors are the difference between routine and failure. When dust gathers where infrared eyes should read clearly, navigation can falter like a compass near iron. A powered-off robot, a dry microfiber cloth, and a gentle hand preserve accuracy without risk. Regular, careful cleaning protects performance, extends service life, and keeps the vacuum returning to dock as reliably as clockwork.