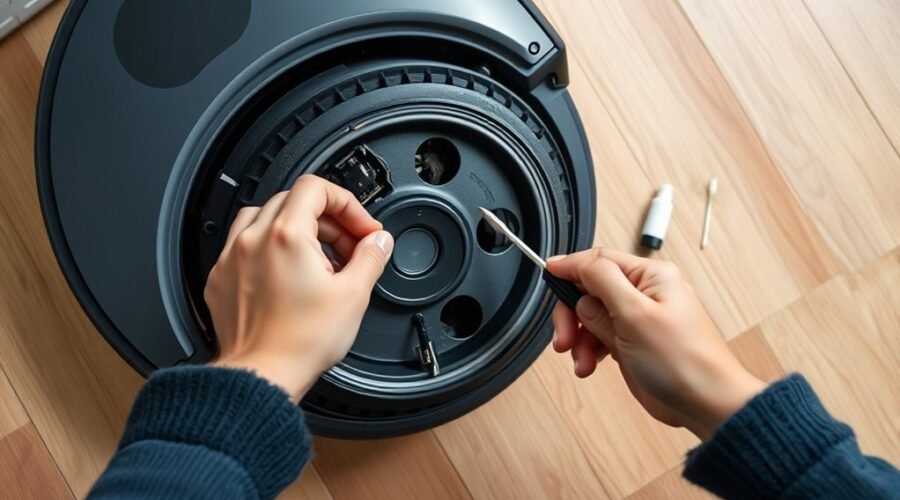
A squeaky robot vacuum wheel often points to trapped debris, dry axles, or wear in the wheel assembly. The first checks are simple: power the unit off, inspect the wheel, and clear any hair or dust. If the noise remains, cleaning and light lubrication may restore smooth movement. In some cases, the wheel itself needs replacement. The next steps show how to identify the cause and apply the right fix.
Why a Robot Vacuum Wheel Squeaks
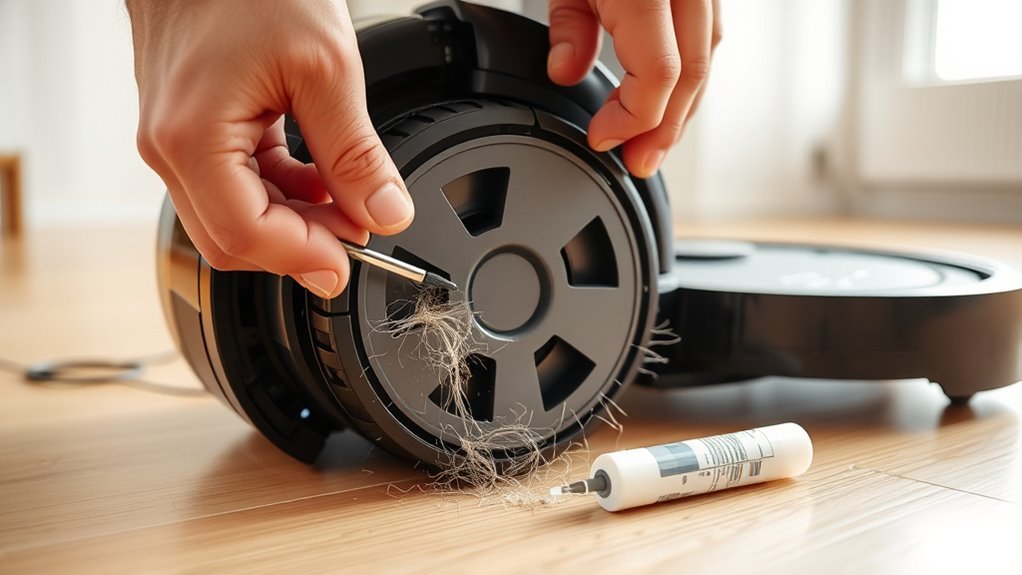
A robot vacuum wheel may squeak when debris becomes lodged in the wheel assembly, restricting movement and increasing friction during operation. This squeaky condition often signals that the robot vacuum is encountering resistance from packed dust, hair, or grit.
Worn bearings or damaged treads can also produce noise, because the wheel no longer rotates smoothly under load. Misalignment from improper installation adds another source of friction, especially when the unit turns or crosses uneven flooring.
Worn bearings or damaged treads can cause squeaks, especially when the wheel fails to rotate smoothly under load.
In practical terms, the sound indicates that maintenance is overdue. Operators should clean the side wheels, inspect the axles, and check for visible wear before the problem advances.
In some cases, a light lubricant on moving parts can reduce drag, but only when the assembly is structurally sound. Prompt attention preserves mobility, lowers strain on components, and supports the vacuum’s independent operation.
Clean a Squeaky Robot Vacuum Wheel
Cleaning the wheel assembly is the most direct response when a robot vacuum wheel squeaks from debris or friction. The robot vacuum should be powered off, then placed upside down on a soft surface for stable access to the wheels.
With the unit exposed, inspect each wheel closely and remove debris such as hair, thread, and compacted dust using scissors or a small brush. A damp cloth may be used as a mild cleaning solution for the wheel axles, lifting dirt and grime without flooding the mechanism.
The rubber treads should also be examined for cracking, flattening, or other wear that can preserve the noise. If damage is evident, replacement is the practical path.
After cleaning, all parts must dry completely before reassembly. A dry, unobstructed wheel assembly restores smoother motion and reduces friction.
If problems persist, customer support may provide model-specific guidance or replacement options.
Lubricate the Wheel Axle
With the robot vacuum powered off and set on a stable surface, the wheel can be removed by unscrewing it or gently pulling it free, depending on the model, to expose the axle for lubrication.
Apply a small amount of silicone-based lubricant or light machine oil to lubricate the wheel axle. This controlled step helps eliminate friction that causes squeaks and other unusual noises.
- Inspect the axle before application to confirm it is clear of residue.
- Place lubricant directly on the contact point, not the surrounding housing.
- Rotate the wheel several times to spread the film evenly and restore free motion.
- Wipe away excess with a clean cloth, then reattach the wheel securely.
This procedure helps clean your robot maintenance routine remain disciplined and efficient. Proper lubrication reduces wear, supports quiet operation, and can prevent robot vacuum performance issues from escalating.
Replace a Worn Robot Vacuum Wheel
If the wheel shows cracks, flat spots, or uneven wear, replacement is the most reliable fix for persistent squeaking. The robot vacuum should be inspected regularly so wear is identified before movement degrades.
Genuine parts from the manufacturer’s official store are preferred, because they match the chassis, protect warranty coverage, and support free operation without fit problems.
To replace the damaged wheel, use a screwdriver or the correct tool to remove the screws or clips holding it in place, then detach the wheel carefully. Align the new wheel with the axle and press it firmly until it clicks into position. That secure engagement prevents misalignment during operation.
After assembly, the robot vacuum should be tested on a flat surface. Smooth travel and silence confirm the wheel replacement succeeded and the machine can move with renewed independence.
Keep Robot Vacuum Wheels Quiet
Keeping robot vacuum wheels quiet depends on routine maintenance and correct wheel condition. A robot vacuum should be checked for debris, hair, and fiber buildup around the wheels, since these obstructions often trigger squeaking and restrict motion. Clean contact points, then inspect alignment and attachment security so vibration does not amplify noise.
- Remove debris from wheel wells and axles.
- Trim wrapped hair or fibers with precision.
- Apply a silicone-based lubricant to reduce friction.
- Verify the wheels sit straight and fasten firmly.
Routine maintenance every few weeks helps preserve quiet operation and prevents minor defects from becoming persistent faults.
Routine maintenance every few weeks preserves quiet performance and keeps minor defects from becoming lasting faults.
When the wheels move freely and remain properly secured, the machine regains efficient, independent travel across floors. That quiet performance is not cosmetic; it supports longer service life, lower strain, and a cleaner path toward practical freedom from avoidable repair cycles.
Frequently Asked Questions
Why Is My Robot Vacuum Squeaking?
It squeaks because of debris, worn bearings, misaligned wheels, or a faulty brush guard. These squeaky noise causes require robot vacuum troubleshooting, cleaning robot wheels, and wheel maintenance tips to resolve common vacuum issues efficiently.
How Do I Get My Wheel to Stop Squeaking?
It stops squeaking by removing debris, cleaning axles, and applying silicone lubricant; these wheel maintenance tips and wheel lubrication methods improve robotic cleaning efficiency. If noise persists, follow noise reduction techniques in the vacuum troubleshooting guide.
My Roomba Wheel Is Squeaky. What Can I Do to Fix It?
The Roomba wheel likely needs debris removal, axle cleaning, and silicone grease. These robot maintenance tips address common vacuum issues. Follow a troubleshooting guide: inspect cleaning routines, apply wheel lubrication methods, then test for silence and smooth travel.
My Deebot Vacuum Wheel Is Stuck. What Can I Do to Fix It?
He would power off the Deebot, flip it over, remove debris, clean the axle and housing, inspect damage, then retest. These vacuum maintenance tips aid troubleshooting robot common wheel issues, cleaning robot wheels, and wheel replacement guide.
Conclusion
To summarize, a squeaky robot vacuum wheel usually announces a simple mechanical tragedy: debris, dryness, or wear. Once powered off and inverted, the wheel can be cleaned, dried, and lightly lubricated, restoring dignity to the axle and silence to the room. If the squeak persists, replacement is the practical verdict. Regular inspection keeps the machine rolling smoothly, rather than performing its tiny, irritating protest across the floor.