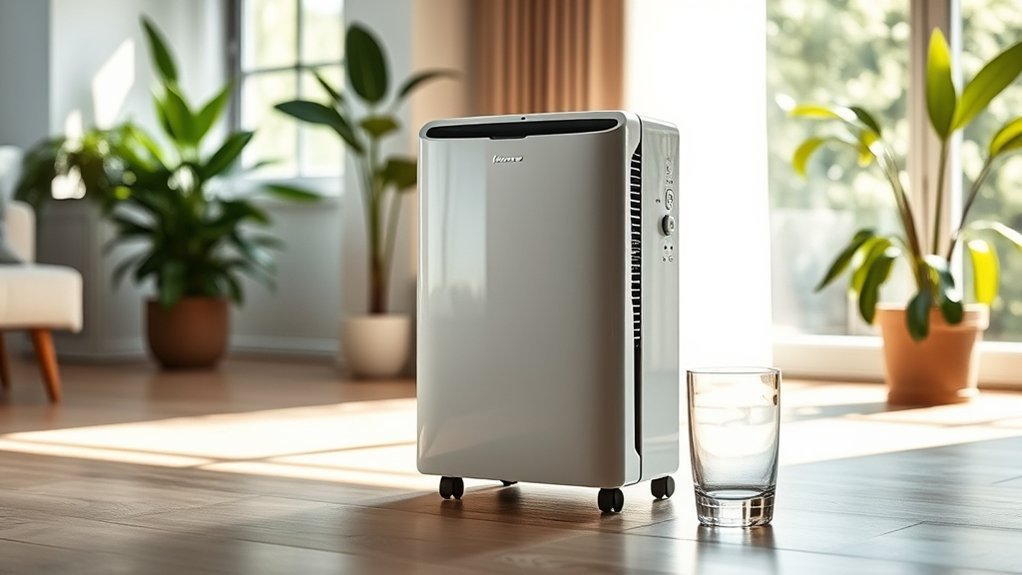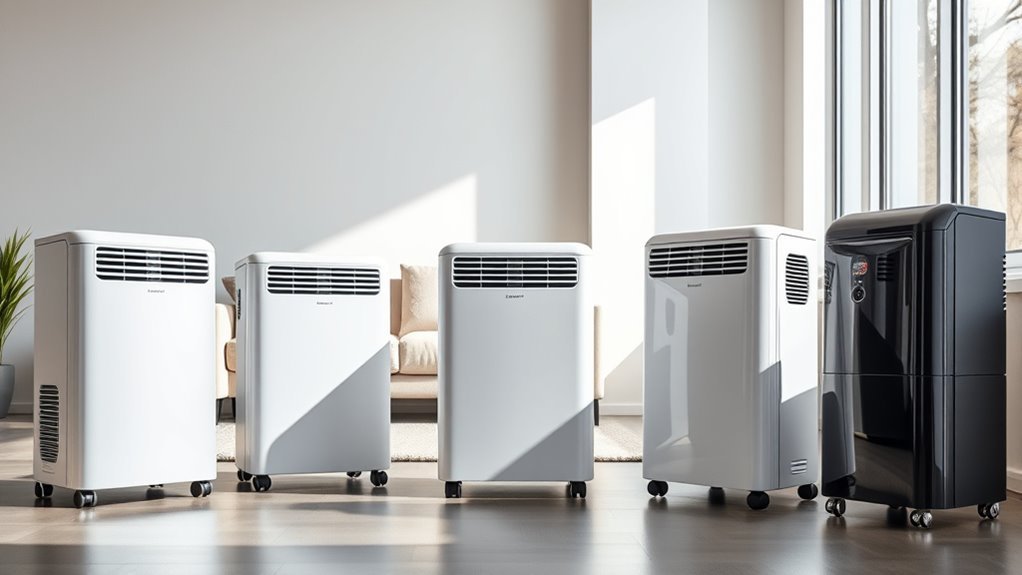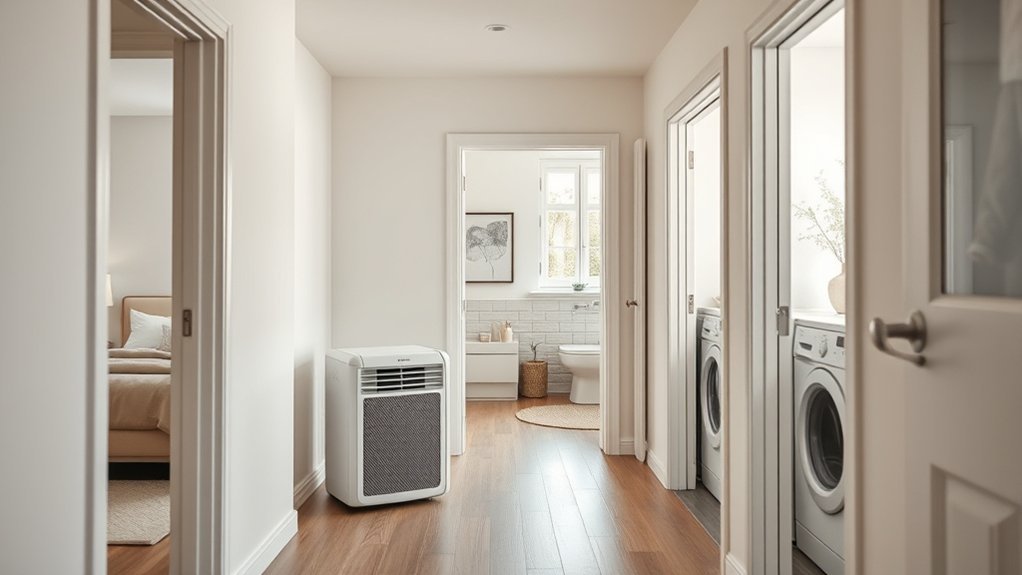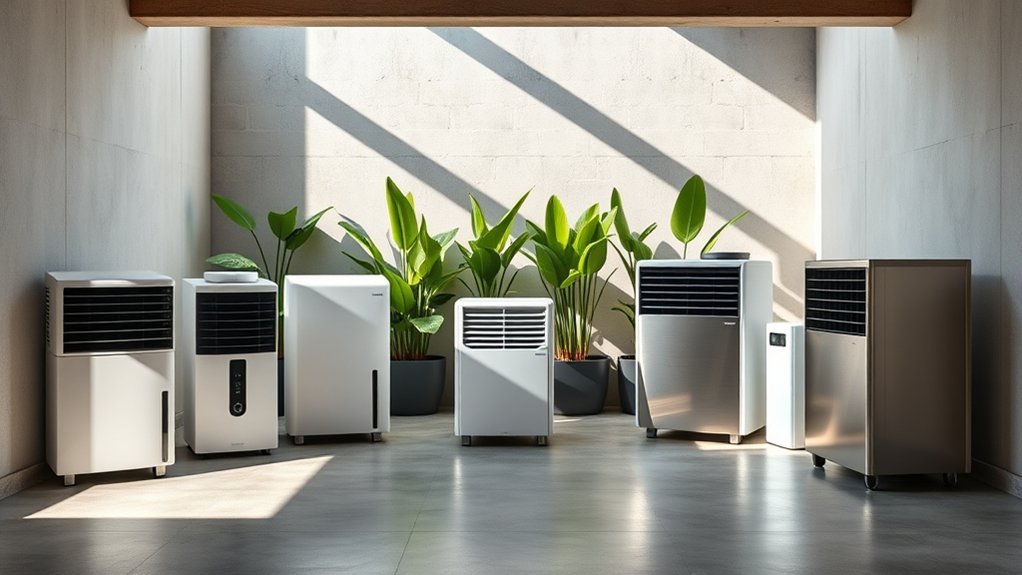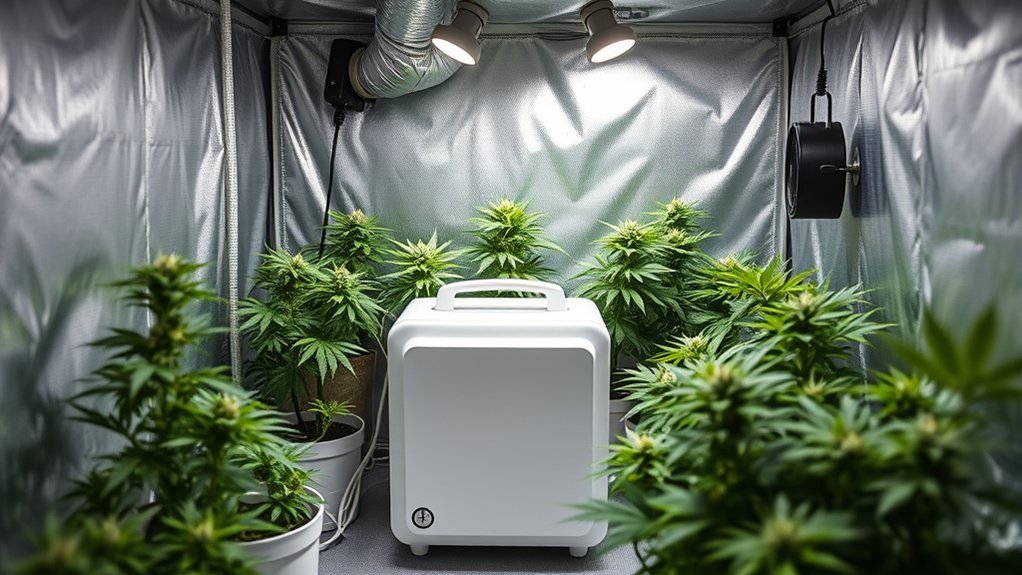
Yes, you can put a dehumidifier in your grow tent, but do not make the tent your first choice unless space, drainage, and heat control are already solved. For most small and medium tents, the better setup is to run the unit in the lung room so the tent pulls in drier air. That keeps canopy space open, reduces heat buildup inside the tent, and gives you smoother humidity control.
Quick Answer
You can place a dehumidifier inside a grow tent, but it usually works better outside the tent in the lung room. Size it by moisture load, not tent size alone. Use continuous drainage, keep air moving through the canopy, and adjust humidity targets by plant stage, temperature, and crop needs.
Key Takeaways
- A dehumidifier can work inside a tent, but it takes space and warms the air around it.
- The lung room is usually the cleaner placement because the tent can pull in drier, conditioned air.
- Do not size only by “4×4” or “5×5.” Size by room conditions, daily water input, ventilation, and observed RH.
- One gallon of water equals 8 pints, so daily watering gives you a useful starting point for moisture load.
- Use a hygrometer, continuous drain, and steady airflow to prevent wet canopy pockets.
- Follow local laws and crop-specific guidance for any indoor plant you grow.
At a Glance
| Time Required | 20-45 minutes for placement, drain setup, and sensor checks |
| Difficulty | Easy to moderate |
| Tools Needed | Dehumidifier, hygrometer, drain hose, level surface, oscillating fan, grounded outlet, optional condensate pump |
| Cost | Usually the cost of a properly sized portable unit, plus a low-cost drain hose if one is not included |
Can You Put a Dehumidifier in a Grow Tent?
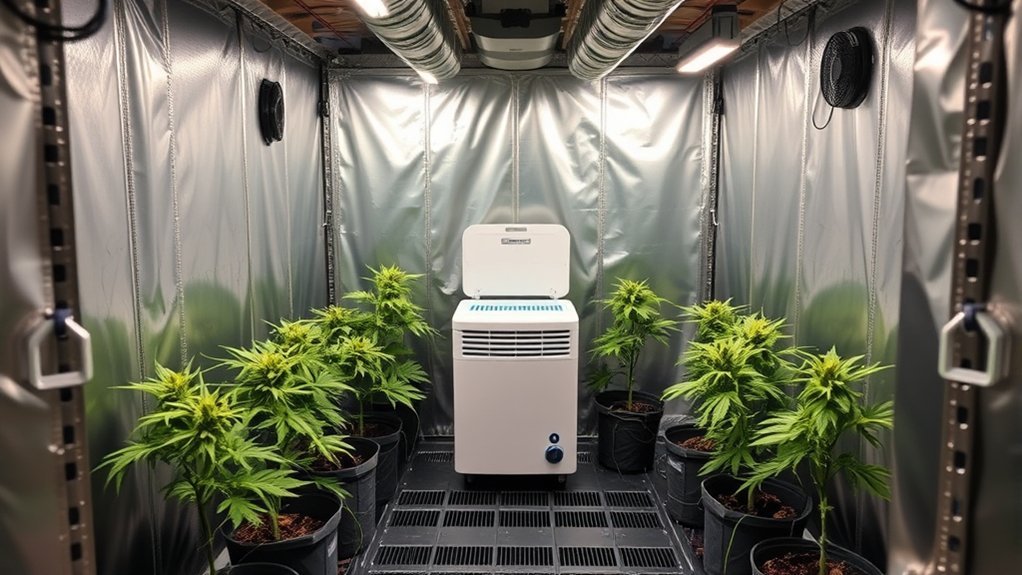
Yes, you can put a dehumidifier in a grow tent, especially if the tent is large enough and the unit has room to breathe. Use tent placement when you need direct control in a sealed or larger tent, or when a short lights-off RH spike keeps beating your lung-room setup.
The tradeoff is simple: the unit takes floor space, creates warm exhaust, adds another electrical device near water, and may blow dry air too directly at nearby plants. A dehumidifier does not simply “cool and dry” the tent. As it removes moisture, it can make the air around the unit warmer. ENERGY STAR explains that dehumidifier capacity is measured in pints per 24 hours and depends on the size and dampness of the space.
If you use one inside the tent, keep it away from direct leaf contact, irrigation spray, loose cords, and cramped corners. Give the intake and exhaust space to move air. Use a reliable hygrometer at canopy height, not just the reading on the dehumidifier, because the built-in sensor may measure the air near the unit instead of the air around your plants.
Warning: Do not run drain hoses, water lines, or buckets near power strips, light ballasts, exposed plugs, or extension-cord connections. Use a properly grounded outlet, follow the dehumidifier manual, keep cords off wet floors, and create drip loops so water cannot run into electrical connections.
Where to Place a Dehumidifier: Tent or Lung Room
For most home grow setups, the lung room is the better place for the dehumidifier. The lung room is the room or closet that feeds air into the tent. When you dry that room first, your intake fan pulls drier air into the tent without putting the heat and bulk of the appliance inside the grow space.
Decision rule: If the tent exhausts actively and the lung room is humid, dry the lung room first. If the lung room is stable but canopy RH still spikes in a sealed or large tent, add an in-tent or ducted unit with safe clearance, drainage, and airflow.
| Placement | Best For | Main Tradeoff |
|---|---|---|
| Inside the tent | Large tents, sealed setups, or short-term RH spikes after the lung room is controlled | Uses space, adds heat, and needs careful electrical safety |
| Lung room | Most small and medium grow tents with active exhaust | Must be sized for the room air feeding the tent, not only the tent volume |
| Ducted or external unit | Multi-tent setups, tight tents, or larger rooms that need dry air without extra canopy heat | Costs more, takes planning, and may need ducting or a condensate pump |
Place the dehumidifier near the air path that feeds the tent, but do not block its intake or exhaust. If the unit has side discharge, keep it away from walls and furniture so air can circulate freely. ENERGY STAR recommends sizing by space conditions and using collected-water volume from an existing unit as a practical sizing clue.
Note: If your tent exhausts into the same lung room, humidity can loop back into the tent. In that case, exhaust moist air outdoors or into a separate area when practical, then let the dehumidifier condition the intake air.
Recommended Products

Superior Humidity Control: Features a high-efficiency compressor that removes up to 12L of moisture daily; Equipped with high-precision sensors that monitor temperature and humidity to maintain the perfect grow room environment

Effective Moisture Control for Home: OWAAE dehumidifier is designed to reduce excess moisture and help maintain comfortable humidity levels in everyday living spaces. It works best in moderate-to-high humidity environments, improve overall air comfort at home

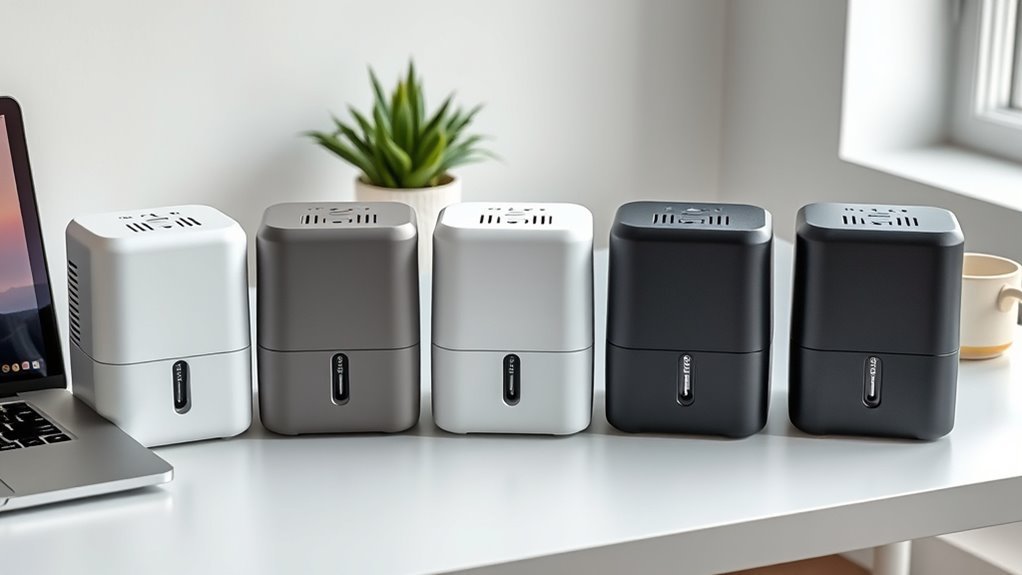
Semiconductor dehumidifiers use thermoelectric cooling to remove moisture from the air. They create a drier, more comfortable environment by reducing humidity and improving air quality.
How to Size a Dehumidifier for Your Grow Tent
Do not size a dehumidifier by tent footprint alone. A 4×4 tent with a few small plants and strong exhaust may need far less moisture removal than a dense canopy in a humid basement. The better method is to size by space, moisture load, and real RH readings.
- Measure the tent and lung room. Multiply length × width × height for tent volume. A 4 ft × 4 ft × 6 ft tent is 96 cubic feet, but the dehumidifier may need to treat the larger lung room too.
- Estimate daily water input. One gallon of water equals 8 pints. Much of the water you add can leave through transpiration, evaporation, runoff, or drainage. Your actual readings matter more than a generic plant-count chart.
- Check current RH without guessing. Put one hygrometer at canopy height and one in the lung room. Watch readings during lights-on, lights-off, and after watering.
- Choose capacity with headroom. ENERGY STAR measures portable dehumidifier capacity in pints per 24 hours, and the right capacity depends on both space size and dampness. If a unit will run in the lung room, use the room’s dampness and volume as the sizing baseline.
- Upgrade if RH still climbs. If RH rises above your target every night, the bucket fills too fast, or the unit runs nonstop without lowering RH, the system is underpowered or the airflow path is wrong.
A practical shortcut is to start with your daily water input. If you add 2 gallons per day, that is 16 pints of water entering the system. A dehumidifier does not need to remove all of that if runoff drains away and exhaust removes some moisture, but the number tells you why a tiny closet absorber will not keep up with a dense, watered canopy.
As a practical rule, many small tents can be managed by drying the lung room with a 20-35 pint/day unit if the space is only moderately damp. Dense canopies, humid climates, basement rooms, and heavy watering may need a 35-50 pint/day unit or larger. If the lung room is very damp or above 2,000 square feet, follow a room-based sizing chart instead of relying on tent size.
Pro Tip: If you already own a dehumidifier, measure how much water it collects in 24 hours during your most humid period. If it collects near its full rated capacity and RH still stays high, you need more capacity, better exhaust, or less moisture looping back into the tent.
Recommended Products

Superior Humidity Control: This advanced ultrasonic humidifier delivers whisper-quiet, precise humidification with 1% humidity resolution; A highly sensitive external temperature and humidity probe provides accurate environmental readings, enabling quick adjustments

High-Efficiency Dehumidifier for Home: Still annoyed about the muggy weather? Just Take it easy! Have a try at our 35OZ Peltier dehumidifier, in a closed small room with humid environment of 86°F and 80% RH, it can collect a max of 16oz(450ml) of water in 24 hours, and with very low energy consumption (no more than1 kWh per day).

✔ EASY TO USE: This mini dehumidifier is spill and mess free. Just hang and go! Non-toxic, child and pet safe! Your small rooms will be dry and odor free. Works for areas up to 333 cubic feet.
How to Drain and Circulate Dry Air
Continuous drainage is one of the easiest upgrades because it prevents bucket shutoff. Most portable dehumidifiers use a bucket and shut off when the bucket is full. Some units also allow a hose connection that drains into a floor drain, sump, sink, or condensate pump. Keep the hose short, sloped downward, and free of kinks unless you use a pump made for lifting condensate.
- Level the unit. A tilted unit can drain poorly or trigger errors.
- Attach the drain hose tightly. Check the connection after the first hour of operation.
- Route water away from electricity. Keep the hose away from outlets, cords, controllers, fans, and light equipment.
- Test the drain. Run the unit long enough to confirm water flows to the outlet without pooling.
- Keep air moving. Use oscillating fans to mix air above, below, and through the canopy. Do not blast one plant with dry exhaust.
Air movement matters because humidity is not even inside a tent. The dampest air is often inside the canopy, near wet media, or in low-airflow corners. UMass Extension notes that the highest RH in a greenhouse is often inside plant canopies, where transpiration and weak air movement trap moisture. It also notes that moving air helps prevent moisture from condensing on leaf surfaces.
Moisture control is the real goal. A bigger dehumidifier will not fix a tent with poor exhaust, wet floors, blocked airflow, or a drain line that keeps shutting the unit off.
Recommended Products

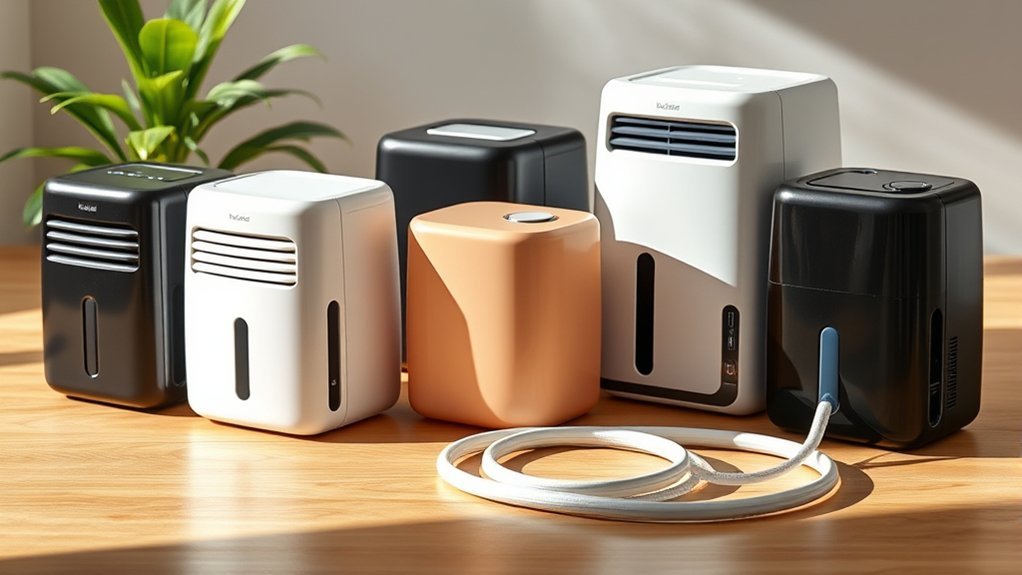
[Convenient] This drain hose automatically drains water from the dehumidifier to the drain for uninterrupted use.

𝐎𝐧𝐞 𝐇𝐨𝐬𝐞 𝐟𝐨𝐫 𝐌𝐮𝐥𝐭𝐢𝐩𝐥𝐞 𝐔𝐬𝐞𝐬 : The 5.25 ft dehumidifier hose is versatile with a soft rubber adapter and connecting clamp, strong elasticity, tight seal, and not easy to leak. It is arbitrary extension docking and compatible with most dehumidifiers, semi-automatic washing machines, dishwashers, and portable air conditioners. It also can be used as a faucet extended hose for watering plants or washing cars

Premium Quality Material:This dehumidifier hose is made of durable and thick PVC, which has moderate flexibility and is easy to bend without breaking; Ripple design can prevent tangling, ensure smooth water flow, and make it easy to move in small spaces
What Humidity Should a Grow Tent Have?
Your grow tent’s humidity should match the crop, temperature, airflow, and growth stage. The ranges below are starting points for legal indoor gardening, not universal crop prescriptions. Some plants prefer more moisture, while mold-sensitive flowers and fruiting crops often need drier air late in the cycle.
Use RH with temperature, not by itself. UMass Extension explains that relative humidity changes with temperature and that cooler night air can reach dew point more easily. If you use a vapor pressure deficit chart, match it to your crop and growth stage. If you do not use VPD, track RH at canopy height and lower moisture gradually as foliage becomes denser.
| Stage | Starting RH Range | Why It Matters |
|---|---|---|
| Seedling / cutting | 65-75% | Young plants have small roots and can dry quickly. |
| Vegetative growth | 55-70% | Steady moisture supports leaf growth while airflow prevents wet pockets. |
| Early flower / fruit set | 45-60% | A gradual drop helps reduce condensation and disease pressure. |
| Late flower / dense canopy | 40-50% | Drier air helps reduce mold risk in tight, low-airflow plant material. |
| Postharvest herbs or flowers | Follow crop-specific drying guidance | Slow, controlled drying protects quality while avoiding mold. |
Lights-off periods often create the worst RH spikes because cooler air holds less moisture. When air cools toward the dew point, condensation can form on leaves, tent walls, ducts, and equipment. EPA moisture guidance says mold control starts with moisture control, and UMass Extension explains that condensation on plant surfaces can promote fungal disease. Keep the canopy dry, not just the room reading low.
Troubleshooting High Humidity in a Grow Tent
If your dehumidifier is running but RH stays high, check the whole system before buying a larger unit.
- RH spikes after lights off: Start dehumidification before lights go off, improve air mixing, and avoid leaving wet floors or saucers in the tent.
- Bucket fills and unit shuts off: Add continuous drainage or use a unit with a built-in pump if gravity drainage is not possible.
- Unit runs nonstop: The space may be too humid, the tent may be exhausting back into the lung room, or the unit may be undersized.
- Passive absorber does little: Moisture absorbers may help in a closet, but they usually cannot keep up with watered plants that transpire every day.
- Leaves feel wet: Add gentle canopy airflow and reduce dead zones under thick foliage.
- Coils freeze or performance drops: Check the operating temperature range. ENERGY STAR notes that performance can suffer if the space is below 65°F unless the unit is designed for lower temperatures.
- Readings seem wrong: Compare two hygrometers at canopy height and lung-room height. Replace or calibrate weak sensors.
Maintenance and Safety Checklist
A dehumidifier works best when air can move through clean coils and filters. Dust, plant debris, and hard-water residue can reduce performance and create odor problems.
- Clean or replace the filter on the schedule in the manual.
- Wipe the bucket and drain parts so slime and debris do not block water flow.
- Keep the intake away from soil dust, pruning debris, and spray zones.
- Check the drain hose weekly for kinks, algae, and leaks.
- Keep the unit upright and level.
- Keep cords, controllers, and power strips above floor level and away from water.
- Record canopy RH and lung-room RH at the same time each day until the setup is stable.
For home mold prevention, EPA recommends keeping indoor humidity below 60% and ideally between 30% and 50% where possible. A grow tent may need higher RH during early plant stages, so use that EPA range as a mold-risk reference for the room, not as a one-size-fits-all plant target. If mold sensitivity or asthma is a concern in the lung room, AAFA recommends using a hygrometer, reducing dampness with a dehumidifier, and cleaning the bucket and coils regularly.
Frequently Asked Questions
Do dehumidifiers work in grow tents?
Yes. Dehumidifiers work in grow tents when they are sized correctly, drained reliably, and paired with good airflow. They are most effective when they control the lung room or a sealed tent environment instead of fighting constant moist air leaks.
Where should a dehumidifier be placed in a grow tent?
If it must go inside, place it on a level surface with clearance around the intake and exhaust. Keep it away from direct irrigation spray, cords, and leaves. For most small tents, placing it in the lung room near the intake air path is better.
Should a grow tent dehumidifier be inside or outside the tent?
Start outside the tent in the lung room if the tent pulls air from that room. Move the unit inside only when the tent is large enough, the lung room is already controlled, or a sealed setup needs more direct humidity control.
How can I dehumidify my grow tent?
Dry the lung room, improve exhaust, use oscillating fans, remove standing water, avoid overwatering, and run a properly sized dehumidifier with continuous drainage. Track RH at canopy height so you adjust the plant environment, not just the room corner.
What size dehumidifier do I need for a 4×4 grow tent?
There is no single correct size for every 4×4 tent. Start by checking lung-room humidity, daily water input, canopy density, and ventilation. Many moderate setups can use a 20-35 pint/day unit in the lung room, while dense or humid setups may need 35-50 pints/day or more.
Should a grow tent dehumidifier run all night?
It can run at night if RH rises after lights off, but use a humidistat or controller instead of forcing it to run nonstop. The goal is a stable target range, not the driest possible air.
Will a dehumidifier raise the temperature in a grow tent?
It can. Portable compressor dehumidifiers release warmer, drier air as they remove moisture. That extra heat is one reason the lung room is often better than placing the unit directly inside a small tent.
Can I use a passive moisture absorber instead of a dehumidifier?
A passive absorber may help in a small storage closet, but it is usually too weak for an active grow tent. Watered plants add moisture every day, so ventilation, airflow, and a properly sized electric dehumidifier are more reliable.
Conclusion
You can put a dehumidifier in your grow tent, but it is usually smarter to control the lung room first. That keeps heat and clutter out of the canopy while feeding the tent drier air. Size the unit by real moisture load, set up continuous drainage, keep air moving through the canopy, and watch RH at plant height. With those basics handled, humidity control becomes steady instead of stressful.
Sources
- ENERGY STAR — Dehumidifiers — capacity, drainage, placement, operating temperature, humidistats, efficiency, and safety guidance.
- U.S. Environmental Protection Agency — A Brief Guide to Mold, Moisture and Your Home — mold prevention, moisture control, humidity monitoring, and dehumidifier use.
- UMass Extension — Reducing Humidity in the Greenhouse — plant transpiration, condensation, canopy humidity, air movement, and greenhouse disease pressure.
- Asthma and Allergy Foundation of America — Mold Allergy — mold exposure, rhinitis symptoms, indoor humidity, and dehumidifier use for reducing dampness.