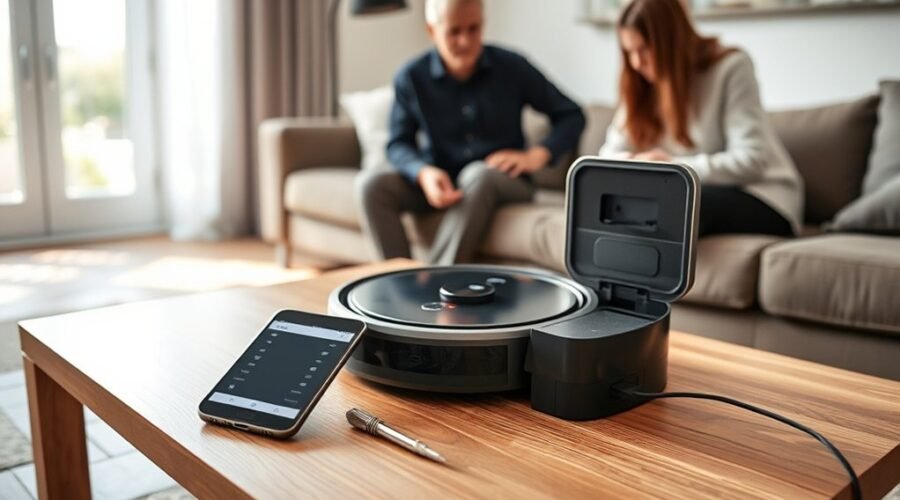
Transferring a robot vacuum to a new owner requires more than a handoff of the machine itself. The process can involve transfer rules, saved maps, app removal, and a full factory reset to clear account ties. Wi‑Fi access, cloud controls, and warranty status also matter. A missed step can leave the device partly linked or difficult to set up. The practical sequence begins with a few checks that are often overlooked.
Check the Robot Vacuum’s Transfer Rules
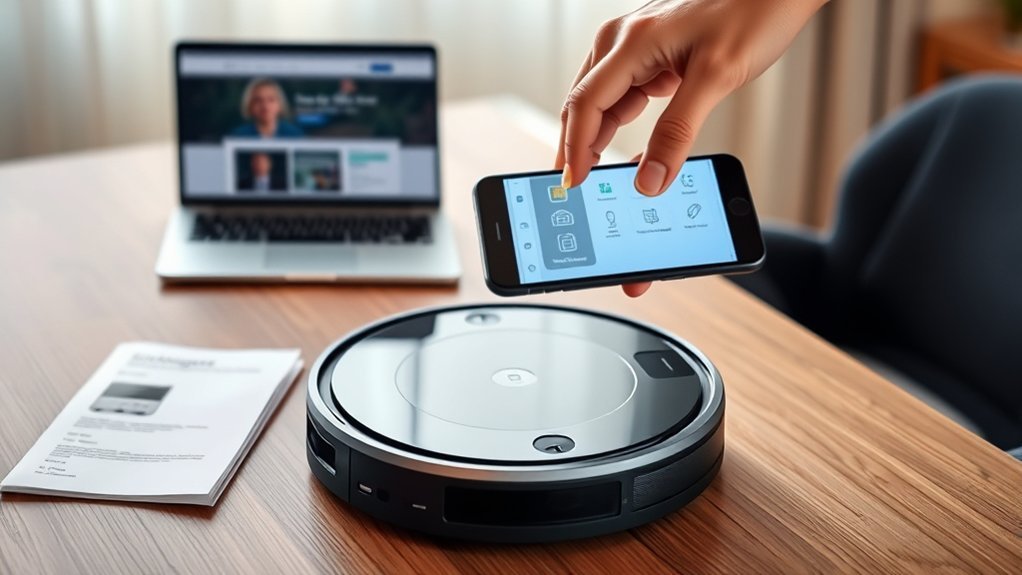
Before transferring ownership of a robot vacuum, the manufacturer’s policy on account changes should be checked, since some brands require a factory reset to unlink the device from the original account. This step determines whether the transfer can proceed cleanly or whether additional actions are mandatory.
The device’s support documentation should confirm whether registration may be moved, whether a factory reset is required, and whether the reset deletes stored settings, maps, and schedules. A careful review also helps identify any account restrictions, such as the need for a unique email address for the new owner.
If the vacuum was purchased from an unauthorized seller, warranty coverage may be limited after resale. The new owner should also have access to the same Wi‑Fi network during setup, since connectivity is typically needed to complete registration and release the device from the prior account.
Save Maps and Schedules First
Once the transfer rules are confirmed, any customized maps and cleaning schedules should be saved in the robot vacuum’s app before ownership changes hands. Most models provide a mobile app function to save maps and schedules, so the user should inspect settings for backup or export options.
This step preserves room layouts, no-go zones, and preferred cleaning times, protecting useful automation from being erased later. If the app supports export, the files or account records should be retained in a secure place.
The current owner should then inform the new owner that this data exists and explain how it can be imported into the incoming account. Clear handoff of the saved data gives the next user freedom from reconfiguring the vacuum from scratch.
The current owner should inform the new owner that the data exists and how to import it into the incoming account.
Because ownership transfer procedures typically remove stored preferences, early backup is the practical safeguard that keeps custom cleaning control intact.
Factory Reset the Robot Vacuum
Initiate a factory reset on the robot vacuum by following the manufacturer’s instructions, which typically require a specific button sequence or a reset option in the app.
This factory reset removes the prior owner’s schedules, maps, cleaning preferences, and other stored data, restoring the unit to a neutral state. That clean slate is essential for transfer, because it frees the device from the former configuration and prevents inherited settings from interfering with new use.
After the reset completes, the robot should indicate that it is ready to pair with a new account, often through a light pattern, voice prompt, or app notification.
At that point, the new owner can begin registration under their own app environment. During setup, the robot should be on the same Wi-Fi network as the new owner’s account to complete the handover efficiently and without friction.
Remove It From Your App
Open the iRobot Home app and go to the settings menu for the robot vacuum. In the device management area, the user should remove it from your app by selecting the robot, then choosing the Remove or Unbind command.
This action clears the current account link and prepares the unit for transfer ownership without lingering control from the previous owner.
- Open robot settings in the app.
- Select Manage Robot or the equivalent menu.
- Tap Remove or Unbind, then confirm each prompt.
- Verify the device no longer appears in the account list.
After unbinding, the robot is free of the former profile and ready for the next stage.
The new owner must then perform a factory reset and complete setup on the same Wi‑Fi network to claim the device under a new account.
Disconnect Wi‑Fi and Cloud Access
The robot vacuum should be removed from the companion app to break the account binding and revoke cloud access.
A factory reset should then be performed to clear Wi‑Fi credentials and any remaining network configuration on the device.
The app should be checked afterward to confirm that the vacuum no longer appears under registered devices.
Remove App Binding
To remove app binding, the robot vacuum should be accessed through its companion app, with the device connected to the same Wi‑Fi network before any changes are made.
In the settings menu, the user should remove app binding and deregister the unit from the account, following the prompts to confirm disconnection. This action restores ownership freedom and prevents the previous owner’s cloud control from persisting.
- Open the app and locate device settings.
- Select the unbind or remove account option.
- Confirm the disconnect request when prompted.
- Record the completion for transfer documentation.
Afterward, a factory reset should be completed to erase schedules, maps, and stored data, giving the new owner a clean, liberated start.
Reset Wi‑Fi Settings
With app binding removed, the next step is resetting the robot vacuum’s Wi‑Fi settings so the device disconnects from the current network and cloud services.
The owner should open the app, enter the settings menu, and select the option to disconnect Wi‑Fi and cloud access.
If the model requires it, the robot must be physically available and on the same Wi‑Fi network during this process.
A reset to factory is often necessary to clear saved networks, unlink account data, and erase stored schedules and maps. This restores the unit to a clean state for the next operator.
Manufacturer guidelines should be checked for model-specific unbinding steps, since procedures vary.
Completing this step removes remote control ties and returns operational independence to the device.
Pack the Dock and Accessories
Gather all components before packing, including the charging dock, power adapter, and any accessories such as virtual walls or mopping pads, so nothing is overlooked.
To pack the dock and accessories, each part should be inspected, cleaned, and grouped with deliberate order. The dock should be wrapped to shield contact points, and cables should be coiled without tight bends. A sturdy box or original packaging offers the best protection during transport, preserving function and reducing loss.
Manuals and instructional inserts should be included so the next owner can operate the unit with fewer barriers and more autonomy.
- Place the dock in the center of the box.
- Secure the adapter and cords in separate pouches.
- Add accessories and manuals beside the dock.
- Fill empty spaces with cushioning material.
This method keeps the transfer efficient, organized, and ready for a clean handoff.
Set Up the Vacuum on the New Account
Once the dock, adapter, and accessories are packed, the vacuum itself can be moved to the new owner’s account. A factory reset should be performed first to unlink it from the previous owner’s profile; this clears stored settings and data and returns the robot to an independent state.
The new owner should install the iRobot Home App and connect the phone to the same Wi-Fi network used by the vacuum. After logging into a unique iRobot account, the app can register the robot through the on-screen prompts.
The user should select the correct model, allow detection, and complete the setup sequence exactly as presented. When onboarding finishes, the account should expose core functions such as scheduling and mapping, confirming that ownership has transferred cleanly and that the machine is ready to operate under new control.
Reconnect and Run a Test Clean
After ownership transfer, the robot vacuum should be connected to the new owner’s Wi-Fi network through the app’s setup process. This reconnect step restores remote control and frees the device from the former account’s limits.
Once online, the app should be used to launch a test clean and confirm that navigation, suction, and docking respond as expected.
- Open the app and verify the vacuum appears as connected.
- Select a standard cleaning mode to start the test run.
- Watch for error codes, stalled movement, or missed zones.
- Review app alerts and apply any available firmware update.
During the test clean, the device should be observed closely to identify operational faults before routine use.
Observe the vacuum closely during its test clean to catch operational faults before routine use.
If the vacuum behaves normally, the new owner can proceed with confidence and manage settings independently. Familiarity with scheduling, maps, and cleaning modes supports efficient, self-directed maintenance.
Understand Warranty After the Sale
Warranty coverage should be verified before the sale, because a robot vacuum’s warranty may not transfer to the new owner, especially if it was purchased from an unauthorized seller, at auction, or through another nonapproved channel. The seller should document the warranty status and disclose any limits tied to the original receipt.
| Item | Detail |
|---|---|
| Warranty status | Check transfer rules before ownership changes |
| Claim support | Original purchase documents may be required |
| Liability | Seller may remain responsible for post-sale issues |
If the vacuum was acquired outside approved channels, the warranty may be void, reducing the buyer’s remedy options. Clear disclosure lets both parties act freely and with informed consent. The seller should also complete the unbinding process before handoff, so the device is detached from the prior account and ready for independent use. This sequence supports a clean transfer and minimizes disputes over future service claims.
Avoid Common Transfer Mistakes
Common transfer errors are avoided by unbinding the robot from the seller’s app account before handover, which prevents control conflicts for the new owner.
A factory reset should then be performed to clear stored data and remove prior account associations, while the new owner’s email must be verified as unused on another iRobot account.
Warranty status should also be confirmed and documented, since unauthorized purchases or incomplete transfer records can affect future claims.
Unbind Before Handover
Before handover, the robot vacuum should be unbound from the current owner’s account to prevent registration errors for the new user. This unbind step removes the device link and clears transfer barriers, granting the next owner a clean start.
The app should be opened, then the unbinding menu selected, while the vacuum remains on the same Wi-Fi network for reliable communication.
- Confirm the device is online.
- Follow the app’s unbind sequence.
- Verify removal from the account.
- Notify the new owner to create a separate iRobot Home App account.
If this process is skipped, a factory reset may be needed, which can erase schedules and maps. Proper unbinding preserves control, reduces friction, and supports a free, orderly ownership transfer.
Reset Account Access
Resetting account access should be completed through a factory reset so the robot vacuum is fully unlinked from the previous owner’s account, clearing stored schedules, maps, and other device data.
After the reset, the new owner should open the app, join the same Wi-Fi network used by the vacuum, and begin device registration. The email address entered must be unique and not already tied to another iRobot account, or setup errors may occur.
Any prompt for firmware updates should be accepted once ownership transfer is complete, since current software supports stable operation.
A brief record of the reset, account setup, and any changes made helps preserve clarity and gives the new owner full control without dependency on the former account holder.
Confirm Warranty Status
Once the robot vacuum has been factory reset and unbound from the prior account, the next step is to verify warranty status so the new owner understands what coverage remains.
To confirm warranty status, the seller should review purchase records, serial data, and transfer terms before handoff. A unit sold as brand new may still carry restrictions if the previous owner used an unauthorized seller.
- Check warranty start date and remaining term.
- Confirm whether the retailer was authorized.
- Provide proof of purchase and warranty documents.
- Disclose any exclusions, conditions, or transfer limits.
This prevents disputes and preserves the buyer’s autonomy.
Clear disclosure also guarantees the device can move forward without hidden obligations, allowing the new owner to act with full technical awareness and confidence.
Frequently Asked Questions
How Do I Transfer My iRobot to a New Owner?
A factory reset transfers the iRobot to a new owner, clearing maps, schedules, and account links. Ownership Etiquette requires the new user create a unique iRobot account, reconnect Wi-Fi, and complete setup in the app.
How Do I Reset Roomba for a New Owner?
Press and hold Clean for 10–20 seconds until the tone sounds. Guarantee full Battery Maintenance by charging first, remove the device from the iRobot app, and factory reset clears schedules, maps, and prior ownership data.
How to Factory Reset a Robot Vacuum?
The robot vacuum factory reset requires locating the reset button or app settings, then starting the Reset Process by holding the button 10–15 seconds, while powered. This liberates the device from schedules, maps, and user data.
How Do I Remove an Old Roomba From My Account?
Remove the Roomba in the iRobot Home App under robot settings; the theory that deletion fails without Wi-Fi holds true. Guarantee Account Management access, remove robot, then factory reset and confirm it no longer appears.
Conclusion
Transferring a robot vacuum is most reliable when the owner follows the manufacturer’s rules, saves maps and schedules, removes the device from the app, and performs a full factory reset. In practice, most setup failures come from leftover cloud bindings or a reused account. Industry support data often shows that reset-and-repair issues account for a large share of second-hand smart-device complaints. A clean handoff, plus a test clean, helps the new owner start with a stable, fully functional system.