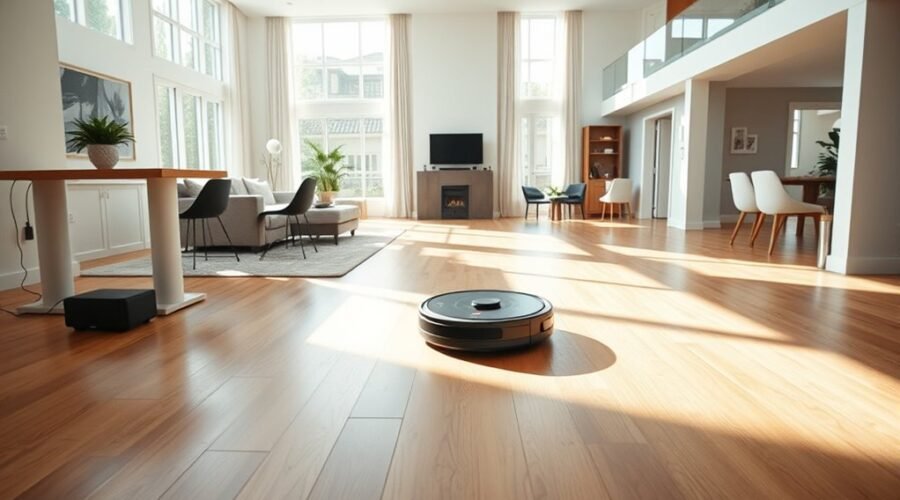
A reliable robot vacuum setup for large homes starts with a well-placed dock, accurate floor maps, and a cleaning plan that fits each room. Large or multi-story houses add challenges, including long routes, stairways, and areas far from the charger. A few setup choices can help your robot cover more floor with fewer interruptions.
Quick Answer
For a large home, place the dock on a level floor with the clearance your model requires. Save a separate map for each supported level, set room-specific cleaning rules, and keep travel paths open. Carry the robot between floors as needed, then return it for charging and maintenance.
At a Glance
| Time Required | One complete mapping run per floor; duration depends on size and layout |
| Difficulty | Basic setup, with model-specific app steps |
| Tools Needed | Robot vacuum, compatible dock, phone, and manufacturer’s app |
Choose a Robot Vacuum for Multi-Floor Homes
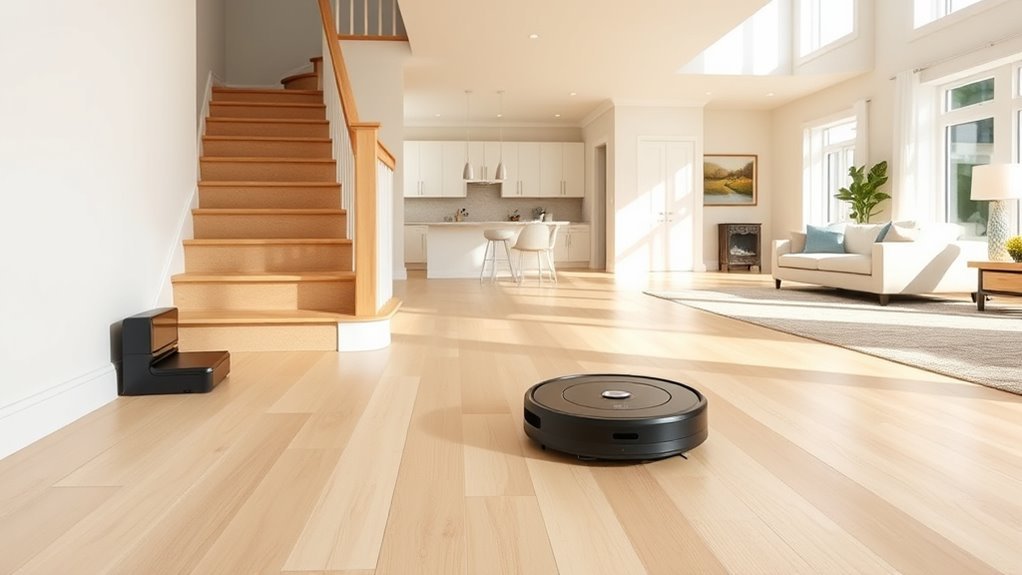
For a home with several levels, look for a robot vacuum that can save multiple floor maps. Each map should remember room boundaries and, where supported, cleaning zones. The robot cannot climb stairs, so you will still need to carry it to another level.
Before choosing a model, prioritize features that solve large-home problems rather than relying on advertised suction alone:
- Map capacity: Confirm how many separate floors the app can store. For example, iRobot lists three maps for several Roomba 100/1000 and 200/2000 models and five for the Plus 500 series in its ClearView LiDAR mapping guide. Limits differ even within one brand.
- Recharge and resume: A supported robot can pause, charge at its dock, and continue the unfinished area. This is valuable when one level is too large for a single battery charge.
- Navigation and obstacles: Accurate mapping, stair-edge sensors, and dependable movement around chair legs and thresholds help prevent missed rooms.
- Floor-specific controls: Look for room selection, no-go zones, adjustable suction, and mop restrictions if you have rugs.
- Dock features: A self-emptying or mop-washing dock cuts hands-on work, but those functions are available only when the robot can reach that dock.
Premium DEEBOT systems and Roborock models offer advanced navigation options, but individual features vary. Compare the exact model’s map limit, battery behavior, app controls, and dock requirements before buying.
Place the Dock for Reliable Returns
Put the charging dock against a wall on a hard, level surface, within reach of a power outlet. Choose an open location with clear approaches from the rooms the robot will clean. A hidden or cramped dock can make alignment and automatic charging less reliable.
Clearance rules are model-specific. For example, Roborock’s dock placement guidance calls for at least 0.5 m (1.6 ft) on each side, 1.5 m (4.9 ft) in front, and 1 m (3.3 ft) above. Use your own model’s manual if its measurements differ.
| Setup point | Target | Result |
|---|---|---|
| Surface | Hard, level floor | Stable charging contact |
| Clearance | Follow model specifications; Roborock example: 0.5 m sides, 1.5 m front | Open docking approach |
| Distance | Accessible from mapped rooms | Unblocked return path |
| Power | Connected, stable outlet | Reliable charging |
| Placement | Against a wall, away from stair edges | Safer, repeatable returns |
You do not need to place the dock within one meter of every cleaning area. For mapped homes, a consistent dock location and an open route matter more than keeping the base beside a particular room.
Map Each Floor Before Cleaning
Create a full map of each supported level before setting detailed room routines. Start with the main floor and make sure the robot can reach every room you want included. A complete first map helps prevent missing rooms and incorrect boundaries later.
Floor Mapping Setup
Prepare the floor before the first mapping run, then follow the app’s process for saving it. Some robots use a fast mapping mode without vacuuming, while others create the map during a cleaning cycle.
- Charge the robot and connect it to its manufacturer’s app.
- Remove loose obstacles such as charging cables, socks, and lightweight rugs that might snag.
- Open interior doors to rooms that should appear on the same map.
- Start the first mapping run using the appropriate mode in the app, without moving the robot mid-run.
- Save and review the finished map before adding room names, boundaries, or routines.
For additional floors, dock handling depends on the model. Roborock’s multi-floor instructions say that supported models can map another floor with the robot alone and return to the starting point. Other systems may require moving the dock for mapping. Follow your model’s specific directions rather than moving the station automatically.
Warning: Check that stair-edge or cliff sensors work correctly before cleaning an upper floor. Do not cover or disable them. A no-go zone adds a useful boundary but should not replace functioning fall-detection sensors.
Save Separate Floor Plans
Give each floor a clear name, such as Main Floor, Upstairs, or Basement. This makes it easier to select the right plan when you carry the robot between stories.
Use the app’s multi-map setting or new-map command when available. Do not overwrite an existing map by mistake. Check that rooms, stair openings, and restricted spaces appear on the correct level before running automated cleaning.
If your robot stores only one map, it may still vacuum another floor in a basic cleaning mode. However, room-specific commands and saved zones might not work there. In that case, use a compatible multi-map model if you need separate floor routines.
Save and Switch Between Floor Maps
After mapping, switch between saved plans as you move the vacuum from one level to another. Some robots recognize the floor automatically. Others need you to choose the matching map before cleaning.
Check Each Saved Floor Map
Review the boundaries on every map before the first scheduled run. Add room dividers if a large open-plan space has been grouped incorrectly, and check that narrow hallways connect to the right rooms.
When furniture moves or a room becomes accessible, run the model’s map-update or exploration process. Avoid deleting a good map until you’ve checked whether the app can add new spaces.
Switch Saved Maps
Carry the robot to the target floor and put it in an open area. Select that floor’s saved map if your app requires it, then start a room, zone, or whole-floor job.
When a robot cleans without a dock on that level, it may return to its starting point rather than recharging. You must then carry it back to the charging station. This also means automatic recharge and resume may not be available for that upstairs job.
For mop-equipped robots, wash or replace dirty pads and refill water as directed before starting another level. Some dock-dependent mopping functions may be unavailable away from the station. The exact behavior varies with the robot and dock.
Set Floor Rules
Give each level its own practical cleaning plan. A busy kitchen may need more frequent passes than a spare bedroom, while carpeted rooms may require a different suction or mopping setting.
- Select the correct map for the floor.
- Assign suitable suction and mopping settings by room, where supported.
- Set schedules for the rooms or zones you use most.
- Add no-go zones around tangled cords, delicate objects, and other problem areas.
Remember that a schedule cannot carry the robot upstairs. Unless you keep a separate compatible robot on that level, someone must move it before an upper-floor cleaning session.
On models with a reachable dock, iRobot’s recharge-and-resume guidance explains how supported machines return to charge and continue where they stopped. That feature is useful for large single-floor layouts, but it does not solve the problem of reaching a dock on another story.
Keep Wi-Fi Strong and Paths Clear
Reliable Wi-Fi helps the app load maps, apply schedules, and communicate with the robot across a large house. Do not assume that every model requires a 2.4-GHz network: some support both 2.4 and 5 GHz, as shown in iRobot’s model-by-model Wi-Fi setup guide.
If an upper floor has weak reception, improve the signal where you control and start the robot. However, loss of Wi-Fi does not always stop basic vacuuming. Roborock confirms that its robots can perform basic cleaning and return to the dock without Wi-Fi, while connected features need network access.
Keep pathways through hallways and over thresholds free of cords, shoes, and small toys. Check low furniture clearance and secure loose rug edges. A robot can have a good map yet still fail to reach a room if the physical route is blocked.
Pro Tip: After setting up each floor, run a short test that includes its farthest room and the route back. It can reveal blocked doorways, troublesome thresholds, or docking problems before you rely on automatic schedules.
Maintain Your Robot Vacuum Regularly
Large homes expose a robot to more dust, pet hair, and long cleaning routes. Regular maintenance protects pickup performance and helps the machine navigate and charge consistently.
- Check the dustbin after cleaning: Empty it when needed, or inspect the auto-empty dock and its bag or container.
- Inspect brushes and wheels: Remove wrapped hair, threads, and debris. Homes with shedding pets may need checks more often.
- Clean sensors: Wipe cliff, wall, and docking sensors with the cloth recommended by the maker. Pay special attention to stair-edge sensors.
- Care for the filter: Remove trapped dust and replace or wash it only as the model’s manual allows. Some robot vacuum filters must stay dry.
- Check the dock: Remove debris near charging contacts, the ramp, and any dust-emptying opening.
The right cleaning interval depends on floor area, pet shedding, and the specific machine. For example, iRobot’s robot-care instructions cover the caster wheel, cliff sensors, brushes, charging contacts, and cleaning head.
Follow manufacturer guidance for cleaning and service; harsh chemicals can damage components and reduce longevity.
For mopping models, also clean pads and service the water system as instructed. A robot that suddenly leaves dirt behind may need a simple brush, filter, or sensor check rather than a new map.
Key Takeaways
- Check a robot’s saved-map limit before buying; mapping features vary within the same brand.
- A permanent, reachable dock is especially useful when the robot needs to recharge mid-job.
- Upper-floor sessions without a dock may need manual charging and dust emptying afterward.
- Room-specific schedules help match cleaning frequency to traffic and floor type.
- Sensor care matters most near stairs; map boundaries cannot replace fall detection.
Frequently Asked Questions
What Is the Best Robot Vacuum for Large Houses?
The best choice is a model that maps your full floor area, supports recharge and resume, and has a dock suited to your cleaning needs. The Roborock Saros 20 is a strong premium candidate, with multi-floor mapping and an advertised 36,000 Pa suction rating. It is not automatically the best fit for every budget or floor plan.
What Are the Most Common Problems With Robot Vacuums?
Common problems include weak pickup, tangled brushes, missed rooms, map errors, and failed returns to the dock. Start by clearing obstacles and checking the bin, brushes, wheels, and sensors. If navigation is still unreliable, confirm that the correct map is selected and that the dock has not been moved unexpectedly.
Should You Run Your Robot Vacuum Every Day?
Daily robot vacuuming can help in busy rooms and homes with pets, but every room does not need the same schedule. Start with frequently used areas, then reduce or increase the number of runs based on dirt buildup. Remember that more frequent cleaning also means checking the bin, brushes, and dock more often.
Where to Hide Your Robot Vacuum?
You can keep a robot vacuum in an open furniture recess, a roomy closet area, or behind a room divider if the dock still has the required clearance. Avoid blocking the charging approach or storing the base on thick carpet. Keep power cords secure and leave enough access for emptying and cleaning the station.
Conclusion
A good robot vacuum setup for a large home is built around practical details: suitable mapping support, an accessible dock, open routes, and upkeep that matches your cleaning load. Map one floor fully, test the first cleaning run, and then add the remaining levels and schedules. That gives you a dependable routine without expecting one robot to move between stories by itself.
Sources
- iRobot ClearView LiDAR Maps Guide: floor-map limits and app mapping features.
- Roborock Dock Positioning Guide: level placement and exact clearance.
- Roborock Multi-Floor Mapping Guide: mapping without moving the dock on supported models.
- iRobot Recharge and Resume Guide: behavior when a robot needs more than one battery charge.
- iRobot Wi-Fi Setup Guide: model-specific 2.4-GHz and 5-GHz support.
- Roborock Offline Cleaning Guide: basic cleaning without Wi-Fi.
- iRobot Care Procedures: maintenance of sensors, rollers, wheels, and charging contacts.
- Roborock Saros 20 FAQs: Saros 20 suction and mapping features.