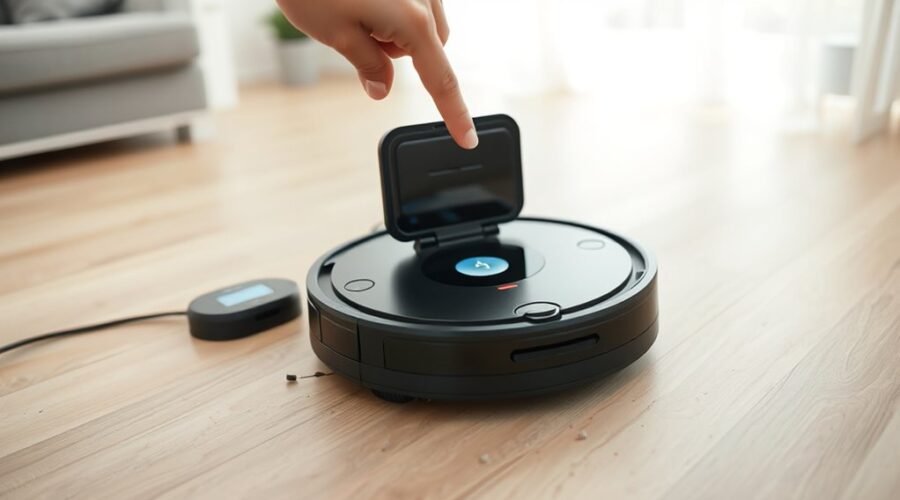
When a robot vacuum will not start, the cause is often basic but not always obvious. Battery charge, dock alignment, dirty contacts, and debris in the wheels or brushes can all prevent operation. Software faults and app connection issues may also interrupt startup. A structured check can isolate the fault quickly, but some cases require part replacement or service. The next steps identify where the failure begins.
Common Reasons a Robot Vacuum Won’t Start
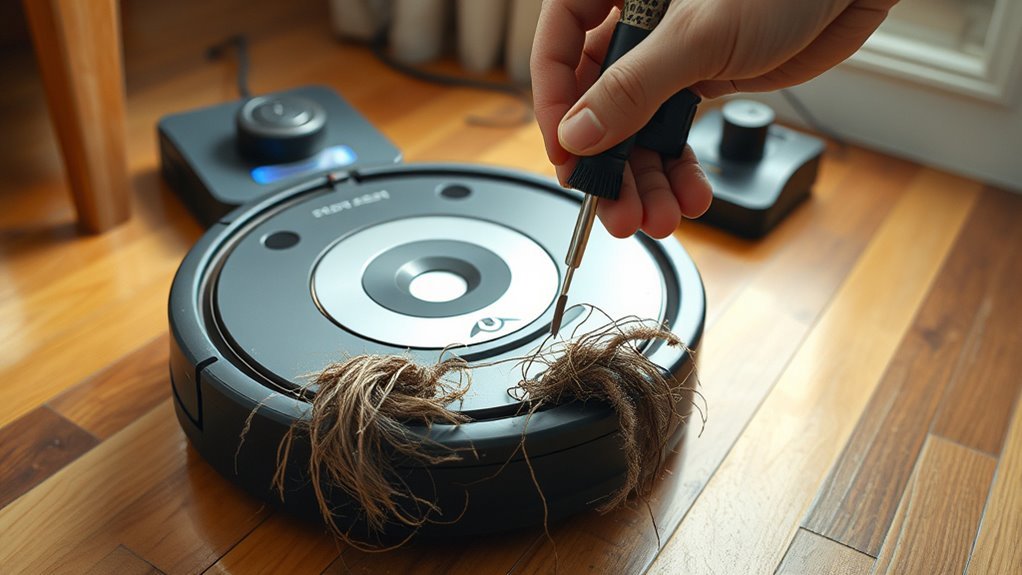
A robot vacuum that fails to start is often affected by one of several common faults. Battery issues are frequent; a degraded pack may lose charge rapidly and no longer deliver sufficient power.
Dirty charging contacts can also interrupt energy transfer, so users should clean the charging contacts with a dry cloth or isopropyl alcohol.
A full dustbin may trigger an internal lockout, and obstructions such as cords, hair, or debris around wheels can prevent startup.
Software issues, including outdated firmware, may block normal operation until updates are installed through the app.
These robot vacuum problems are best approached methodically. First, verify the power source and charger connection.
Then check the battery status, confirm the bin is empty, and remove visible obstructions.
If the unit still refuses to start, proceed with further troubleshooting steps or consult the manufacturer’s guidance.
Check the Robot Vacuum Battery and Dock
The robot vacuum should be verified as fully seated on the dock, since misalignment can interrupt charging and prevent startup.
Its charging contacts, along with the dock’s contacts and power source, should be inspected for dust, hair, oxidation, or outlet failure that may block power transfer.
If the battery level does not rise during charging or the pack shows wear such as swelling or overheating, battery replacement or adapter testing may be required.
Battery Charge Check
Before assuming a more serious fault, the robot vacuum’s power path should be verified from dock to battery. First, confirm the charging dock is connected to a functioning power outlet and that the adapter and cable show no fraying or damage. Then check the battery level indicator; a fully depleted battery may require extended charge time before the vacuum can start. If the battery remains low, continue troubleshooting.
| Check | Action |
|---|---|
| Power outlet | Verify mains power |
| Charging dock | Confirm plug and adapter |
| Battery level | Observe charge status |
| Contacts | Clean with dry cloth or isopropyl alcohol |
After cleaning, retest the vacuum. If it still will not start despite a charged battery, perform a soft reset or review firmware updates in the app.
Dock Contact Inspection
Charging failures often trace back to poor contact between the robot vacuum and its dock, so both sets of charging contacts should be inspected for dust, dirt, or oxidation.
The technician should inspect the robot and dock contacts, then remove residue with a dry cloth; stubborn buildup may require isopropyl alcohol. After cleaning, both surfaces must be completely dry before charging resumes.
Next, verify that the dock is connected to a working outlet and that its indicator light confirms power.
Check for obstruction or misalignment that could prevent proper seating. The adapter and cable should also be examined for damage, since a faulty adapter can interrupt charging. If available, a compatible spare adapter can isolate the fault.
This troubleshooting sequence restores reliable charging access.
Clean the Charging Contacts and Sensors
Dirt, dust, and oxidation on the charging contacts can interrupt the flow of power between the robot vacuum and its dock, making regular cleaning essential. Effective cleaning contacts on both the robot and charging dock reduces charging failures caused by dirt and residue.
A dry cloth is suitable for routine maintenance; if buildup persists, lightly apply isopropyl alcohol to the metal pads, then allow all surfaces to dry fully before charging.
Afterward, inspect the sensors for debris that could block startup signals or cause misreads. Clean sensors support reliable operation and help preserve peak performance.
The charging dock should rest on a flat surface with no surrounding obstructions, so docking alignment remains accurate and the unit can connect cleanly.
Regular cleaning, careful inspection, and disciplined maintenance extend service life and reduce avoidable downtime.
Clear Brushes, Wheels, and Obstructions
The robot vacuum should be inspected for tangled brushes and accumulated debris that can restrict rotation and reduce cleaning effectiveness.
Its wheels and rollers should be checked for lodged material that may impede movement or cause navigation failures.
The floor path should be cleared of large objects and other obstructions to prevent shutdowns and maintain smooth operation.
Inspect Tangled Brushes
Inspect the brushes, wheels, and cleaning path for hair, strings, debris, or small objects that may be obstructing movement or startup.
To inspect tangled brushes, lift the unit and examine each brush for wraparound fibers or compacted dirt. Such robot vacuum issues often reduce suction power and create blocked suction, so the brushes may need to clean or replace if damage is visible.
Consult the user manual for removal and reassembly steps, then test operation. Regular maintenance every 1-2 weeks helps prevent common problems and supports reliable performance.
If the machine still fails to start, troubleshoot for hidden obstructions in the cleaning path and around the intake. Keeping brushes clear preserves motion, improves efficiency, and frees the vacuum from avoidable mechanical resistance.
Unjam Wheels And Rollers
Clear any hair, debris, or compacted fibers from the brushes and wheels, since buildup can jam the drive system and prevent normal movement.
To unjam wheels, power off the vacuum, then inspect each roller for wrapped threads, lodged particles, or restricted rotation. A soft brush or cloth should be used to clean the brushes and remove tangles so they spin freely and preserve suction.
Wheel wells and axles also require maintenance; debris in these areas can reduce navigation accuracy and cause unexpected stops.
This methodical troubleshoot step supports steady vacuum performance and extends service life.
Repeat these checks every 1 to 2 weeks, or sooner in heavy-use environments, to keep the machine mobile, efficient, and free from avoidable mechanical resistance.
Remove Floor Obstructions
Removing floor obstructions helps restore normal robot vacuum movement and startup. To remove floor obstructions, regularly inspect brushes, rollers, and wheels for hair, dirt, and debris.
Clean the wheels and check for physical blockages that may stop motion or prevent the vacuum from powering up. The cleaning path should remain clear of loose wires, small objects, and furniture that can trap the unit.
Frequent maintenance of moving parts reduces tangles, preserves suction, and supports reliable operation. Sensors and charging contacts should also be wiped clean because dust can interfere with proper navigation and power transfer.
A disciplined inspection routine gives the machine freedom to move without resistance, ensuring proper navigation and startup. Such care also limits avoidable failures and extends performance.
Restart the Vacuum and Update the Firmware
A quick restart can clear temporary software glitches in a robot vacuum: hold the power button for a few seconds until the unit powers off, then turn it back on.
This simple step helps restart the robot after temporary issues and can restore normal operation without delay. If the fault persists, use the manufacturer’s app to check for available updates.
Keep the vacuum on its dock and confirm a stable Wi-Fi connection so firmware updates complete without interruption. These firmware updates often remove bugs, improve peak performance, and refine navigation accuracy. They can also improve compatibility with smart home devices.
Keep the vacuum docked and maintain a stable Wi-Fi connection so firmware updates finish smoothly and improve performance.
- Restart the robot first.
- Charge the robot on its dock.
- Check for available updates in the app.
- Keep Wi-Fi connection stable during download.
- Apply firmware updates for peak performance.
Fix Robot Vacuum Wi‑Fi and App Issues
Connectivity problems between a robot vacuum, its app, and Wi‑Fi are often resolved by verifying that the firmware is current, since outdated software can interfere with pairing and remote control.
If connectivity remains unstable, inspect the Wi‑Fi signal and move the charging dock closer to the router, reducing distance and obstructions that weaken the link.
Next, restart both the robot vacuum and the app to reset temporary faults. Within the app, re-enter the Wi‑Fi credentials carefully; a single error can block pairing and prevent command delivery.
If the robot vacuum still fails to connect, review the manual for model-specific troubleshooting steps covering app setup, network requirements, and local reset procedures.
This methodical process restores control without unnecessary delay, letting the system operate with greater independence and fewer interruptions.
Persistent Wi‑Fi problems usually indicate configuration errors rather than deeper failure, so disciplined troubleshooting should be applied before assuming hardware damage.
Replace Worn Parts or Contact Support
If the robot vacuum still fails to operate after software and network checks, attention should shift to physical wear and manufacturer assistance.
Routine troubleshooting steps should include inspection for common robot vacuum issues, especially when the vacuum fails to charge or shows visible damage. Users should replace worn parts such as filters and brushes, then verify battery replacement compatibility and correct seating.
If startup remains blocked, internal components may be implicated, requiring professional repair rather than improvised intervention.
- Replace worn parts on schedule
- Confirm battery replacement fits the model
- Check filters and brushes for obstruction
- Document recurring faults before contact support
- Escalate to professional repair for internal components
When the unit is under warranty, contact support promptly; factory service may provide repair or replacement at no cost.
Clear records of symptoms and prior troubleshooting steps improve diagnosis and protect access to service.
Frequently Asked Questions
My Robot Vacuum Won’t Start. What Can I Do to Fix It?
They should charge it fully, clean contacts, check charging dock issues, clear brushes, empty dustbin, reset, and update firmware. Robot vacuum maintenance, cleaning sensors regularly, troubleshooting battery problems, software updates needed, and error code meanings improve performance optimization tricks, vacuuming efficiency tips, robot vacuum safety, battery replacement tips.
How to Hard Reset Robo Vac?
Hard reset methods: hold power 10-15 seconds; what freedom lies in a silent machine? Then apply troubleshooting tips, vacuum maintenance, battery issues, software updates, cleaning sensors, power supply, app connectivity, error codes, warranty information.
What Are the Most Common Problems With Robot Vacuums?
Most common issues include Battery issues, Sensor malfunctions, Software glitches, Charging problems, Dustbin blockage, Wheel obstructions, Navigation errors, Remote control failures, Filter maintenance lapses, and Brush entanglements, each reducing autonomy and requiring systematic inspection.
Is There a Reset Button on My Roomba?
Usually not; like a locked gate opening, most Roombas use a Clean-button reset instead. He consults the troubleshooting guide overview, Roomba maintenance tips, battery replacement guide, and software updates importance for precise navigation issues solutions.
Conclusion
To sum up, a robot vacuum that will not start usually responds to a methodical check of battery, dock alignment, charging contacts, and physical obstructions. Restarting the unit, updating firmware, and resolving app or Wi‑Fi errors often restores normal operation. Like a machine asking for a clear path, it needs clean power and unobstructed movement. If worn parts or deeper faults remain, replacement or professional support is the prudent next step.