You can usually find the dehumidifier filter on the front or back panel, behind a cover panel, seam, latch, or built-in handle. Turn the unit off and unplug it first, then open the access point gently and slide the filter out without forcing it. Rinse it under hot water with the dirty side down, let it air-dry fully, and reinstall it snugly. Some models have extra filters, and the next steps show how to check them.
Find the Dehumidifier Filter
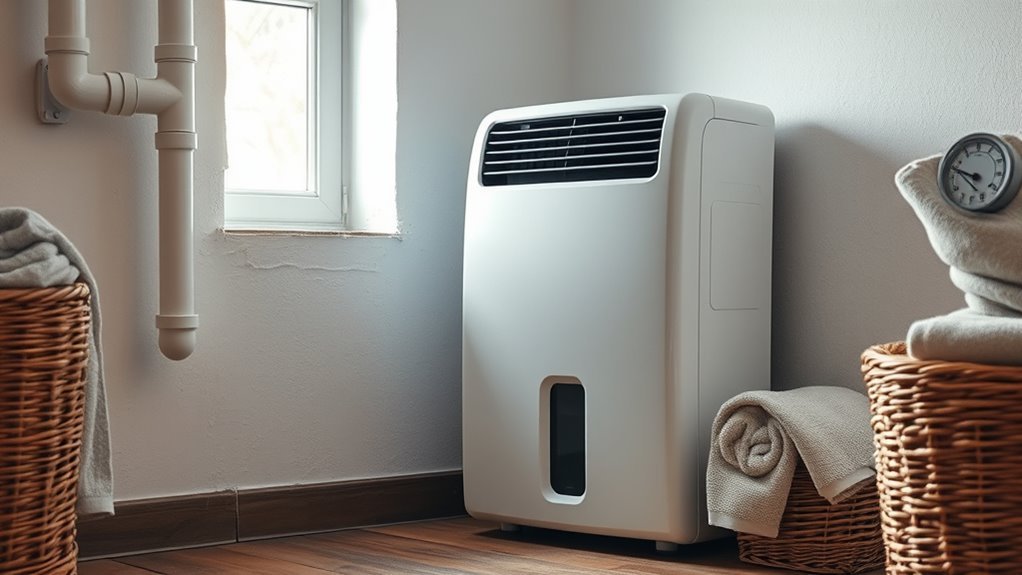
To find the dehumidifier filter, check the front or back panel of the unit, since the exact location depends on the model. You should inspect both areas, because some dehumidifiers include multiple filters. Look for a filter position that lets you remove it easily when you’re cleaning the air filter. Many units use a built-in handle or a marked access point to signal where the filter sits. If you don’t see it immediately, review the unit’s layout carefully instead of forcing anything. Regularly checking the filter location helps you maintain airflow, reduce strain, and protect performance without relying on hidden mechanisms. Your manual should give model-specific guidance, so use it to confirm the exact placement and access method. When you understand where the filter is, you take control of maintenance and keep the system working efficiently.
Locate the Filter Cover Panel
Check the front or back of the dehumidifier for the filter cover panel, since its location varies by model. You’ll usually see a subtle seam, handle, or finned grip that signals access. If a filter warning light is on, inspect the filter cover panel immediately. This simple check keeps airflow free and your machine working with less resistance.
Check the front or back for the filter cover panel, and inspect it promptly if a warning light appears.
- Scan the cabinet edges for the filter cover panel.
- Identify a handle, latch, or fin to open it cleanly.
- Verify the manual if the panel isn’t obvious.
Do this inspection regularly to prevent clogging, erratic operation, and unnecessary strain. Your user manual gives the exact location and opening method for your unit, so use it as your direct reference. When you locate the filter cover panel, you take control of maintenance, protect performance, and keep the dehumidifier ready for steady, dependable service.
Check the Front and Back Panels
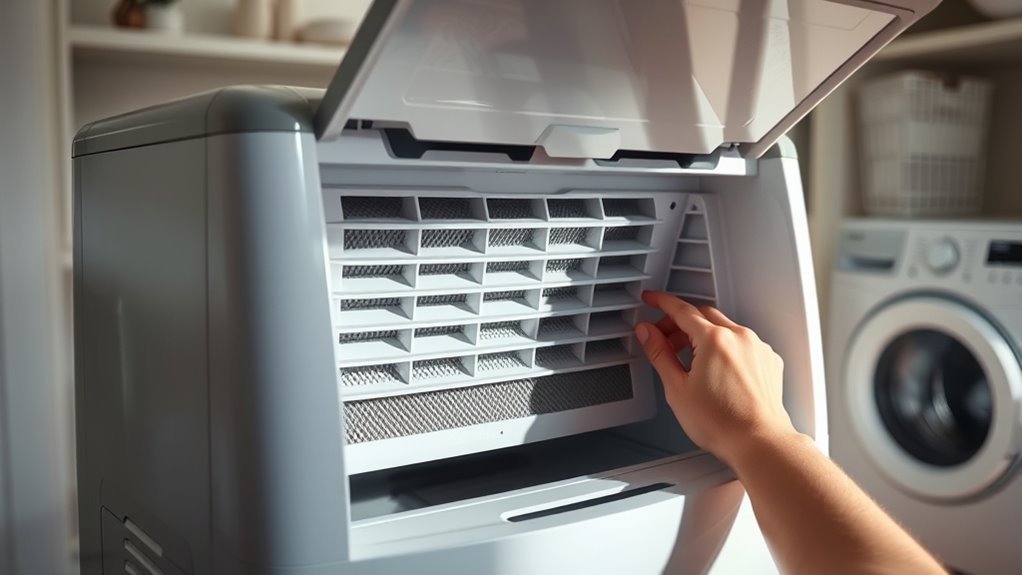
After you’ve found the cover panel, inspect both the front and back of the dehumidifier, since manufacturers often place the filter on the front for easy access, while some models mount it on the rear. Check the front grille first; if you see a handle, latch, or removable screen, you’ve likely found the filter bay. If nothing appears there, move to the back panel and look for the same access features. Model designs vary, so verify both sides before assuming the filter isn’t present. This quick inspection helps you stay in control of routine maintenance and keeps cleaning the filter on schedule. When you know the exact location, you can maintain airflow, reduce strain on the unit, and support healthier indoor air quality. Regular checks also help you catch layout differences early, preventing delays and malfunctions that limit performance.
Remove the Filter Safely
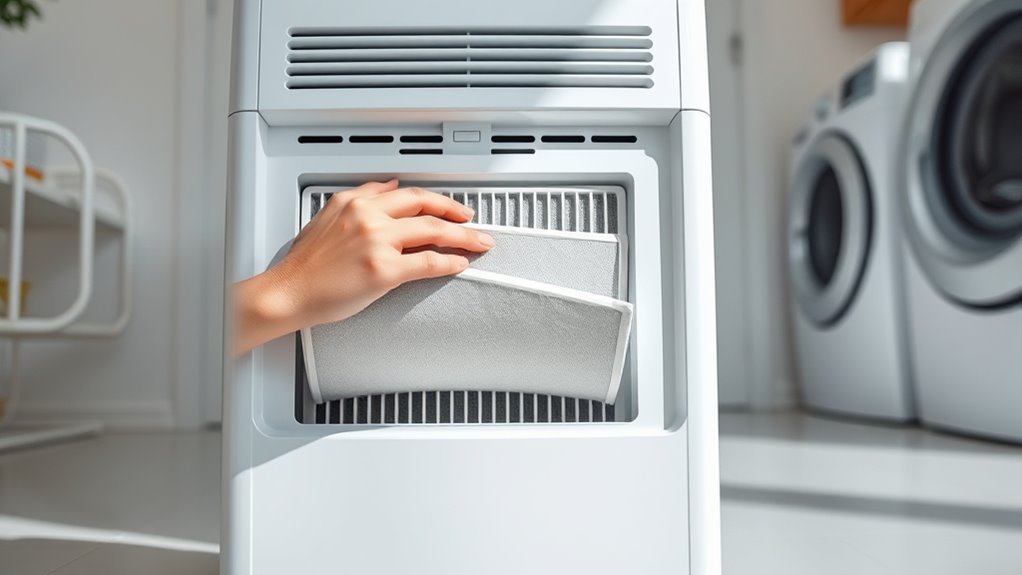
Unplug the dehumidifier before you touch the filter to eliminate shock risk and prevent component damage. Then locate the pull tab or handle and remove the filter with a straight, gentle motion so you don’t stress the housing. If the filter resists or the layout isn’t obvious, check the manual for your model’s removal procedure.
Power Off First
Before you remove the filter, power off the dehumidifier and unplug it to prevent electric shock. This power off first step gives you control and keeps you free from avoidable risk. Inspect the front or back panel to identify the access point, since models vary. Look for a handle or fins that mark the filter cover. Then, keep your focus tight:
- Confirm the cord is disconnected.
- Locate the panel with the filter access.
- Identify the tassel, handle, or latch.
Once you’ve found the filter, follow the manufacturer’s instructions and pull only as directed. Don’t force the cover or apply excess pressure; that can damage the unit. Careful preparation lets you remove the filter safely and move on with confidence.
Gentle Removal Steps
Once the unit is unplugged and you’ve found the filter cover, gently grasp the attached tassel or handle and pull the filter straight out. Use steady pressure; don’t twist, bend, or yank it, because the filter can be removed cleanly only when you avoid forcing the frame. If the cover panel sits on the front or back, open it fully before extraction. Inspect the edge for resistance, and stop if you feel binding. Some models use additional filters, so repeat the same careful motion for each layer. If the path isn’t obvious, check your user manual for the exact removal sequence. By handling the component with precision, you protect the unit, preserve airflow, and keep maintenance simple and independent.
Rinse the Filter With Water
Pull the filter from the dehumidifier by the tassel or by following your model’s removal instructions, then rinse it under hot water with the dirt side facing down so dust and debris wash free. To rinse the filter with water, keep the flow steady and work methodically like you’re reclaiming control over blocked air filters. If buildup stays lodged, use a sprayer to target the mesh and lift stubborn particles without tearing the material.
Rinse the filter under hot water, dirt side down, and use a sprayer to lift stubborn debris.
- Hold the filter at a slight angle so runoff carries grit away.
- Move the water across every section until the surface looks clear.
- Inspect the frame and edges for trapped residue.
Shake off excess water after rinsing so it doesn’t drip across your workspace. Handle the filter firmly but gently; you want a clean passage for airflow, not damage. This precise rinse restores function and keeps the unit ready for efficient operation.
Dry the Filter Completely
Let the filter air dry for at least 30 minutes after washing it, and don’t reinstall it until every trace of moisture is gone. To dry the filter completely, place it in a clean, ventilated area where air can move freely through the media. After the initial drying period, inspect both faces and the frame for damp spots. If you still feel moisture, keep drying. Use a clean cloth to blot remaining water from corners, seams, and edges, since trapped moisture invites mold growth and contamination. A fully dry filter preserves airflow, keeps the dehumidifier efficient, and reduces strain on the unit. When you dry the filter completely, you also help protect indoor air quality by preventing wet material from releasing captured particles back into your space. This step isn’t optional; it’s how you keep your system working cleanly, efficiently, and without unnecessary energy waste.
Reinstall the Filter Correctly
Slide the fully dry filter back into its designated slot so it sits snugly and supports proper airflow and efficiency. When you reinstall the filter correctly, guide it straight in without forcing it. A clean, exact fit prevents warping and keeps the unit working freely. If you’re sure to clean the surrounding tracks first, you reduce drag and debris buildup.
Guide the dry filter straight into place for a snug fit, smooth airflow, and reliable performance.
- Align the filter edges with the rails.
- Press gently until the filter seats flush.
- Wiggle it lightly; it shouldn’t shift or rattle.
If the filter feels loose, remove it and reset it rather than pushing harder. That protects both the filter and the dehumidifier from damage. After placement, close the cover panel fully so it locks in place and shields the filter. This final check preserves airflow, supports efficient moisture removal, and keeps your machine ready for independent, reliable operation.
Check for Extra Filters
After you’ve reinstalled the main filter, check whether your dehumidifier has any additional filters at the front or back of the unit. Use the user manual to confirm how many filters your model includes and where each one sits. Many units use a secondary pre-filter to trap larger particles before air reaches the main filter, and some add a separate dust or allergen screen. To check for extra filters, inspect intake grilles, removable panels, and rear access doors with care. If you find them, remove the filter media and clear away debris according to the manufacturer’s design. Clean or replace each extra filter as instructed so airflow stays unrestricted and the machine keeps working efficiently. If you skip this step, reduced airflow can force the unit to draw more power and limit its performance. You deserve equipment that works freely and reliably.
How Often to Clean the Filter?
Clean the dehumidifier filter every 2 to 3 weeks to keep the unit running efficiently. If you’re asking how often to clean the filter?, this interval is your baseline. Adjust it when humidity stays high or you run the machine daily. In dusty rooms, inspect it more often. A clean filter lets air move freely, supports stable moisture control, and lowers strain on the compressor. That means fewer repairs and less wasted power—freedom from avoidable costs.
- Visual check: pull the filter, hold it to light, and look for lint.
- Gentle cleaning: rinse or vacuum debris, then let it dry fully.
- Reinstall on schedule: return it before buildup blocks airflow.
When you maintain the filter regularly, you protect indoor air quality and extend the dehumidifier’s lifespan. Skip maintenance, and you’ll invite inefficiency, higher energy bills, and possible malfunctions.
Frequently Asked Questions
Where Is the Filter Located on a Dehumidifier?
You’ll usually find the filter on the front panel of your dehumidifier, though some units place it on the back. Check for a removable cover or handle, and practice regular Filter Maintenance to prevent buildup.
Would a Dehumidifier Help With COPD?
Yes—if you keep humidity at 30–50%, you can improve Breathing Comfort. About 1 in 10 COPD patients report symptom relief with drier air; a dehumidifier reduces mold and dust mites, easing airway stress.
Can a Dehumidifier Help With Dust Mites?
Yes—your dehumidifier can help with dust mites by lowering humidity below 50%, which limits their survival. For effective dust control, you should run it consistently, maintain airflow, and clean the filter regularly.
What Does a Dehumidifier Filter Look Like?
It’s usually a flat, rectangular or square panel of fibrous mesh, often white or gray. You’ll see dust buildup during Filter Maintenance. Check for a pull tab, handle, or layered pre-filter for easy removal.
Conclusion
Now you’ve found the dehumidifier filter, and its quiet mesh acts like a gatekeeper, catching dust before it clogs the system. Slide the cover panel open, remove the filter carefully, and inspect both the front and back for any extra screens. Rinse it with clean water, let it dry fully, then reinstall it securely. When you keep the filter clear, you help the unit breathe freely and work efficiently, just as a clear airway supports steady performance.