To install a crawl space dehumidifier, first size the unit for your crawl space and gather tools, tubing, clamps, and screws. Clear debris, fix leaks, and seal vents if needed. Place the unit on a level surface with good clearance, then run the drain line to a gravity outlet or pump. Plug it into a GFCI outlet, set the humidistat to 30%–50%, and test for leaks, airflow, and proper operation. More details can help you fine-tune the setup.
How a Crawl Space Dehumidifier Works

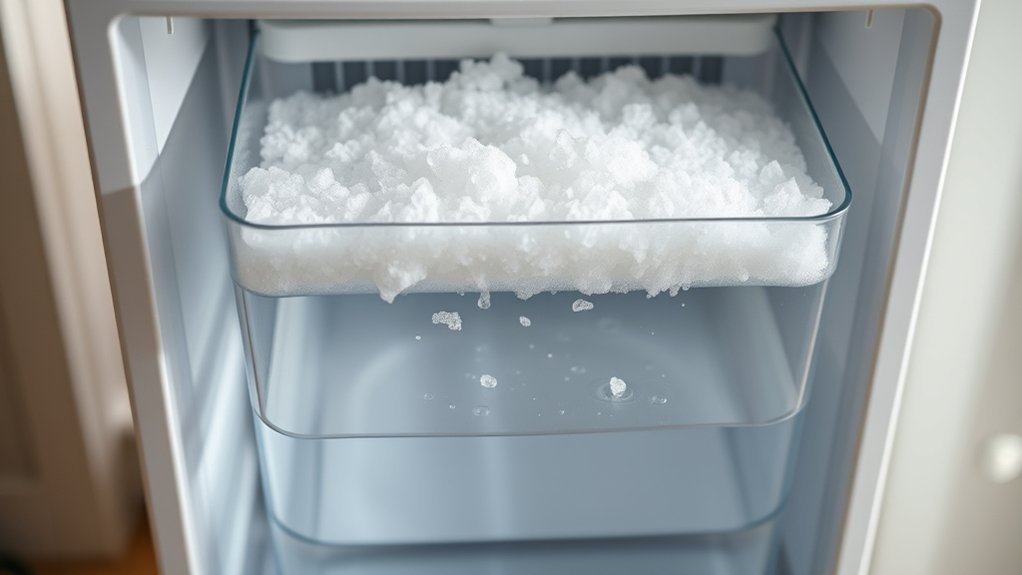
A crawl space dehumidifier pulls humid air across cooled coils, where moisture condenses and is collected for drainage. You use this crawl space dehumidifier to lower moisture levels and maintain steady humidity control in a confined, vulnerable area. As the unit runs, it removes water vapor from the air and can extract up to 85 pints daily under standard conditions, depending on ambient conditions. When temperatures drop, it keeps relative humidity low, helping you stop condensation before it starts and preventing moisture-related mold or structural damage. Most models plug into standard 120V outlets, so proper installation is usually straightforward and flexible. For continuous drainage, you can route water by gravity or connect a condensate pump when the discharge point sits above the unit. With reliable drainage, you keep the system working without interruption and protect the crawl space from uncontrolled dampness.
Pick the Right Dehumidifier Size
To size a crawl space dehumidifier correctly, start by measuring the area’s square footage: multiply the length by the width, then match that total to the unit’s moisture-removal capacity. This crawl space size gives you a direct baseline for your dehumidifier needs. Use the common rule of thumb: target about 1 pint of moisture removal per square foot per day, which usually lands between 85 and 180 pints for typical spaces. If your humidity levels run above 70%, choose a higher-capacity model so it can control excess moisture without strain. For crawl spaces over 2,000 square feet, use multiple units or a commercial-grade system. That capacity choice helps you secure the right dehumidifier and maintain stable conditions. Always check the manufacturer’s specifications, because performance varies by model and crawl space conditions.
Gather Tools and Prep the Crawl Space
Before you install the unit, gather the essential tools: a tape measure, drill, screws, level, utility knife, tubing, and clamps. You’ll need these tools to measure accurately, fasten components, and connect drainage without delay. Next, clear the crawl space of debris, clutter, and standing water so you can work safely and move freely. Inspect pipes and the exterior drainage system, then repair any leaks that could add moisture back into the area. If you’re encapsulating the crawl space, seal vents, but keep enough clearance for airflow so the dehumidifier can operate as designed. As you assess the area, identify the best dehumidifier placement and confirm at least 43 square feet of open space around the unit for proper air circulation. This preparation gives you control over the environment and sets the stage for efficient, reliable moisture management.
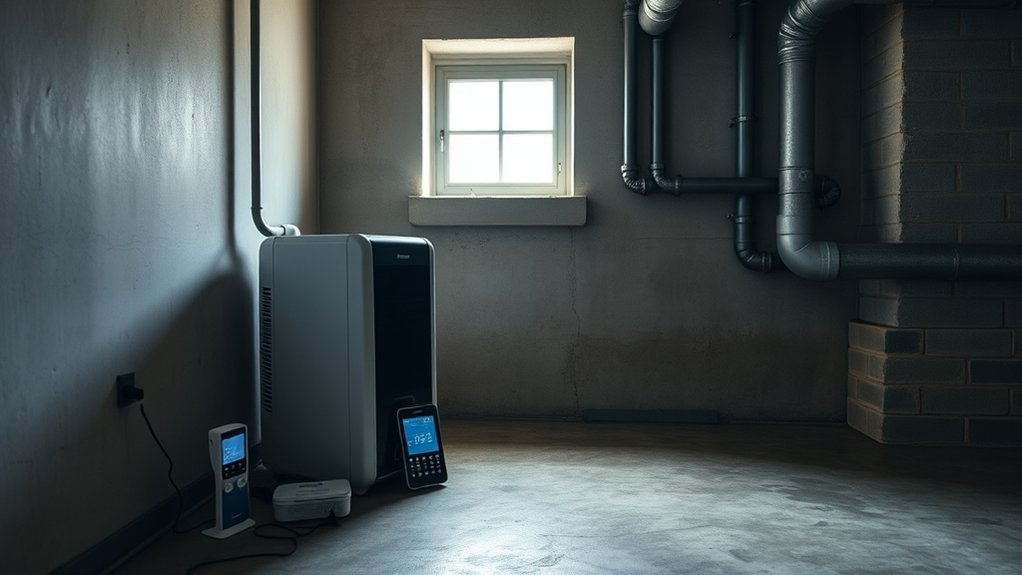
Where to Place the Dehumidifier
With the crawl space cleared and measured, place the dehumidifier near the center of the area so it can distribute air evenly and remove moisture effectively. When you position the dehumidifier, keep at least 43 square feet of open space around crawl space dehumidifiers to support proper airflow and prevent obstructions. Elevate the unit at least 6 inches above the ground so you don’t trap it in standing water and can maintain adequate drainage. In larger crawl spaces, especially those over 2,000 square feet, use multiple units to control humidity levels across the full footprint with independence and precision. Also, verify that the power cord can reach a GFCI outlet without strain; ideally, the outlet should be within 9.2 feet. This placement gives you stable operation, efficient moisture removal, and the control you need to reclaim the space.
Set Up Drainage the Right Way
Choose a drainage method that matches your crawl space layout: use gravity drainage when you’ve got a continuous downward slope, or install a pump when you don’t. Position the drain hose with a slight downhill angle and route it to a sump pump, floor drain, or exterior outlet without obstructions. Secure the hose to the dehumidifier’s drain outlet and check all connections for tight seals and leaks.
Drain Hose Placement
Set the drain hose so it runs with a slight downward slope from the dehumidifier to promote continuous water flow away from the unit. You’ll protect moisture removal by routing the drain hose to a drainage area and avoiding low spots where water can pool. Securely connect the drain hose to the drain outlet, and use clamps if needed for a tight seal. For gravity drainage, place the line where a floor drain or sump pit is available nearby. Inspect the run regularly for clogs or blockages to keep the system clear and efficient.
| Checkpoint | Action |
|---|---|
| Slope | Maintain a steady downward pitch |
| Connection | Securely connect at the outlet |
| Route | Lead to the drainage area |
| Pockets | Avoid low spots |
| Maintenance | Clear clogs or blockages |
Gravity vs Pump Drainage
When you’re setting up drainage for a crawl space dehumidifier, the right method depends on your site conditions: gravity drainage works only when the unit sits higher than the discharge point, while pump drainage uses a condensate pump to move water to a higher outlet when the crawl space is flat or slopes downward. For gravity drainage, position the unit to maintain slope in the drain line, about 1–2 degrees, so water moves by itself and you guarantee drainage without extra power. During drain hose installation, connect the hose securely to the outlet and keep bends minimal to preserve proper water flow. If your layout can’t support gravity drainage, choose pump drainage and route the condensate pump discharge to the target drain. Inspect and clean the line regularly so your system stays free and efficient.
Check For Leaks
Before you install the crawl space dehumidifier, inspect every pipe, fitting, and connection for leaks, because even small drips can add up to serious moisture problems. You should check for leaks along the drainage system before you secure the drain hose, then verify that every joint stays dry under pressure. In the crawl space, route the hose with a downward slope of at least 1 inch per 8 feet so water flow stays steady and you prevent pooling. Connect the hose tightly to the dehumidifier’s outlet and direct it to a sump pump, floor drain, or exterior discharge point. After startup, watch for seepage, blockages, or kinks, and clear them immediately. Precise drainage keeps moisture moving out and protects your space from hidden damage.
Connect Power Safely
Plug the crawl space dehumidifier into a GFCI outlet to reduce shock risk in a damp environment. Don’t rely on an extension cord unless you use a properly rated three-prong grounded cord, and only if the cord can’t reach a compliant outlet. Verify that the circuit can support the unit’s 120V load before you energize it.
GFCI Outlet Safety
A GFCI outlet is essential in a crawl space because it monitors current flow and cuts power immediately if it detects an imbalance, helping protect you from electrical shock in a damp environment. You should install the GFCI outlet where moisture is possible so your crawl space electrical protection stays active. During installation, connect the line and load terminals correctly; that’s what lets the device deliver full safety. After setup, press the Test button monthly, then reset it to verify proper operation. If the outlet trips often, inspect the wiring and the connected appliance right away, because recurring faults can signal a hidden hazard. This simple control gives you safer access to essential equipment and supports your freedom to work confidently in wet spaces.
Avoid Extension Cords
Keep your crawl space dehumidifier connected directly to a grounded, three-prong outlet, because extension cords can overheat and create a fire hazard with a high-power appliance. You protect safety and achieve peak performance when the electrical outlet sits within 9.2 feet of the dehumidifier. Never rely on extension cords, since they add resistance, reduce reliability, and expose you to electrical hazards. A dehumidifier typically needs a dedicated circuit, so if the outlet location doesn’t work, hire a licensed electrician to install a new one. Check the outlet, plug, and cord for wear, loose fit, or damage before operation, and keep the connection clear and secure. By powering the unit correctly, you preserve control, reduce risk, and support lasting, independent humidity management.
Check Circuit Load
Once you’ve confirmed the dehumidifier is plugged directly into a grounded outlet, verify that the circuit can safely carry the additional load. Use a voltage tester to confirm the receptacle is live and correctly wired. Then check circuit load by adding the amperage of every device on that branch; your dehumidifier installation should keep total demand under 80% of capacity.
- Confirm the outlet is a GFCI outlet for shock protection.
- Compare the dehumidifier’s amperage to the circuit rating.
- Move the unit to a dedicated outlet if the circuit is shared.
Standard 120V dehumidifiers work best on a dedicated outlet, especially in damp crawl spaces. If you can’t ascertain your crawl space circuit has enough capacity, upgrade it before operation. Safe power access protects equipment, preserves liberation from constant resets, and supports reliable humidity control.
Seal Vents and Check for Leaks
Seal every vent opening in the crawl space to block outside air and moisture from entering, since uncontrolled infiltration can push humidity above the ideal 30–50% range. You should seal vents with high-quality caulk or foam sealant, then inspect all joints for leaks around pipes, sill plates, and drainage penetrations. This step helps you prevent mold, reduce moisture issues, and keep the crawl space dry.
| Checkpoint | Action | Result |
|---|---|---|
| Vent gaps | Seal with foam | Tight closure |
| Pipe entries | Inspect for leaks | Lower humidity |
| Condensation | Look for water | Early warning |
| Floor liner | Pair with vapor barrier | Stronger control |
A vapor barrier works with sealed vents to limit ground moisture and improve dehumidifier performance. Recheck sealed areas for condensation or water intrusion after installation, and repair any failures immediately. When you control these pathways, you reclaim a cleaner, drier, more autonomous crawl space.
Test the Dehumidifier After Installation
With the vents sealed and leaks checked, power up the dehumidifier and set the target humidity between 30% and 50% for effective moisture control. During this installation test, verify that the unit begins cycling normally and that the crawl space air feels drier within a few hours.
Seal vents, check leaks, and set humidity to 30%–50% for effective crawl space moisture control.
- Monitor humidity with a hygrometer for the first few days. Track readings daily so you can confirm the dehumidifier is reducing moisture at a steady rate.
- Inspect drainage and all hose connections. Look for leaks, kinks, or standing water, because poor drainage can reduce efficiency and create new moisture problems.
- Listen for abnormal sounds such as rattling or loud vibration. These signals often point to an improper installation or a mechanical fault that needs immediate correction.
After about a month, review your electricity bill. Compare usage against expectations to judge the unit’s efficiency and confirm it’s operating as intended.
Set the Humidistat and Airflow
Set the humidistat to maintain relative humidity between 30% and 50% so your crawl space stays below the range that supports mold growth and structural damage. Next, set the humidistat to your target and verify that the dehumidifier helps hold stable humidity levels. If your crawl space is large, increase fan speed so airflow can circulate air across the full area. Keep at least 2 feet of clearance around the intake and exhaust so you don’t restrict performance. Use a hygrometer to monitor humidity and compare readings with the control setting. When conditions shift, adjust settings to restore the target range. You can also program a timer for afternoon operation, when moisture often peaks, to improve removal efficiency. This setup gives you tighter command over the space, reduces waste, and keeps the system working with precision rather than guesswork.
Keep It Running Smoothly
Keep the unit running efficiently by checking the air filter every 6–12 months and cleaning it as needed to preserve airflow and dehumidification performance. In your crawl space, a dehumidifier works best when you maintain clear passages and stable humidity control.
- Inspect the drain line regularly and unclog it immediately if you see kinks, sediment, or standing water. This prevents backup and keeps moisture moving out of the space.
- Monitor humidity with the controller and adjust settings so levels stay between 30% and 50%. That range supports effective moisture removal without overworking the unit.
- Schedule annual maintenance to check for mineral buildup, worn components, and other faults. Use the manufacturer’s manual to read diagnostic codes and solve problems fast.
With disciplined care, you keep the system efficient, extend service life, and protect the crawl space from excess moisture while preserving your freedom from preventable repairs.
Frequently Asked Questions
How Do You Install a Dehumidifier in a Crawlspace?
You install it by clearing your crawl space, leveling the base, placing the unit centrally, connecting drainage, and plugging into a grounded outlet. Then set humidity levels, check air circulation, and follow maintenance tips for energy efficiency.
Are Dehumidifiers Good for Dry Scalp?
Yes—if your air’s too humid, you can use a dehumidifier to support moisture balance, scalp health, and skin hydration. It won’t directly cure dry scalp remedies, but it may improve hair hydration during seasonal dryness, with dehumidifier benefits.
Can I Put a Dehumidifier in My Crawl Space Without Encapsulation?
Yes—you can, but 30% to 50% humidity targets stay harder to hit in your Crawl Space without encapsulation. You’ll still improve Moisture Control, Air Quality, Energy Efficiency, and Health Benefits if you follow Installation Tips and Maintenance Guidelines.
How Much Does It Cost to Have a Dehumidifier Installed in a Crawlspace?
You’ll usually pay $1,000-$2,500 installed. Cost factors include dehumidifier types, installation fees, energy efficiency, maintenance expenses, and Professional vs DIY choices. Higher upfront costs can yield long term savings if you select efficiently.
Conclusion
You’ve now installed your crawl space dehumidifier, so the space can stay dry instead of damp, protected instead of vulnerable. By sizing it correctly, placing it well, and setting proper drainage, you control moisture at the source. Seal vents, test performance, and keep the humidistat calibrated so the unit keeps working efficiently. A dry crawl space isn’t just cleaner; it helps guard your home’s structure, air quality, and long-term durability.