Your dehumidifier may stop working if the humidity setting is too low, the tank is full or misseated, or the drain hose is kinked, clogged, or leaking. Dirty filters, coils, or fan blades can restrict airflow and cause shutdowns. Frozen coils, a failed compressor, bad capacitor, or faulty humidistat can also prevent water collection. Check each part with a hygrometer and inspect for blockages, frost, or electrical faults to pinpoint the cause and uncover the fix.
Why Your Dehumidifier Won’t Collect Water?
If your dehumidifier isn’t collecting water, start by checking whether the humidity setting is too high or the ambient humidity is too low for the unit to engage. A Dehumidifier not collecting often points to blocked airflow, so inspect the filter and coils for dust or debris. Your regular maintenance should include cleaning these parts, because restricted airflow cuts moisture removal. Next, confirm the water tank isn’t full and that it’s seated correctly; a misaligned tank can stop the cycle. If the room is below 65°F, the coils may freeze, so power the unit off and let it thaw. If the issue continues, the compressor may be failing or refrigerant may be low, and you’ll need professional service. Don’t let a stalled appliance control your space; diagnose it methodically, restore function, and reclaim dry, breathable air.
Check the Humidity Setting First
Set the target humidity below the room’s current level, or the dehumidifier won’t activate and collect water. Match the setting to your comfort needs and local climate, and verify it with an external gauge if you have one. After any power loss or reset, recheck the control so it hasn’t reverted to a higher value.
Set Target Below Room Level
Your dehumidifier won’t start collecting water unless its target humidity is set below the actual room level. If you set the humidity level too high, the unit may stay idle and you’ll see no water in the tank. Verify the reading with a separate hygrometer, then compare it to your setpoint. Aim for an ideal humidity target between 30% and 50% in most spaces, and adjust as conditions change.
| Check | Action |
|---|---|
| Room reading | Confirm with hygrometer |
| Setpoint | Lower than room humidity |
If the room is 58% and your dehumidifier is set to 60%, it won’t activate. Lower the target, restart the unit, and watch for collection. This quick diagnostic keeps control in your hands.
Match Comfort And Climate
Start with the humidity setting, because a dehumidifier won’t kick on if its target is at or above the room’s actual humidity. You need to match comfort and climate, not force a setting that fights ambient humidity.
- Check the display and confirm your target sits below current humidity.
- Keep most units in the 30-50% range; outside that band, efficiency drops and dehumidifier freezing can appear in cold spaces.
- Use a hygrometer and your manual to align the setting with your model’s limits.
Adjust seasonally. A damp summer may need a lower target, while dry weather lets you relax the control. When you tune the setting to real conditions, you restore function, cut waste, and keep control over your air.
Recheck Settings After Power Loss
After a power loss, recheck the humidity setting first, because many dehumidifiers revert to default values and may not restart at the level you chose. If you want the unit to run, set the humidity target below the current room humidity; otherwise it may appear to stop working while waiting for a valid trigger. Check the display, confirm the mode, and recheck settings after any outage or unplug event. If the humidity settings are too high, the compressor won’t engage, so no moisture gets pulled from the air. Adjust settings as seasons change and room conditions shift. For your model’s correct range, consult the owner’s manual. Tight control keeps the machine responsive, efficient, and on your terms.
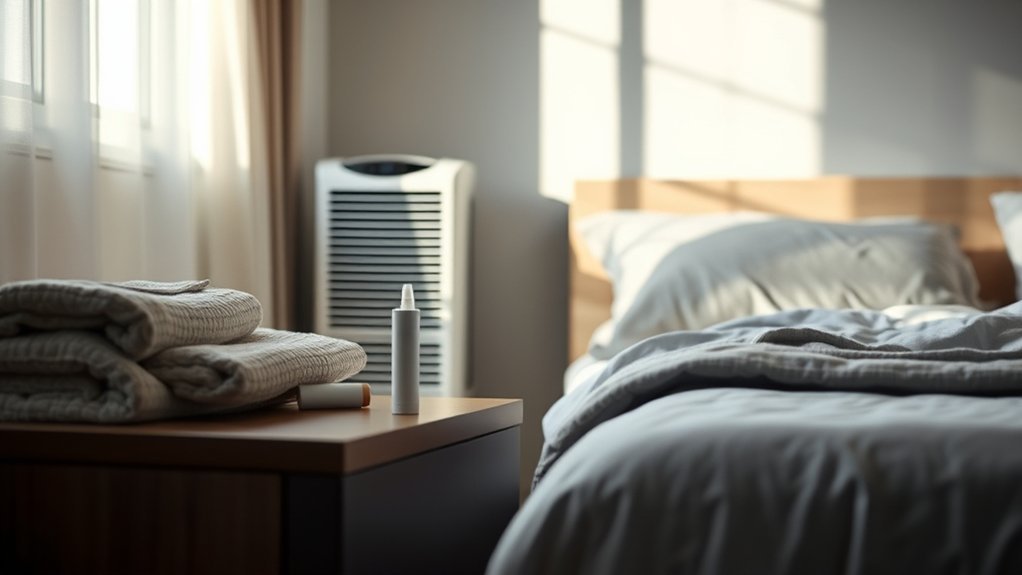
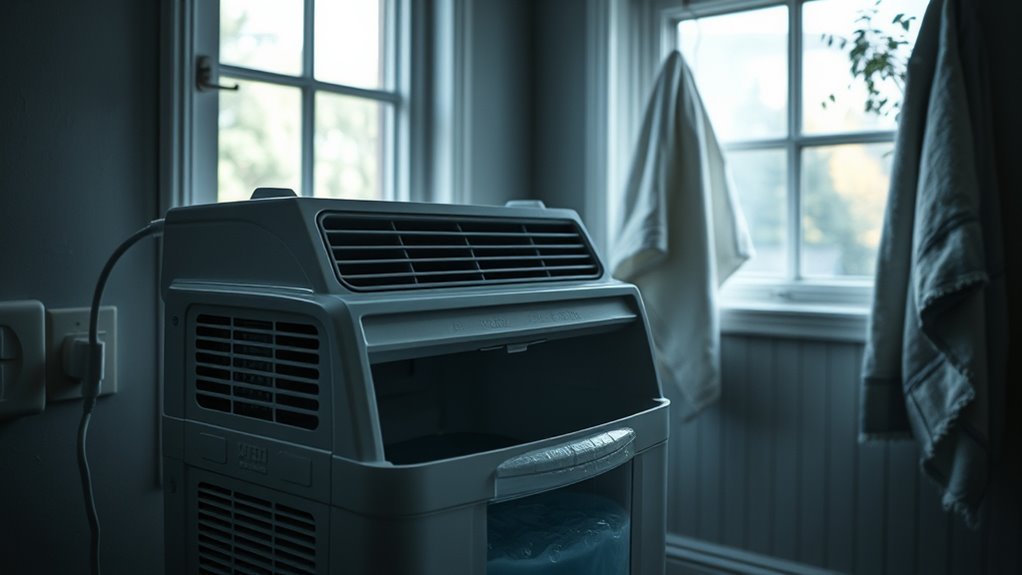
Inspect the Water Tank and Drain Hose
Check the water tank first, because a full tank will stop the dehumidifier from collecting more water until you empty it. Then confirm the water tank seats fully in place; if it’s misaligned, the unit can’t run. A loose tank can interrupt control switches and mimic a failure. Next, inspect the drain hose for kinks, clogs, or disconnected fittings. Poor flow can back up water and trigger overflow shutdowns. Follow this quick diagnostic path:
- Empty and reseat the water tank.
- Trace the drain hose from outlet to drain point.
- Verify the hose ends at a proper drainage point without leaks.
If the hose is blocked, clear it and restore a smooth path. If the connection is wrong, correct it so gravity can do its work. Clean the tank regularly too; buildup can breed mold and bacteria, hurting performance and air quality. With these checks, you reclaim reliable moisture control.
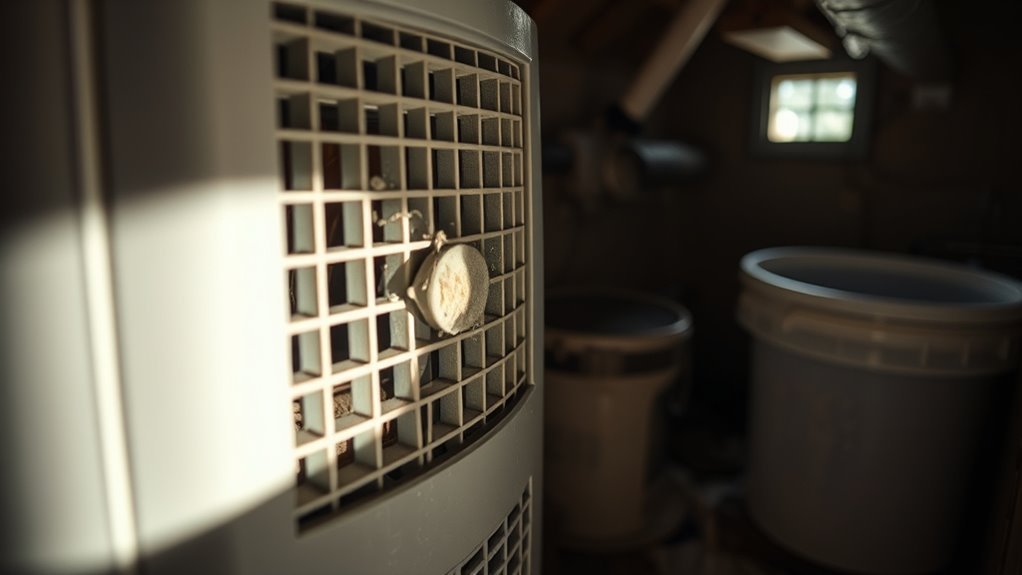
Clean the Filter, Coils, and Fan
Check the filter for blockage signs like reduced airflow, higher runtime, or visible dust buildup, and clean it monthly to keep resistance low. Clean the coils at least once per season so dirt doesn’t impair heat exchange or moisture removal. Inspect the fan blades and vents for debris, because obstructions can cut airflow and raise noise.
Filter Blockage Signs
If airflow drops and the unit starts running longer than usual, a clogged filter may be restricting moisture removal and causing the dehumidifier to overheat. You can spot filter blockage signs by checking for weak intake, rising cabinet heat, or persistent humidity. Don’t let dust control your comfort.
- Inspect the filter monthly for visible lint buildup or discoloration.
- Clean or replace filters every one to three months to restore airflow and prevent dust accumulation.
- Refit the panel securely, then retest for normal cycling and stronger moisture extraction.
A clogged filter forces the machine to work harder and wastes energy. With routine upkeep, you keep performance sharp, extend service life, and maintain the freedom of dry, reliable air.
Coil And Fan Cleaning
A clean airflow path starts with the filter, coils, and fan: wash or replace the filter at least monthly, clear dirt and debris from the coils, and use a soft brush or vacuum with a brush attachment to remove dust from the fan blades. This cleaning routine keeps your coil exposed to air and your fan moving freely, so the unit can pull moisture without strain. If the coil is coated with grime, heat transfer drops and dehumidification slows. If the fan is dirty, airflow weakens and the system can’t breathe. Follow the manufacturer’s cleaning intervals and methods, because they’re set to protect performance and lifespan. Regular maintenance improves energy efficiency, reduces shutdown risk, and helps you keep control of your space.
Look for Frozen Coils
Frozen coils usually point to a temperature or airflow problem. If your unit stops pulling moisture from the air, inspect the evaporator for frost or ice. When room temperature falls below 60°F, the coil can’t stay warm enough to stay clear. Low airflow also drives freezing by starving the coil of warm air.
Frozen coils usually signal low room temperature or restricted airflow, causing frost to build on the evaporator.
- Check the environment: if the space is too cool, move the dehumidifier to a warmer area.
- Inspect airflow paths: clean filters, clear blocked vents, and verify the fan can move air freely.
- If ice is present, shut the unit off and let it thaw fully before restarting.
Don’t keep forcing operation; frozen coils can strain internal parts and reduce performance. Many modern units include an automatic defrost cycle that helps prevent icing, but you still need regular maintenance. Clean the coils, preserve airflow, and you’ll keep the machine working with less waste and more control.
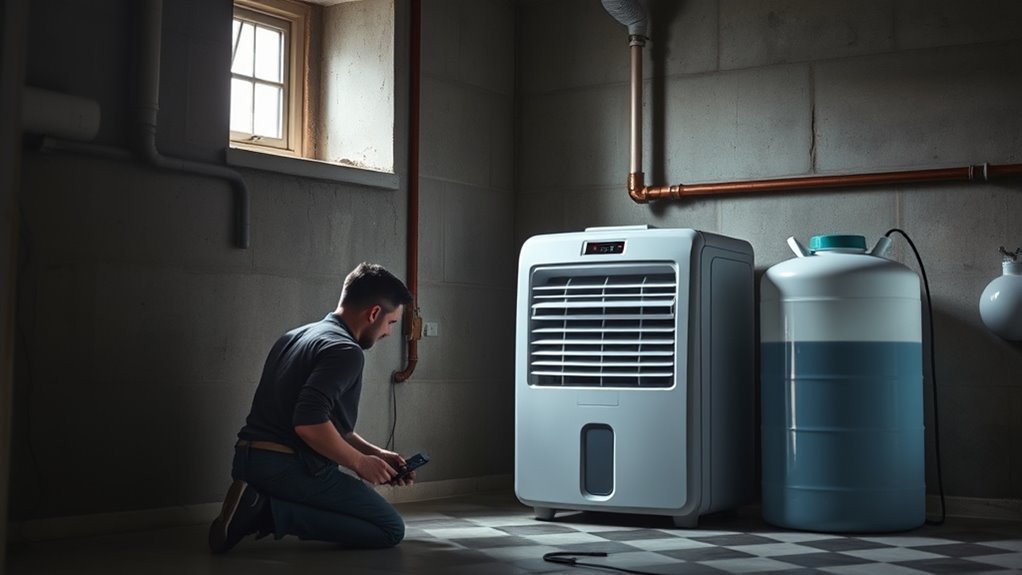
Check the Compressor, Capacitor, and Sensor
Next, check the compressor, capacitor, and humidistat sensor, since a fault in any of these parts can stop moisture removal. You’re looking for a clear electrical or control failure, not guesswork. The compressor must run to pull moisture from air; if it doesn’t, water collection stays low. A failed capacitor can block startup, so listen for a click or hum when the unit tries to engage. The sensor reads ambient humidity and tells the system when to activate; if it lies, the compressor may never turn on.
| Component | Diagnostic clue |
|---|---|
| compressor | No vibration, no cooling cycle |
| capacitor | Click or hum without start |
| sensor | Unit runs, but humidity control fails |
| all three | Unusual noise or no water collected |
If you spot these signs, you may need professional assessment, especially for compressor or capacitor faults. Checking these parts early keeps your dehumidifier working free of avoidable breakdowns.
Fix Leaks and Drain Problems
Inspect the tank, drain plug, hoses, and drain tube for any sign of leakage or blockage, because even a small fault can stop proper drainage. You’ll expose the fault faster if you test each path in order and keep the unit free to discharge water as designed. Watch for a cracked reservoir, a loose drain plug, or a float switch malfunction that won’t tell the system the tank is full.
- Verify the tank isn’t split and the plug seats tightly.
- Clear the blocked drain tube so water can’t back up.
- In continuous drainage, confirm hoses stay tight, straight, and open.
If water still escapes, trace it at the seams and fittings. A leak here usually means the drainage route is compromised, not the whole dehumidifier. Fix the path, restore flow, and let the machine work without constraint.
Repair or Replace Your Dehumidifier
When a fix doesn’t hold, weigh repair against replacement by checking warranty coverage, parts availability, and the unit’s age. If your warranty’s active, repair can cost you nothing and resolve common issues fast. Use this table:
| Check | Repair | Replacement |
|---|---|---|
| Warranty | Covered labor/parts | Not needed |
| Parts | Available, affordable | Scarce, costly |
| Age | Under 10 years | Over 10 years |
If your dehumidifier’s over 10 years old, replacement often wins because newer units run more efficiently and add better controls. When repairs keep recurring, don’t keep funding the same failure mode; choose replacement and reclaim your time, money, and control. Compare the repair quote with the price of a new model, then estimate energy savings over the unit’s remaining life. If a part is backordered or overpriced, replacement usually beats delay. You’re not obligated to nurse a tired machine forever; select the option that restores reliable humidity control with the least total cost.
Maintain Your Dehumidifier
To keep your dehumidifier running efficiently, clean the filters, coils, and fan blades regularly so dust doesn’t restrict airflow or reduce moisture removal. When you maintain your dehumidifier, you protect performance and keep control over your indoor climate. Empty the tank often, and don’t let water sit long enough to trigger overflow or leaks. Position the unit centrally so air can circulate freely and moisture drops faster.
- Clean filters, coils, and blades on a fixed schedule.
- Monitor humidity levels and adjust settings with seasonal shifts.
- Book annual servicing to inspect refrigerant charge and electrical parts.
You should also clean filters before they clog, because blockage forces the unit to work harder and shortens its life. If output falls, check placement first, then tank status, then airflow. Routine maintenance gives you reliable, efficient dehumidification without unnecessary failure.
Frequently Asked Questions
What to Do if the Dehumidifier Stops Working?
Check settings, empty and reseat the tank, clean filters and coils, and verify room temperature. These troubleshooting tips and maintenance practices address common issues; if you hear odd compressor noises, you’ll need professional repair.
What Is the Lifespan of a Dehumidifier?
Your dehumidifier’s lifespan is typically 5–10 years, like a steady lock on dampness. You’ll extend it with dehumidifier maintenance tips, set ideal humidity levels, and diagnose common malfunction causes before they shorten its service life.
Should You Use a Dehumidifier if You Have COPD?
Yes, you can use one for COPD management if your humidity levels stay between 30% and 50%; you’ll improve air quality, but monitor dryness, and check with your clinician to tailor settings safely.
How Do I Reset My Dehumidifier?
Reset your dehumidifier: unplug it for 10 minutes, then press the reset button. Empty and reseat the tank, reconnect Wi‑Fi if needed, and check settings. Ironically, these dehumidifier issues often yield to simple troubleshooting tips.
Conclusion
If your dehumidifier stops collecting water, don’t assume it’s dead. First, verify the humidity setting, empty the tank, and clear the drain hose. Then inspect the filter, coils, fan, and any ice buildup. If the unit still won’t cycle, you may have a failing compressor, capacitor, or sensor. Think of it like a blocked airway: when airflow or control fails, moisture can’t move. Regular cleaning and drainage checks prevent most breakdowns.