You can fix a dehumidifier sensor by unplugging the unit, opening the case, and inspecting the sensor for dust, corrosion, loose wiring, or damaged leads. Clean the part with alcohol, then test its resistance with a multimeter and compare it to the manufacturer’s specs. If the sensor still reads out of range, replace it and match the terminals exactly. After installation, calibrate it and watch performance for at least 30 minutes to confirm proper operation.
Signs Your Dehumidifier Sensor Is Failing
If your dehumidifier keeps running when indoor humidity is already normal, the sensor may not be reading moisture correctly. You should inspect the humidity sensor for a faulty humidity sensor condition, because inaccurate readings let the dehumidifier runs past the point of control. Check the control panel for erratic humidity levels, sudden jumps, or values that don’t match room conditions; these are signs your dehumidifier needs repair help. If the unit won’t start during high moisture, it may not detect excess moisture. Watch for persistent musty odors too, since they suggest the machine isn’t managing damp air effectively. A defective sensor can also raise energy use and bills by forcing longer cycles. If you see these symptoms, document the display behavior, verify the setpoint, and look for electrical problems before you assume the whole unit is failing.
Common Reasons Dehumidifier Sensors Fail
Dehumidifier sensors usually fail because of environmental stress, contamination, or electrical wear. When you expose a humidity sensor to extreme conditions, high humidity, or temperature swings, its internal parts can degrade and stop delivering accurate readings. Dust and debris can coat the sensing surface, blocking airflow and causing faulty sensors to misread moisture levels. Moisture-driven corrosion can attack contacts and connectors, which creates erratic output and unstable control signals. Loose wiring or damaged leads can interrupt the sensor circuit, so the unit may misinterpret the room’s humidity. Over time, wear and tear from regular operation weakens the component; many sensors last about 10 years under normal use, less in harsh spaces. You can’t restore a worn sensor with calibration alone if the damage is physical. If cleaning and connection checks don’t stabilize performance, you’ll need to replace the sensor and regain dependable control.
Tools to Test and Replace the Sensor
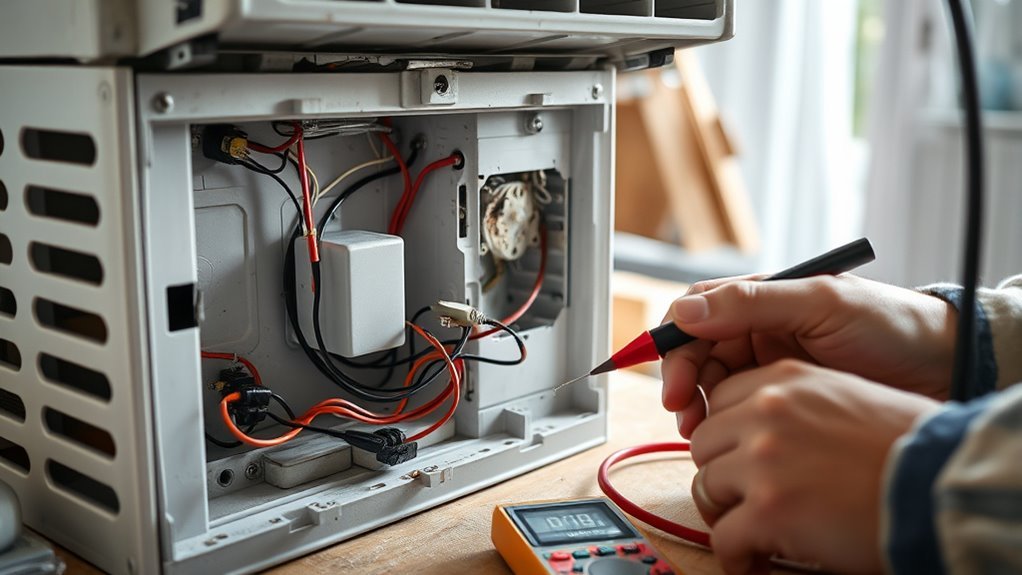
To test and replace a faulty humidity sensor, you’ll need a digital multimeter to check voltage, current, and resistance, plus a complete screwdriver set and wire strippers for safe disassembly and rewiring. Add tools such as pliers, a clean cloth, and alcohol for the removal of the sensor and its housing. Before you cut power supply, match the replacement sensor to your specific dehumidifier model and part number so you don’t buy the wrong module.
| Tool | Purpose |
|---|---|
| digital multimeter | verify sensor output |
| screwdriver set | open the cabinet |
| clean cloth | clear dust or corrosion |
Use the multimeter to test the humidity circuit and confirm an accurate reading after installation. Pliers help release tight connectors, while wire strippers keep leads clean. A replacement sensor may cost $6.99 to $31.99, so choose carefully. After fitting the new part, reassemble the unit tightly and calibrate it for reliable performance and restored control.
How to Test the Dehumidifier Sensor
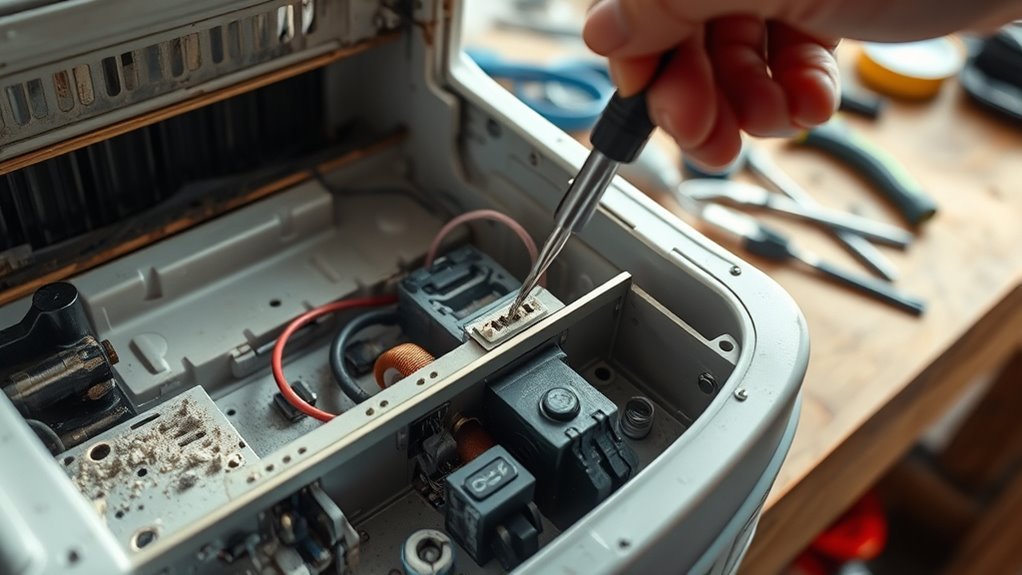
After unplugging the unit, remove the outer casing so you can access the humidity sensor near the evaporator coil or air intake. Inspect the dehumidifier sensor for corrosion, loose wires, or physical damage that could disrupt functionality. Set your multimeter to the correct resistance range, then test the sensor leads and note the readings. Compare them with the manufacturer’s specifications; accurate humidity control depends on matching values. If the readings drift outside spec or jump inconsistently, the sensor isn’t performing reliably. Clean the sensor carefully with rubbing alcohol to remove residue and restore contact. Recheck the resistance after cleaning to confirm improvement. If the readings still fail to stabilize, replace the sensor so your dehumidifier can regain precise control. Make this test every six months to protect your space, preserve efficiency, and prevent costly repairs.
Replace the Sensor and Check Your Readings
Once you’ve confirmed the old sensor is out of spec, install the correct replacement model so it matches your dehumidifier’s wiring and control system. Verify the model number first; wrong parts can corrupt humidity readings and waste your effort. Before you replace the sensor, use a multimeter to measure the old unit’s resistance against manufacturer specs, then disconnect the old sensor and note each wire location.
- Fit the new one firmly and match terminals exactly.
- Calibrate it with the salt-solution method so the humidity sensor reports accurately.
- Compare readings with a trusted hygrometer, then monitor the dehumidifier’s performance for at least 30 minutes.
If the values drift, power down, recheck connections, and retest. In most dehumidifiers, a correct sensor swap restores stable control and gives you back reliable, liberated humidity management without guesswork.
Frequently Asked Questions
How to Clean a Dehumidifier Sensor?
Unplug it, open the casing, and wipe the sensor with a rubbing-alcohol swab. Follow these sensor maintenance tips, use proper cleaning supplies needed, inspect common sensor issues, and practice preventive care strategies, understanding humidity levels.
What Does EH Mean on a Soleus Air Dehumidifier?
EH on your Soleus Air dehumidifier means the humidity sensor’s reading is faulty, so dehumidifier functions stop. Check humidity levels, follow sensor troubleshooting, review error codes, apply maintenance tips, consult the user manual, and replace defective parts for moisture control.
How to Check if a Dehumidifier Is Working?
Check humidity level indicators, compare with a hygrometer, and watch for dehumidifier malfunction signs. Test water collection, inspect airflow issues, do power supply checks, filter maintenance tips, electrical connections inspection, sensor calibration methods, noise level concerns, performance improvement techniques.
Can You Repair a Dehumidifier?
Yes—you can repair a dehumidifier. With repair tools, you’ll handle dehumidifier maintenance, sensor troubleshooting, and common issues, then choose DIY solutions or sensor replacement, restoring humidity control, unit efficiency, avoiding electrical problems, and saving costs.
Conclusion
If your dehumidifier still cycles incorrectly after you test and replace the sensor, don’t ignore it. A failed humidity sensor is a common issue, and U.S. home appliance surveys show that sensors account for a noticeable share of HVAC control faults. Recheck your wiring, confirm the new sensor matches the model, and verify readings with a hygrometer. With careful testing and installation, you can restore accurate moisture control and keep your unit running efficiently.