To fix a dehumidifier sensor, first confirm the sensor is the real problem, because continuous mode, a dirty filter, or a misplaced bucket can mimic a bad one. Then unplug the unit, clean dust from the sensor, check the connector and wiring, and replace the sensor only with the exact part for your model.
A dehumidifier that runs too long, stops too soon, or shows an unrealistic humidity reading may have a faulty sensor, but the sensor is only one possible cause. Before opening the cabinet, check the operating mode, filter, water bucket, room temperature, error code, warranty, and recall status. Electrical testing must follow the service information for your exact model.
Quick Answer and Safety Warning
- Unplug the dehumidifier and confirm it is not recalled before you open it.
- Rule out normal operating conditions first: mode, setpoint, filter, bucket, drain, and room temperature.
- Clean dust from the sensor without wetting its sensing element.
- Test or replace the sensor only with model-specific pinouts and part numbers.
- Compare the display with a separate hygrometer and watch a full operating cycle.
Warning: Check your model and serial number against the CPSC dehumidifier warning and recall list. For recalled units, CPSC urges consumers to turn off and unplug them right away and follow the remedy. Always unplug before removing panels, do not touch capacitor terminals, and leave energized voltage tests to trained technicians.
Signs Your Dehumidifier Sensor Is Failing
A sensor problem becomes more likely when the displayed humidity is clearly unrealistic, changes abruptly without a change in the room, or triggers a sensor-related error code. The unit may also run far past its setpoint or stay off while the room is noticeably damp.
- The display stays stuck at one humidity value.
- The reading jumps between unusually high and low values.
- The display differs consistently from a reliable hygrometer after both readings stabilize.
- The compressor cycles at odd times even though the setpoint and mode are correct.
- A model-specific code points to a humidity sensor, temperature sensor, or sensor circuit.
- The sensor connector shows corrosion, a broken lead, or a loose terminal.
A musty odor or high energy use shows poor moisture control, but neither proves the sensor has failed. Dampness may come from too little capacity, blocked airflow, a cool room, a drainage problem, or a building moisture source.
Tip: Place a separate hygrometer nearby at roughly the same height, but not in the dehumidifier’s intake or warm exhaust stream. Let both readings settle before comparing. A small difference is normal because the two sensors sit in different spots and have different tolerances.
Rule Out Other Problems Before Blaming the Sensor
Many operating conditions look like a failed humidity sensor. Complete these checks before opening the cabinet.
- Check the operating mode. Continuous mode keeps the unit running regardless of the selected humidity, and some automatic modes choose their own setpoint.
- Confirm the setpoint. The unit will not run if the room is already at or below the selected humidity.
- Seat the bucket correctly. A full, missing, or poorly seated bucket can stop the compressor or the whole unit.
- Clean the air filter. Restricted airflow can reduce water collection and cause icing.
- Inspect intake and exhaust. Curtains, furniture, or a nearby wall can restrict airflow.
- Check room temperature. Refrigerant dehumidifiers may collect less water or go into defrost in a cool room.
- Allow for a restart delay. Some models wait several minutes before the compressor restarts after power returns. Check your manual.
- Check the drain setup. A kinked hose or blocked pump can stop drainage without any sensor fault.
- Read the exact error-code definition. Codes differ by brand. Midea lists AS as a humidity sensor error and ES as an evaporator tube temperature sensor error. Frigidaire lists AS, ES, F1, F2, L1, and F5 as codes meaning a temperature or humidity sensor has failed. Both brands point to customer support if the code persists.
Common Reasons Dehumidifier Sensors Fail
Sensors become inaccurate through contamination, corrosion, wiring damage, component failure, or a problem elsewhere in the sensor circuit.
- Dust buildup: Dust over the sensor opening can slow its response to room air.
- Condensation or corrosion: Moisture can corrode connector pins, traces, or wire terminals.
- Loose wiring: Vibration and repeated heating and cooling can loosen a plug or weaken a conductor.
- Damaged leads: A pinched or broken wire can create an open or intermittent circuit.
- Chemical contamination: Sprays, solvents, smoke, grease, or renovation dust may affect an exposed sensing element.
- Failed sensor electronics: A combined humidity and temperature board can fail even when its wiring looks fine.
- Control-board trouble: A good sensor can look faulty if the board cannot read its signal correctly.
There is no universal lifespan for a dehumidifier sensor. It depends on the design, heat, moisture exposure, contamination, and the surrounding electronics.
Tools to Test and Replace the Sensor
Gather the exact model documentation before ordering a part. The model and serial label is usually on the back or side of the cabinet. Match the replacement by the manufacturer’s part number, connector, mounting points, and wire arrangement.
| Tool | Purpose |
|---|---|
| Owner or service manual | Error codes, disassembly steps, sensor type, pinout, expected readings |
| Digital multimeter | Continuity or resistance checks only when the service procedure specifies how |
| Screwdriver set | Removes the correct cabinet and control-panel fasteners |
| Soft brush or gentle air source | Removes loose dust without wetting the sensing element |
| Phone camera and labels | Records connector orientation and wire locations before removal |
| Independent hygrometer | Gives a separate room-humidity reading for comparison |
Note on cost: Some dehumidifiers sell the sensor alone, while others use a complete sensor board or wiring assembly. Part prices and availability vary widely, so check the manufacturer or an authorized parts dealer for your model.
Recommended Products

✨✨✨COMPATIBILITY: Specifically designed to work with HIS06 humidifier models as a direct replacement humidity and temperature sensor module board

Compatible With Models Having Tank Capacities of 50 and 70 Pints.

COMPATIBILITY: Specifically designed as a replacement humidity sensor module board for HIS06 model for dehumidifiers and humidifiers
How to Test the Dehumidifier Sensor
Recommended Products

Using high-performance humidity sensor elements, with water resistance, fast response, low humidity hysteresis, stable and reliable performance, good consistency and interchangeability

Dehumidifier Humidity Sensor Board SOLEUS BLACK & DECKER A2TM

COMPATIBILITY: Designed as a direct replacement sensor module board for various humidifier and dehumidifier models, ensuring accurate humidity detection
1. Confirm the Model and Error Code
Record the full model and serial number and find the owner manual. Confirm whether the code refers to room humidity, room temperature, evaporator temperature, wiring, or the control board.
A dehumidifier may contain a room humidity sensor, a room-temperature thermistor, an evaporator or coil thermistor, or a combined temperature and humidity board. Do not assume they share the same connector or test method.
2. Disconnect Power and Open the Cabinet
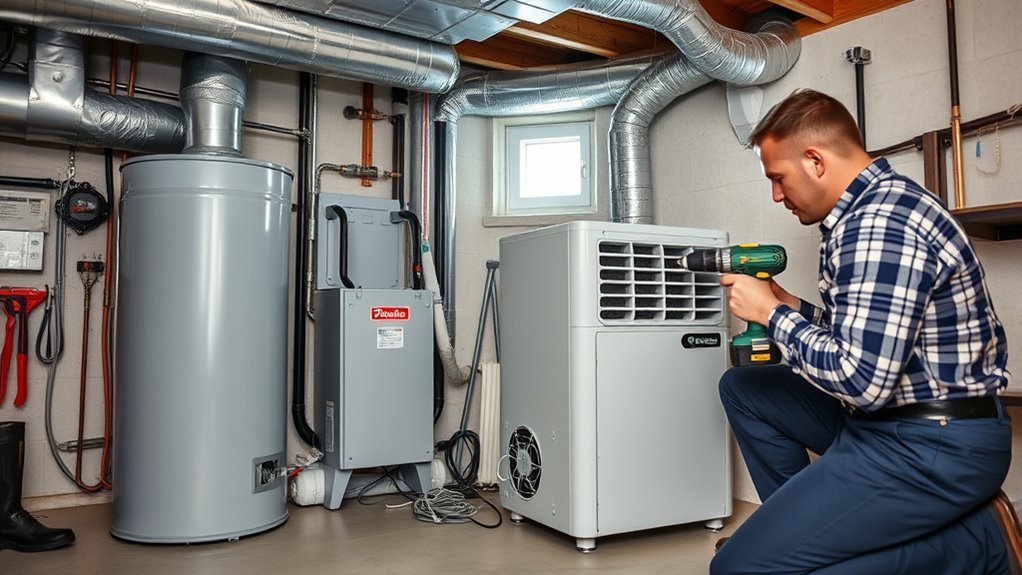
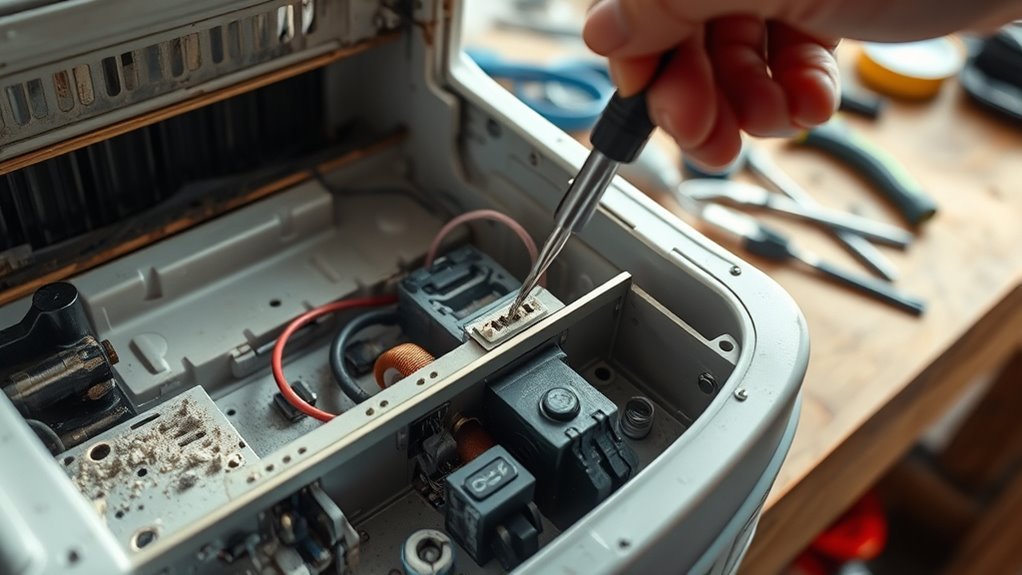
Turn the unit off and unplug it. Remove the bucket and drain hose if they block access, and follow the model’s disassembly order so hidden clips and cables are not damaged. Photograph every plug before disconnecting it, and release the connector lock instead of pulling the wires.
3. Locate and Inspect the Sensor
The room sensor is usually placed where incoming air can reach it, such as near the intake, filter frame, evaporator area, or control housing. Look for:
- Dust blocking the sensor opening
- Green, white, or dark corrosion on connector pins
- A connector that is partly unplugged
- Broken, pinched, or stretched wires
- Cracked solder joints or a visibly damaged board
- Signs of water in the control compartment
4. Clean the Sensor Safely
Use a soft, dry brush or gentle air to remove loose dust. Avoid touching the sensing element with your fingers, and do not spray cleaner, water, or alcohol onto the element or circuit board. Frigidaire’s cleaning guide tells owners to unplug the unit and warns that excess water in or around the controls may damage it.
5. Compare the Humidity Reading
Reassemble the unit before running it. Put an independent hygrometer nearby, outside the direct intake or exhaust airflow, and let both devices stabilize. A large, repeatable difference matters more than a brief mismatch right after startup, since temperature, placement, airflow, and tolerances all affect readings.
6. Perform Only the Manufacturer-Specified Electrical Test
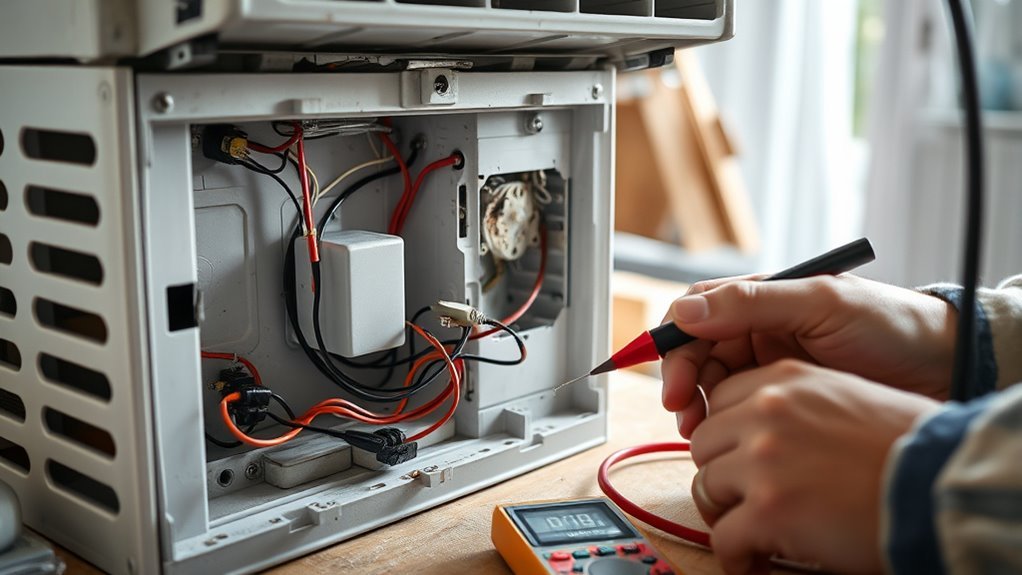
Unplug the unit again before disconnecting the sensor for a resistance or continuity test. Follow the exact service table for your model, including the correct pins, the required temperature and humidity conditions, the expected range, and whether the sensor must be disconnected from the board.
A simple thermistor changes resistance with temperature. Some humidity sensors have resistance tables tied to both temperature and humidity, and other sensor boards need a powered voltage or digital-signal test that a basic resistance reading cannot diagnose.
Warning: Never probe random connector pins, and never measure resistance on an energized circuit. Live voltage and signal testing inside a dehumidifier is a job for a qualified technician.
If the reading is open, shorted, unstable, or outside the specified range, recheck the wiring before replacing the sensor. If the sensor tests correctly but the error remains, suspect the harness or control board. You do not need to open the cabinet for routine sensor tests. Focus maintenance on the filter, bucket, drain, airflow, and power cord, and test the sensor when symptoms or a code justify it. Our guide on how to test a dehumidifier humidity sensor at home goes deeper on testing.
How to Fix a Dehumidifier Sensor by Replacing It
Replace the sensor only after confirming the correct part number and ruling out a loose connector or damaged harness. A similar-looking sensor may have a different electrical range, pin assignment, or control-board protocol.
- Unplug the dehumidifier and remove the necessary cabinet panels.
- Photograph the old sensor, connector orientation, wire routing, and mounting position.
- Label similar connectors so they cannot be swapped by accident.
- Release the connector by its locking tab instead of pulling the wires.
- Remove the sensor board, clip, or holder without bending nearby fins or wiring.
- Install the exact replacement in the same airflow position and orientation.
- Reconnect each terminal firmly and route wiring away from the fan, coil, sharp edges, and hot parts.
- Reinstall all panels, seals, the bucket, and drainage parts before restoring power.
Do not splice or rearrange terminals just because a connector fits. Match the original wire positions and the manufacturer’s diagram exactly.
Verify or Calibrate the New Sensor
Most portable dehumidifiers have no user-accessible humidity calibration. If your manual describes an offset procedure, follow it exactly. Otherwise verify the reading instead of trying to recalibrate the control board.
Use a separate hygrometer as your reference, and make sure that hygrometer is reasonably accurate by following its maker’s checking instructions. Do not place salt or saltwater inside or beside an operating dehumidifier, since it can cause corrosion. If the display still differs a lot from a trusted hygrometer, recheck the part number, mounting position, connector, harness, and control board.
For reference, the EPA recommends keeping indoor relative humidity below 60 percent, ideally between 30 and 50 percent, to help control mold.
Check Performance After the Repair
Restore power and choose a normal humidity setpoint rather than continuous mode. Allow for any compressor delay, then watch the unit for at least one full operating cycle. Confirm that:
- The sensor error code does not return.
- The displayed humidity changes gradually and plausibly.
- The fan and compressor respond to the mode and setpoint.
- Water collects when the room is humid enough.
- The bucket switch, drain hose, and pump work correctly.
- The unit cycles off as the room nears the setpoint.
- No connector gets hot, and there is no burning smell, smoke, sparking, or unusual electrical noise.
If values keep drifting, unplug the unit and recheck the connector and wire routing. A persistent sensor code with a verified new sensor often points to harness damage, corrosion, a wrong part, or a failed control board.
When to Call a Repair Technician
- The unit is under warranty or has service restrictions.
- The test needs energized voltage or signal measurements.
- The control board, capacitor, compressor wiring, or sealed refrigeration system must be accessed.
- There is smoke, a burning odor, melted plastic, repeated breaker tripping, or heat damage.
- Water has entered the control compartment.
- The sensor tests fine but the board does not read it.
- You cannot confirm the correct replacement part or service specifications.
On an older unit, compare the cost of the sensor, control board, and labor with the price and warranty of a new dehumidifier. Do not repair a model covered by a stop-use recall. For broader fixes, see our guide on how to repair a dehumidifier.
Related Guides
- How to test a dehumidifier humidity sensor at home
- How to repair a dehumidifier: common fixes
- How to make a DIY dehumidifier at home
Frequently Asked Questions
How do you clean a dehumidifier sensor?
Unplug the dehumidifier and follow the model’s cabinet-removal instructions. Remove loose dust with a soft, dry brush or gentle air. Do not spray cleaner or alcohol onto the sensing element, and let any cleaned connector contacts dry completely before reconnecting the unit.
What does AS mean on a Midea dehumidifier?
Midea lists AS as a humidity sensor error on applicable models. Its support page says to unplug the unit and plug it back in, and to contact customer service if the error persists.
How can you check whether a dehumidifier is working?
Confirm that the fan runs, airflow is unobstructed, the filter is clean, the bucket is seated, and the selected humidity is below the current room humidity. Compare the display with a separate hygrometer and check whether water collects during humid conditions.
Can you repair a dehumidifier yourself?
You can handle basic tasks such as cleaning the filter, checking the bucket, inspecting an unplugged connector, and replacing an accessible sensor when the manufacturer gives clear instructions. Live electrical tests, capacitor work, control-board diagnosis, and sealed-system repairs belong with a qualified technician.
Why does the dehumidifier reading differ from my hygrometer?
The devices may be measuring air at different temperatures or locations. Compare them at a similar height, away from direct intake or exhaust airflow, after both readings stabilize. Check each manufacturer’s stated accuracy before declaring either sensor faulty.
Where is the humidity sensor located in a dehumidifier?
It is commonly mounted where incoming room air can reach it, such as near the intake, filter frame, evaporator area, or control housing. The exact location varies by model, so use the parts diagram or service manual.
Sources
- U.S. Consumer Product Safety Commission: Dehumidifiers
- EPA: A Brief Guide to Mold, Moisture and Your Home
- Midea: Dehumidifier support FAQ
- Frigidaire: Dehumidifier error code guide
- Frigidaire: Dehumidifier clean and care