
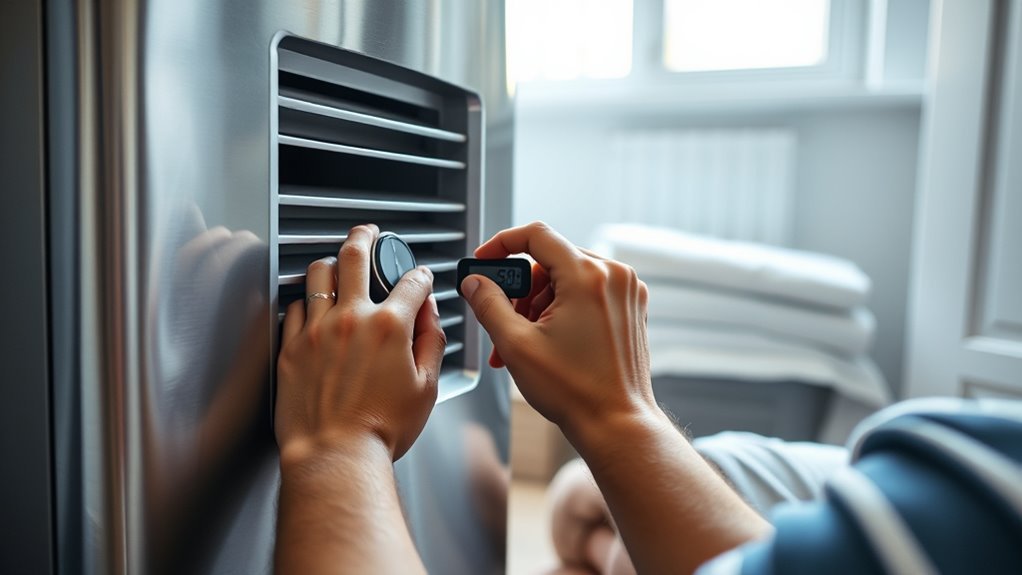
To test a dehumidifier humidity sensor, first rule out simpler causes: Continuous mode, a very low humidity setting, a full or mis-seated bucket, blocked airflow, and a cold or oversized room. Then compare the unit’s display with a separate hygrometer. If the gap is large and repeatable, inspect the sensor wiring with the unit unplugged and use only the test procedure published for your exact model.
A dehumidifier that runs nonstop, will not start in a damp room, or shows a reading that does not match a hygrometer may have a bad sensor, but settings, airflow, wiring, and control faults can look the same.
Quick Answer: How to Check the Sensor
- Check the mode and humidity setpoint, the bucket position, the filter, airflow, doors and windows, and room temperature.
- Write down any error code before you unplug or reset the unit.
- Compare the display with a separate hygrometer once both readings have settled.
- With the unit unplugged, inspect the sensor, connector, and wiring for dirt, corrosion, or damage.
- Test resistance or voltage only if the manufacturer gives expected values and terminal locations for your model. Otherwise, call a technician.
| Time | Roughly 15 to 30 minutes for external checks; internal inspection varies by model |
| Difficulty | Easy for basic checks; intermediate for unplugged inspection; professional-level for powered diagnostics |
| Tools | Separate hygrometer, flashlight, model documentation, screwdriver if service access is allowed, multimeter only if the procedure calls for one |
| Cost | Basic checks are free if you own the tools; parts and service vary by model |
Before You Open the Dehumidifier
A wrong-looking reading does not automatically mean the sensor failed. ENERGY STAR explains that dehumidifiers with a humidistat cycle on and off to hold the humidity level you select, and that you can use a separate hygrometer when the unit does not display RH. Typical indoor guidance is 30% to 50% RH, but that is a room target, not an accuracy spec for a sensor.
Check these easier causes first:
- Operating mode: Make sure Continuous mode is not on. Midea notes that Continuous runs the unit constantly and Comfort mode sets humidity to 50%.
- Humidity setpoint: A very low target keeps the compressor running for long periods.
- Bucket position: Empty and reseat the bucket if your model uses a bucket switch.
- Filter and airflow: Clean the filter and grill, and keep furniture and walls away from the intake and discharge.
- Doors and windows: Open ones let humid air in and extend runtime.
- Room size: An undersized unit may run for long periods without reaching the target.
- Room temperature: Cool rooms reduce moisture removal and may allow frost on the coil.
- Error code: Record the exact code first.
Frigidaire lists several of these as reasons a unit runs too much: a new unit still lowering a damp room, open windows or doors, a room too large for the unit, blocked airflow or a dirty grill, and a humidity setting that is too low.
Warning: Unplug the dehumidifier before removing panels or doing resistance or continuity checks. Do not probe energized parts inside an open cabinet unless the manufacturer provides a procedure and you are qualified to take live measurements. Fluke’s general guidance is to work on de-energized circuits whenever possible. When in doubt, stop and call a technician.
How to Test a Dehumidifier Humidity Sensor: Is It Bad?
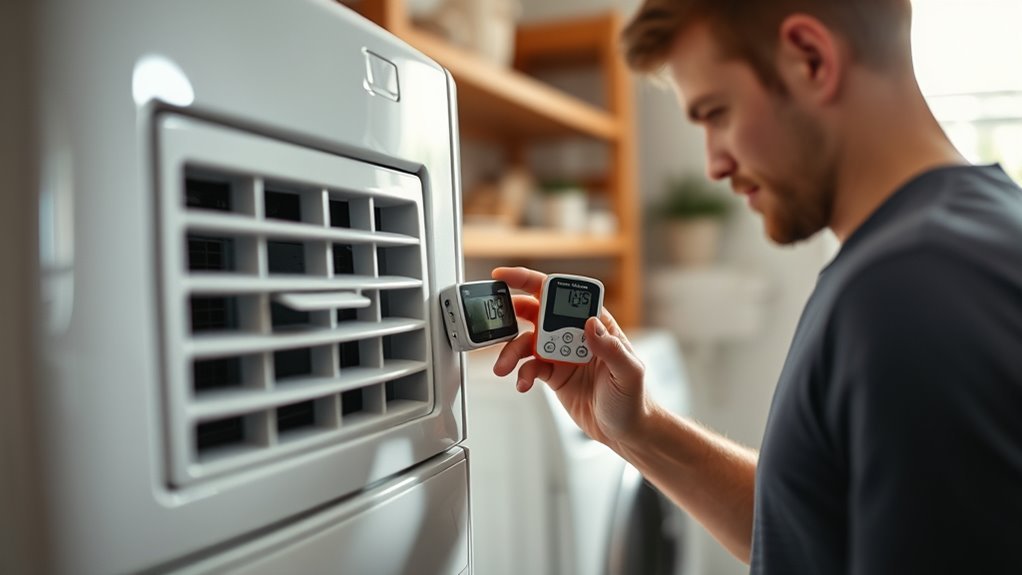
The sensor may be at fault if the unit runs continuously after the room is dry, ignores a clearly humid room, shows values that jump around, or throws a sensor error code. None of these proves the sensor failed, so avoid replacing it based on one symptom.
Place a separate hygrometer near the dehumidifier, outside its direct intake or exhaust stream, and wait for both readings to stabilize. Small differences are normal because the sensors are not sampling exactly the same air. A large, repeatable gap deserves a closer look.
| Check | What it can tell you |
|---|---|
| Independent hygrometer | Whether the built-in reading is consistently far off the room’s measured humidity |
| Visual inspection | Dirt, corrosion, damaged wires, loose plugs |
| Continuity check | An open wire in a disconnected harness, when the service procedure calls for it |
| Resistance or voltage test | Useful only with manufacturer values, terminals, and a safe method for your exact sensor |
Do not order a replacement just because the display looks wrong. Confirm the exact model, part number, connector style, and service procedure first.
Humidity Sensor vs. Temperature Sensor
A dehumidifier can have more than one sensing device. The humidity sensor measures room moisture, while another sensor may monitor coil or evaporator temperature for frost protection. Do not assume every small wired part near the coil is the humidity sensor.
Error codes are model-specific. Midea lists AS as a humidity sensor error and ES as an evaporator tube temperature sensor error on its units. Frigidaire’s code guide lists AS, ES, F1, F2, L1, and F5 as sensor-related codes and directs owners to contact support. Always use the definition for your exact model.
How to Find the Humidity Sensor
Unplug the unit before removing the casing, and check the owner’s manual, parts diagram, or manufacturer support first. The sensor is often in or near the incoming air path, but its exact location varies by model.
| Checkpoint | What to look for |
|---|---|
| Location | Use the model diagram; possible spots include the intake or evaporator air area |
| Size | A small sensing element, module, or sensor board |
| Wiring | Attached leads, a plug, or a small harness leading toward the control board |
| Identification | A part label, connector number, or diagram reference |
Trace the wiring with a flashlight without pulling on it. Look for corrosion, cracked plastic, loose connectors, bent pins, and heat damage. Photograph the sensor, connector, wire colors, and routing before disconnecting anything, and record any part number you can see.
How to Test the Humidity Sensor With a Multimeter
A multimeter helps only if you know what the sensor should read. Some service procedures give resistance values, open-or-short checks, or DC voltage measurements. Other sensors include circuitry that a simple resistance reading cannot judge, and some manufacturers tell owners to replace an assembly or request service. There is no universal ohms target.
Record your full model number and find the procedure for that model before touching the meter.
Recommended Products

WATER LEAK DETECTOR detects relative moisture content from leaks and flooding

WOOD MOISTURE METER: Prevent water and moisture build-up with our humidity reader. It can quickly determine what level of remediation is needed to keep your family safe. High levels of dampness that go untreated can cause hazardous living conditions.
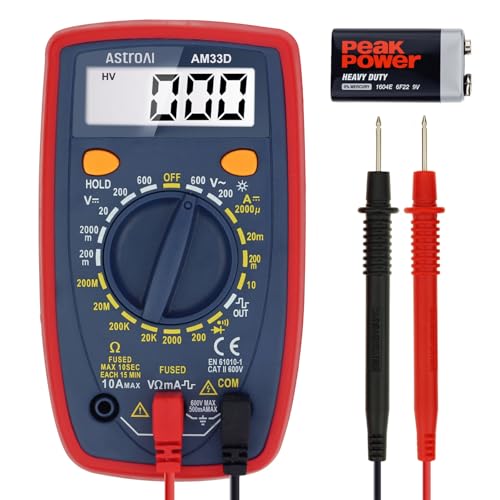
Additional Tips - The following incorrect operations may cause the multimeter not to show results: Firstly, the plugs of test leads are not fully inserted or not inserted into the correct sockets. Secondly, the manual rotary switch is not placed in the correct position. In addition, this meter can not test all AC Current and below 100mV AC Voltage. Please check the user manual carefully before measurement.
Multimeter setup
- Keep the unit unplugged for resistance and continuity tests.
- Disconnect the sensor or harness only as the procedure directs.
- Set the meter to the right ohms or continuity range and probe only the specified terminals.
- Never measure resistance across an energized circuit.
- Write down each reading and the range you used.
Compare with the specs
Compare your measurement only with the manufacturer’s stated limits and conditions. A reading that is open, shorted, unstable, or outside the published range points to a failed sensor or damaged wiring. If the manual gives no specification, an ohms reading alone is not enough to condemn the sensor. Do not borrow specs from another model.
If the procedure calls for a powered DC voltage check, follow it exactly or leave it to a qualified technician. A slipped probe can shock you or damage the control board.
Signs Your Humidity Sensor Is Failing
The strongest clue is a repeatable mismatch between room conditions and the unit’s behavior after you have ruled out mode, setpoint, bucket, airflow, temperature, and sizing.
| Sign | What you notice | What it may mean |
|---|---|---|
| Continuous run | No normal shutoff after the room is dry | Sensor, mode, airflow, sizing, moisture load, or control issue |
| No response | Unit ignores a clearly humid room | Sensing, bucket switch, setting, or control fault |
| Erratic display | Humidity value jumps | Sensor, wiring, connector, or control problem |
| Sensor error code | Display shows a sensor-related fault | Follow the model-specific code definition |
| Repeatable RH mismatch | Display stays far from a nearby hygrometer | Placement, contamination, wiring, calibration, or sensor fault |
How to Clean the Humidity Sensor
Unplug the unit and access the sensor only as far as the manual allows. Remove loose dust with a soft dry brush or another dry method that will not bend the sensing element.
- Do not bend, scrape, or unnecessarily touch a delicate sensing surface.
- Check connectors for residue, oxidation, or corrosion.
- Keep liquid away from the control board and electrical parts, and never spray cleaner directly on the sensor.
- Use isopropyl alcohol or contact cleaner only if the manufacturer permits it, and only as directed.
- Let everything dry fully before restoring power.
After reassembly, compare the display with the hygrometer again. If readings steady out and cycling normalizes, dirt or a poor connection may have been the cause.
How to Inspect the Sensor Wiring and Connector
With the unit unplugged, trace the wiring from the sensor to the control board. Look for fraying, kinks, heat damage, pinched insulation, bent pins, pushed-back terminals, or moisture in a connector. Reseat accessible plugs firmly without forcing them.
If the service procedure calls for a continuity test, check the specified wire path while the unit stays unpowered. Continuity can reveal an open wire, but it does not prove the control board sends the right signal when powered.
Recommended Products

Compatible With Models Having Tank Capacities of 50 and 70 Pints.

✨✨✨COMPATIBILITY: Specifically designed to work with HIS06 humidifier models as a direct replacement humidity and temperature sensor module board

COMPATIBILITY: Specifically designed as a replacement humidity sensor module board for HIS06 model for dehumidifiers and humidifiers
How to Replace and Test the Sensor
Replace the sensor only after settings, cleaning, connectors, and wiring have been ruled out. Use a part listed for your exact model, since connectors, calibration, and control logic can differ between similar-looking parts.
- Unplug the unit and remove only the panels the procedure requires.
- Photograph the old sensor and its routing.
- Release the connector by its housing, not by pulling the wires.
- Install the replacement in the same orientation and routing, and reconnect firmly.
- Reassemble the cabinet, then run the unit and let readings stabilize.
- Compare the display with a hygrometer and confirm the unit starts and stops in line with its setting.
If nothing changes, the fault may lie in the wiring, control board, airflow, bucket switch, temperature sensing, or refrigeration system.
Recommended Products

Using high-performance humidity sensor elements, with water resistance, fast response, low humidity hysteresis, stable and reliable performance, good consistency and interchangeability

Dehumidifier Humidity Sensor Board SOLEUS BLACK & DECKER A2TM

COMPATIBILITY: Designed as a direct replacement sensor module board for various humidifier and dehumidifier models, ensuring accurate humidity detection
Troubleshooting Real-World Cases
The unit runs nonstop
Confirm Continuous mode is off and the setpoint is not unusually low. Check the filter, clearance, doors and windows, room size, and temperature. Then compare the display with a hygrometer. If the room is dry but the unit keeps reporting high humidity, inspect the sensor and its connections.
The unit will not start in a humid room
Check power, bucket position, setpoint, mode, and any error code. If those are fine and it still ignores a humid room, a sensor, wiring, or control issue becomes more likely. A model-specific procedure beats a generic resistance number here.
The display disagrees with a hygrometer
Move the hygrometer near the unit but outside the airstream and give both time to settle. A large, repeatable gap after repositioning, cleaning, and connector inspection deserves more investigation. The 30% to 50% guideline is not an accuracy tolerance.
You see a sensor error code
Write down the code and full model number before resetting. Midea tells owners of applicable models to unplug the unit and plug it back in for an AS code, then contact customer service if it persists. Frigidaire directs owners to contact support for its sensor codes.
Common Mistakes to Avoid
- Testing resistance with the unit powered.
- Using a generic ohms target.
- Testing the wrong sensor, such as the coil temperature sensor.
- Replacing the sensor before checking the connector.
- Pulling on wires instead of connector housings.
- Ignoring operating mode, airflow, or room temperature.
- Using solvent on an unknown sensor.
- Assuming the sensor is the only possible cause.
Is It Worth Replacing the Sensor?
Replacement is worth considering when the part is reasonably confirmed faulty, the correct replacement is available, and the rest of the unit is in good shape. It makes less sense if the sensor is part of an expensive electronic assembly or the unit also has compressor, fan, coil, or control-board problems.
Identify the exact part before comparing costs. If diagnosis needs energized measurements, sealed-system work, or board repair, professional service is the safer path.
When to Call a Professional
Call a qualified appliance technician if a sensor error code keeps returning, the procedure requires live measurements, you find burn marks or melted wiring, or the unit still misbehaves after the sensor and connector check out. If the unit is under warranty, contact the manufacturer first.
Related Guides
- Are dehumidifiers safe to use at home?
- How many dehumidifiers do you need for your home?
- How to clean a dehumidifier
- Benefits of a dehumidifier
Frequently Asked Questions
How do I know if my dehumidifier sensor is bad?
Look for a repeatable mismatch between room humidity and the unit’s reading, unusual cycling, or a sensor error code. Confirm settings, bucket position, airflow, temperature, wiring, and connectors before replacing the sensor.
Can every dehumidifier humidity sensor be tested with an ohms meter?
No. Sensor designs and test methods vary. Use an ohms test only when your model’s service information identifies the terminals, test conditions, and expected resistance range. Otherwise a reading tells you little.
Should I clean the sensor before replacing it?
Yes, when it is accessible and the manufacturer permits cleaning. Start with a gentle, dry method. Dust, residue, and connector problems can affect readings, so cleaning and reseating the connection are sensible checks before buying a part.
Why does my dehumidifier run nonstop even if the sensor seems fine?
Continuous mode, a very low humidity setting, high room moisture, open doors or windows, blocked airflow, low temperature, an undersized unit, or a control fault can keep it running. Check those conditions before blaming the sensor.
Can I replace the humidity sensor myself?
You may be able to swap a plug-in sensor if the manufacturer provides service access and you can identify the exact compatible part. If diagnosis needs energized testing, control-board work, or sealed-system work, or you are unsure about electrical safety, use a qualified technician.
Is a humidity sensor error the same as a temperature sensor error?
Not necessarily. Dehumidifiers can use separate sensors for room humidity and coil temperature, and code meanings depend on the model. Midea, for example, lists AS and ES as different sensor errors. Look up the code in your manual before testing or replacing anything.
The Bottom Line
If your dehumidifier still reads humidity incorrectly after you verify the mode and settings, compare it with a hygrometer, check the filter and airflow, clean the accessible sensor area, and inspect the wiring and connector, use the model-specific service procedure before replacing parts.
If a sensor measurement is within the manufacturer’s range while the unit still misbehaves, look at wiring, controls, airflow, temperature sensing, or the bucket system. Replace only what you can reasonably identify as failed, then retest readings and cycling.
Sources
- ENERGY STAR: Dehumidifiers
- Midea: Dehumidifier support FAQ
- Frigidaire: Dehumidifiers error code guide
- Frigidaire: Dehumidifier runs too much
- Fluke: Safety considerations for live measurements



[…] How to Test a Dehumidifier Humidity Sensor at Home […]