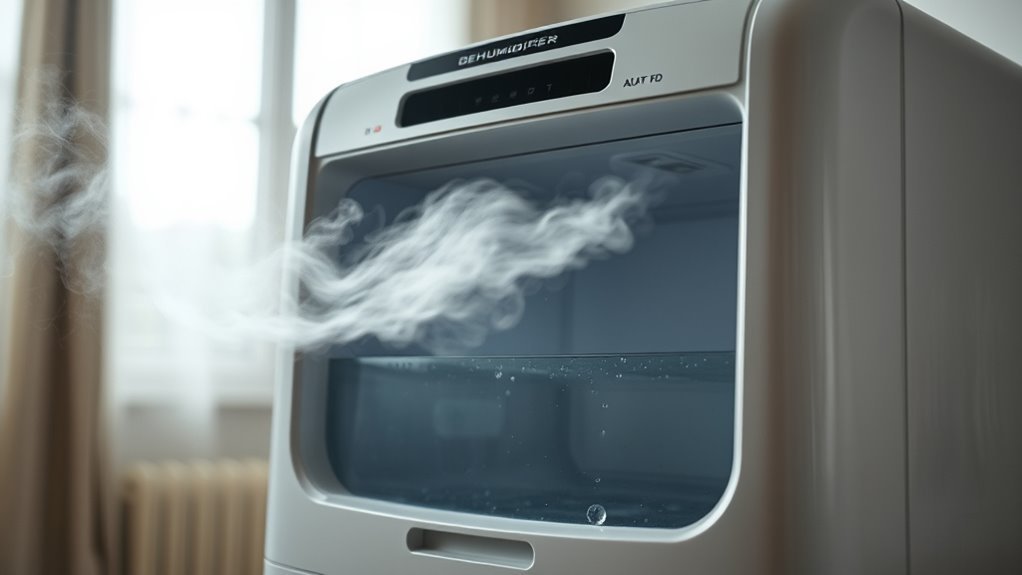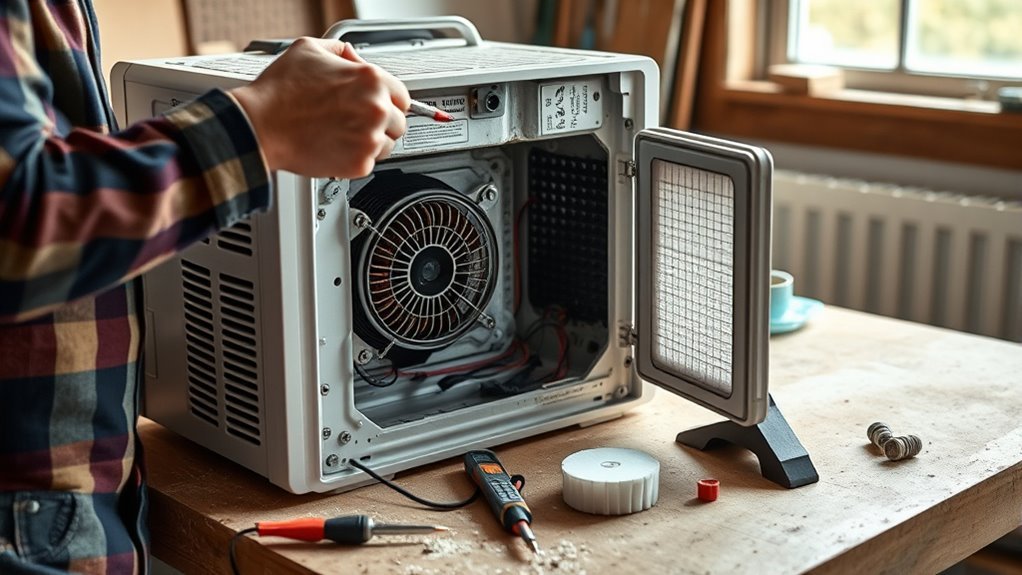
A dehumidifier that stops working may have a simple problem such as a loose bucket, incorrect humidity setting, clogged filter, blocked drain hose, or low room temperature. Start with checks that do not require opening the cabinet. Internal electrical parts, the compressor, and the sealed refrigerant system should be diagnosed by a qualified appliance technician.
Quick Answer
To repair a dehumidifier safely, first check the outlet, breaker, bucket position, settings, filter, airflow, drain setup, and room humidity. Reset the unit according to its manual and watch for icing or error codes. Leave capacitor, relay, control-board, compressor, and refrigerant work to a qualified technician.
Key Takeaways
- Check the model and serial number for a safety recall before attempting a repair.
- Confirm that the bucket, drain hose, filter, humidity setting, timer, and control lock are correct.
- The room humidity normally must be higher than the selected humidity target before the compressor will remove moisture.
- Icing may be caused by low room temperature, restricted airflow, or a fan or sealed-system problem.
- Do not apply external power or attempt capacitor, relay, control-board, compressor, or refrigerant tests unless you are qualified to do so.
At a Glance
| Time Required | 10–30 minutes for safe owner checks |
| Difficulty | Easy for cleaning and setup checks; advanced internal work requires a qualified technician |
| Tools Needed | Owner’s manual, flashlight, hygrometer, soft brush, vacuum with brush attachment, and clean cloth |
| Cost | Usually no cost for cleaning and setup checks; filters, parts, and professional service vary by model |
Warning: Unplug the dehumidifier before cleaning or removing any accessible cover allowed by the owner’s manual. Stop using the unit if it smokes, sparks, smells burnt, has melted plastic, has a damaged cord, contains water in the electrical area, or repeatedly trips a breaker. Do not keep resetting a tripping breaker.
Why Your Dehumidifier Won’t Start
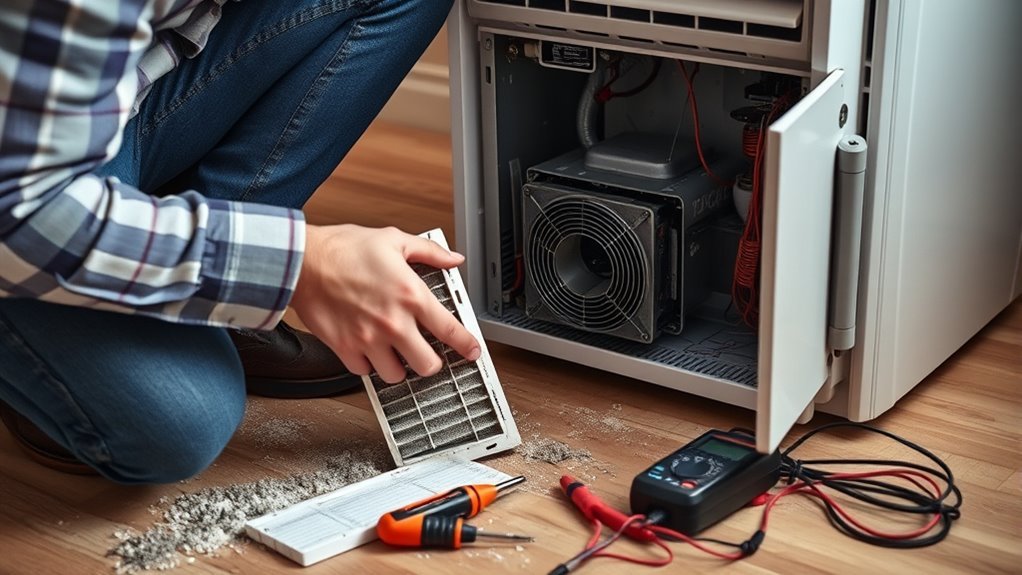
A dehumidifier may stay off because it has no power, the water bucket is not seated correctly, the bucket-full switch is active, the timer or control lock is enabled, or the room has already reached the selected humidity level. Some models also delay compressor startup for several minutes after being unplugged, moved, or switched off.
Before doing anything else, locate the model and serial number and check the U.S. Consumer Product Safety Commission dehumidifier recall page. If the model is recalled, turn it off, unplug it, and follow the recall remedy instead of attempting a repair.
- Inspect the cord and plug. Do not use the appliance if the cord is cut, crushed, discolored, unusually hot, or loose at the plug.
- Check the outlet. Confirm that the outlet works with a small appliance or outlet tester. Do not use an extension cord unless the manufacturer specifically permits it.
- Check the breaker. Reset a tripped breaker once. If it trips again, unplug the dehumidifier and have the circuit and appliance inspected.
- Reinstall the bucket. Remove the bucket, empty it, and slide it back into place. Make sure it sits level and fully engages the bucket switch.
- Inspect the float. If the bucket has a float, confirm that it moves freely and is not stuck in the full position.
- Check the controls. Turn off the timer, sleep mode, control lock, or delayed-start setting. Select normal dehumidifying mode.
- Read the display. Record any error code before resetting or unplugging the unit.
- Allow a restart delay. After reconnecting power, wait the amount of time listed in the owner’s manual before deciding that the compressor has failed.
A dehumidifier that smells hot, smokes, sparks, or repeatedly trips a breaker is not a normal troubleshooting project. Unplug it and stop using it.
Check Power, Settings, and Humidistat
If the display turns on but the compressor does not start, check the selected humidity target. A dehumidifier usually removes moisture only when the measured room humidity is higher than the selected target.
For a basic test, use a separate hygrometer to measure the room. If the room is at 60% relative humidity, selecting 45% or 50% should request dehumidification. Selecting 65% may cause the compressor to remain off because the room is already drier than the target.
ENERGY STAR describes 30–50% relative humidity as a generally suitable indoor range. Conditions and personal comfort vary, so use the setting recommended for your building and climate.
Pro Tip: Place a separate hygrometer nearby, but not directly in the dehumidifier’s intake or warm exhaust stream. Let the reading stabilize before comparing it with the appliance display.
If the display reading differs greatly from the separate hygrometer, clean dust from the sensor opening according to the manual and restart the appliance. A large, persistent difference may indicate a dirty, loose, or failed humidity sensor.
You can also perform a simple reset if the manual allows it:
- Turn the dehumidifier off.
- Unplug it for at least 30 seconds.
- Reconnect it directly to a suitable grounded outlet.
- Reinstall the bucket.
- Select normal mode and a target below the measured room humidity.
- Wait through the model’s compressor-protection delay.
If the controls remain completely dead even though the outlet works, the unit may have a failed cord, thermal protection device, user-interface board, power board, or internal connection. Those faults require qualified diagnosis.
Fix a Running Blower That Doesn’t Remove Moisture
A running fan does not always mean that the compressor is operating. Some models continue moving air after reaching the humidity target, during automatic defrost, or while waiting through a compressor restart delay.
Before assuming the cooling system has failed, check these conditions:
- The measured room humidity may already be at or below the selected target.
- The room may be too cool for effective moisture removal.
- The unit may be in fan-only, dry-clothes, sleep, or automatic-defrost mode.
- The filter or grille may be restricting airflow.
- The bucket may be empty because water is leaving through a hose or pump.
- A drain hose may be leaking, kinked, blocked, or routed uphill.
- The compressor may be waiting through a restart delay.
- The compressor, fan motor, sensor, relay, control board, or sealed refrigerant system may have failed.
Check Compressor and Humidistat
You can perform a safe operational check without removing the cabinet. Set the humidity target below the measured room RH, choose normal mode, and wait through the model’s restart delay. Listen for a change in sound when the compressor starts. A gentle hum or vibration may be noticeable, although sound varies by model.
| Symptom | Possible Explanation | Safe Owner Action |
|---|---|---|
| Fan runs but compressor stays quiet | Target already reached, defrost mode, restart delay, or internal fault | Check RH, mode, temperature, and delay; request service if it never starts |
| Compressor appears to run but little water collects | Low room humidity, cool temperature, restricted airflow, drainage issue, or sealed-system fault | Measure RH, clean the filter, inspect the drain, and check for frost |
| Unit cycles off quickly | Incorrect sensor reading, blocked airflow, overheating, bucket switch, or electrical fault | Clean the unit, verify the bucket and RH, then arrange service if cycling continues |
| Humidity does not fall after extended operation | Unit is undersized, outside air is entering, moisture source remains, or appliance has a fault | Close doors and windows, stop moisture sources, and compare room RH over time |
Do not judge performance from the amount of bucket water alone. Water collection changes with room humidity, temperature, airflow, unit capacity, and whether a drain hose is connected. Track the room RH with a hygrometer instead.
Inspect Airflow and Refrigerant
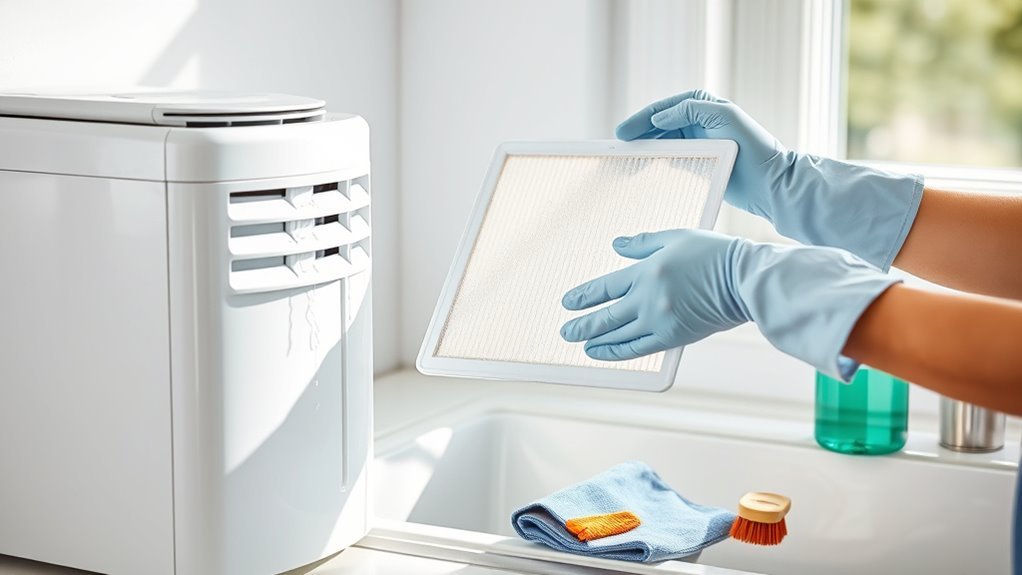
Turn off and unplug the appliance before cleaning. Remove the filter as described in the owner’s manual. Vacuum loose dust or wash the filter if the manufacturer permits it, then allow it to dry completely before reinstalling it.
Inspect the intake and outlet grilles. Remove lint, pet hair, curtains, boxes, or furniture that block airflow. Clean only the coil surfaces that the owner’s manual identifies as user-accessible. Use a soft brush or gentle vacuum attachment, and do not bend the thin metal fins.
The refrigerant circuit is sealed. Do not attach gauges, cut a refrigerant line, add refrigerant, or attempt to repair a leak. In the United States, work that may open a refrigerant circuit is subject to EPA Section 608 service requirements.
Possible sealed-system warning signs include persistent frost after airflow and temperature problems have been corrected, an oily residue near refrigerant tubing, a compressor that runs without producing a cool evaporator coil, or repeated overload shutdowns. These symptoms require professional diagnosis.
Capacitor and Control Board Problems: Technician-Only Checks
A failed capacitor, relay, sensor circuit, fan motor, or control board can prevent the fan or compressor from starting. These parts are located inside the appliance near line-voltage wiring and moving components. They are not suitable for general homeowner testing.
Warning: Unplugging the appliance does not make every internal component immediately safe. Capacitors can retain stored electrical energy. Do not touch, bridge, short, or discharge capacitor terminals unless you are trained and following the model’s service procedure.
Why Capacitor Testing Is Not a Basic DIY Step
A capacitor cannot be judged by checking whether it has “zero charge.” Charge should be removed safely before component testing. A trained technician isolates the capacitor, confirms that stored energy has been controlled, inspects it for swelling or leakage, and measures capacitance against the rating and tolerance printed on the part.
Do not use an improvised screwdriver discharge, continuity-only test, or direct-power test. These methods can damage the appliance, create an arc, or cause electric shock.
The safe owner-level response is to record the model number, error code, and symptoms, unplug the appliance, and request qualified service.
How a Technician Inspects the Control Board
A technician may inspect the control board for heat damage, cracked solder joints, failed relays, moisture damage, corroded connectors, or a missing output to the compressor or fan. Proper diagnosis requires the model’s wiring diagram, expected voltage values, sensor specifications, and suitable electrical safety procedures.
A visibly burned board does not always prove that the board caused the original failure. A shorted motor, damaged wire, loose terminal, or failing compressor can also damage a relay or circuit trace. Replacing the board without finding the cause may lead to another failure.
How a Technician Verifies Relay Operation
Relay testing may require measurements on energized equipment. A qualified technician can confirm whether the control board is requesting operation, whether the relay contacts switch correctly, and whether the connected motor or compressor draws normal current.
Do not apply household power directly to the blower, compressor, relay, or control-board terminal. External-power testing can bypass overload protection and expose live conductors or moving fan blades.
Clear Filters and Coil Blockages
Restricted airflow can reduce moisture removal, cause icing, raise operating temperature, and shorten component life. Filter care is one of the safest and most useful repairs an owner can perform.
| Part | What to Inspect | Safe Action |
|---|---|---|
| Air filter | Dust, lint, pet hair, grease, or damage | Vacuum or wash as directed; reinstall only when completely dry |
| Intake grille | Curtains, furniture, boxes, dust, or wall clearance | Clear the area and follow the manual’s clearance requirement |
| Outlet grille | Blocked or weak airflow | Remove external obstructions; request service if the fan remains weak |
| Accessible coil | Dust film, lint, ice, or bent fins | Clean gently only if the owner’s manual permits access |
| Bucket and float | Mold, debris, poor seating, or stuck float | Wash, rinse, dry, and reinstall correctly |
| Drain hose | Kinks, blockage, loose connection, or uphill routing | Straighten, clean, reconnect, and maintain a continuous downward slope |
Follow the maintenance schedule in the owner’s manual. GE Appliances’ dehumidifier maintenance guidance, for example, advises checking some filters every two to three weeks and cleaning newer-model filters after the reminder or specified operating interval.
Recommended Products
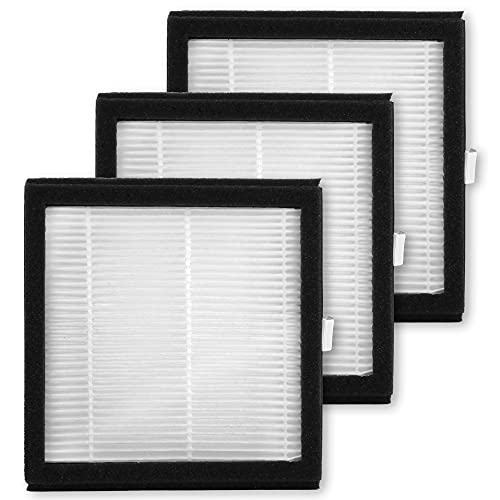
Includes 3 replacement filters

BUY WITH CONFIDENCE Genuine AprilAire MERV 8 Replacement Filter for your AprilAire Whole Home Dehumidifier Models E080 or E100 or Dehumidifying Ventilator 8192A (and all variations of these models)

【Compatibility】 Our MERV 13 Replacement Dehumidifier Filter Media is Compatible with Honeywell TrueDRY DH65 DR65, Part 50049537-002/U, 50049537-005.
What Overheating or Repeated Shutdowns Mean
“High head pressure” is a refrigeration-service diagnosis, not an owner adjustment. Portable dehumidifiers normally do not have homeowner-accessible blower belts, room diffusers, duct dampers, or central return-air filters.
If the appliance becomes unusually hot or repeatedly shuts down, complete these external checks:
- Unplug it and allow it to cool.
- Clean the filter and clear both air grilles.
- Confirm that the appliance has the wall clearance required by its manual.
- Check whether the room temperature is within the approved operating range.
- Make sure the fan produces steady airflow.
- Look for frost that returns after the unit has defrosted.
- Check for a burning odor, melted plastic, cord damage, or discoloration.
- Confirm that the outlet and plug do not become unusually hot.
Stop using the appliance if it repeatedly trips a breaker, emits smoke or a burning odor, or becomes hot enough to discolor or deform the cabinet. A failed fan, compressor overload, control fault, loose electrical connection, or sealed-system problem may require service.
Note: Frost does not always mean the refrigerant is low. Cool room temperature, dirty filters, blocked airflow, automatic-defrost operation, fan trouble, or a sensor fault can produce similar symptoms.
When the Humidity Sensor May Need Replacement
A humidity sensor may be faulty if the displayed RH remains unrealistic, changes suddenly without a change in room conditions, or differs greatly from a separate hygrometer after both readings have stabilized.
Before replacing the sensor:
- Move the unit away from a heater, air conditioner outlet, open window, wet wall, or direct sunlight.
- Place a separate hygrometer nearby but outside the exhaust stream.
- Allow both readings to stabilize.
- Clean the filter and any external sensor opening identified in the manual.
- Record any sensor-related error code.
- Reset the appliance according to the manual.
If the difference remains large or the unit cycles incorrectly, contact the manufacturer or a qualified appliance technician. Some sensor assemblies plug into a wiring harness, while others are integrated into the control board. Use only the model-specific replacement part and procedure.
Do not replace a sensor solely because the unit does not collect water. Low room humidity, cool temperature, drainage mode, blocked airflow, or compressor trouble may produce the same symptom.
Recommended Products

✨✨✨COMPATIBILITY: Specifically designed to work with HIS06 humidifier models as a direct replacement humidity and temperature sensor module board

Compatible With Models Having Tank Capacities of 50 and 70 Pints.

COMPATIBILITY: Specifically designed as a replacement humidity sensor module board for HIS06 model for dehumidifiers and humidifiers
Fix Unresponsive Control Buttons
Buttons may stop responding because the control lock is enabled, the panel is wet or dirty, a connector is loose, or the user-interface board has failed.
- Dry your hands and the panel.
- Check the display for a lock symbol or control-lock message.
- Follow the manual’s button sequence to disable the lock.
- Turn the unit off and unplug it.
- Wipe the panel with a soft, barely damp cloth, then dry it completely.
- Do not spray cleaner or water directly onto the buttons.
- Reconnect power and perform the approved reset procedure.
- Record any error code that returns.
If only one button fails, the membrane keypad or user-interface board may be damaged. If the entire panel is dead while the outlet works, the power board, wiring, thermal protection, or user-interface board may be faulty. Internal inspection should be completed by qualified service personnel.
When to Call a Qualified Appliance Technician
Stop owner troubleshooting and seek qualified service when:
- The breaker trips more than once.
- The cord, plug, outlet, or cabinet shows heat damage.
- The unit sparks, smokes, or smells burnt.
- Water has entered the electrical compartment.
- The fan or compressor does not start after basic checks.
- Frost returns despite correct temperature and clear airflow.
- The appliance makes loud grinding, buzzing, or knocking sounds.
- The humidity sensor or control panel remains inaccurate after cleaning and resetting.
- You suspect a refrigerant leak or compressor fault.
- The repair requires cabinet disassembly, live electrical measurements, capacitor work, or refrigerant-circuit access.
For a portable dehumidifier, an authorized appliance technician or manufacturer-approved service provider may be more appropriate than a general HVAC contractor. Ask whether the provider services your exact brand and model before arranging a visit.
Repair or Replace the Dehumidifier?
| Repair May Make Sense | Replacement May Make More Sense |
|---|---|
| The unit is under warranty | The model is recalled and the remedy is refund or replacement |
| The problem is a bucket, filter, hose, float, or available sensor | The compressor or sealed system has failed |
| The manufacturer supplies the required part | Internal parts or authorized service are unavailable |
| The cabinet and electrical system are otherwise undamaged | There is heat, smoke, water, corrosion, or repeated electrical damage |
| The estimate is comfortably below replacement cost | The service estimate approaches the cost of an efficient replacement |
Frequently Asked Questions
What is a common problem with a dehumidifier?
Common problems include a clogged filter, incorrectly installed bucket, stuck float, blocked drain hose, wrong humidity setting, low room temperature, icing, or a fan that runs without the compressor. Start with the bucket, controls, measured humidity, filter, airflow, and drain setup.
Should you use a dehumidifier if you have COPD?
A dehumidifier may help when high humidity, dampness, mold, or steam worsens your breathing. However, air that becomes too dry may also be uncomfortable. Monitor the room with a hygrometer and follow your clinician’s advice, especially if changing humidity appears to affect your symptoms. Seek medical help for new or worsening breathing difficulty.
What is the average life expectancy of a dehumidifier?
There is no single lifespan that applies to every dehumidifier. Useful life depends on operating hours, humidity load, room temperature, filter care, drainage, electrical conditions, component quality, and parts availability. Repeated overheating, compressor failure, corrosion, or unavailable parts may make replacement more practical.
How do you get a dehumidifier to work again?
Check the recall status, outlet, breaker, cord, bucket, float, filter, grilles, drain hose, timer, control lock, mode, room temperature, and humidity target. Reset the appliance according to its manual and wait through the compressor delay. Arrange service if it still does not start or reduce humidity.
Why does a dehumidifier ice up?
Icing may occur when the room is too cool, the filter or grille restricts airflow, the fan is weak, the defrost sensor is faulty, or the sealed refrigerant system has a problem. Turn the unit off, let the ice melt naturally, clean the airflow path, and verify the approved temperature range. Do not chip ice from the coil.
Why is the fan running but no water is in the bucket?
The room may already be dry, the compressor may be delayed or in defrost mode, the room may be too cool, or water may be leaving through a drain hose or pump. A blocked filter, failed compressor, bad sensor, or sealed-system fault can also prevent moisture removal.
Conclusion
You can solve many dehumidifier problems by checking the recall status, power supply, bucket, float, controls, humidity setting, filter, airflow, temperature, and drainage. These checks do not require live electrical testing or access to the sealed refrigerant system.
If the unit still will not start, repeatedly shuts down, trips a breaker, ices up, or fails to lower measured room humidity, unplug it and contact a qualified appliance technician. Replacing a failed filter, hose, float, or model-specific sensor may be worthwhile, while compressor, refrigerant, fire, or major control-board problems may make replacement the safer choice.
Sources
- ENERGY STAR: Dehumidifiers — indoor relative-humidity guidance and humidistat operation.
- GE Appliances: Dehumidifier Not Collecting Water — humidity-setpoint and reset troubleshooting.
- GE Appliances: Dehumidifier Cleaning and Maintenance — filter, tank, grille, and cleaning guidance.
- U.S. Consumer Product Safety Commission: Dehumidifier Recalls — recalled models and fire-safety remedies.
- U.S. EPA: Refrigeration Service Practice Requirements — refrigerant recovery and servicing requirements.
- American Lung Association: Preventing COPD Flare-Ups — humidity and environmental triggers for people with COPD.