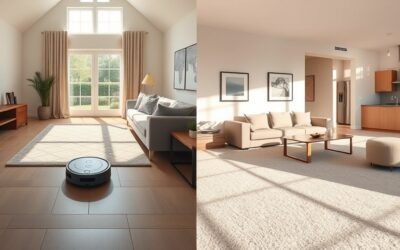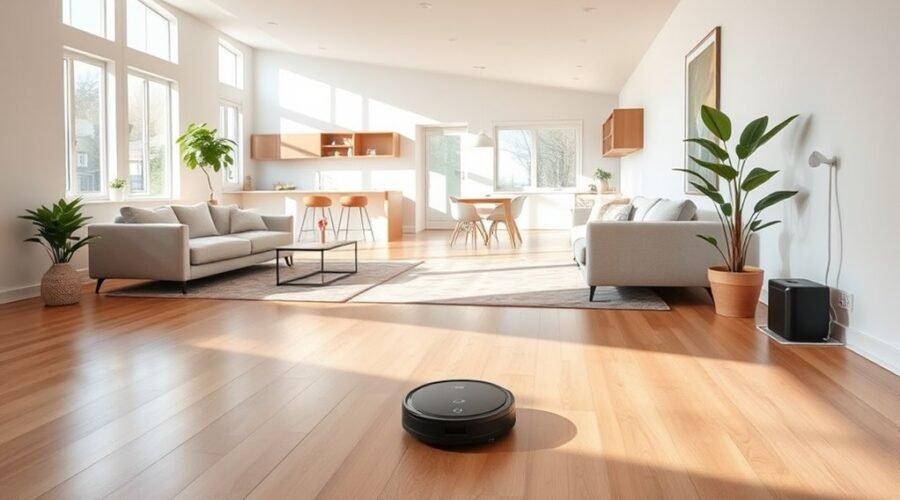
Robot vacuums can cover open floor plans efficiently, but only when the layout is set up correctly. A central dock, clear pathways, and a clean first map often determine how well the machine navigates large, connected spaces. Daily performance then depends on scheduling, zone control, and routine maintenance. Small setup errors can lead to missed areas or repeated passes, and the fix is usually more specific than expected.
How Robot Vacuums Handle Open Floors
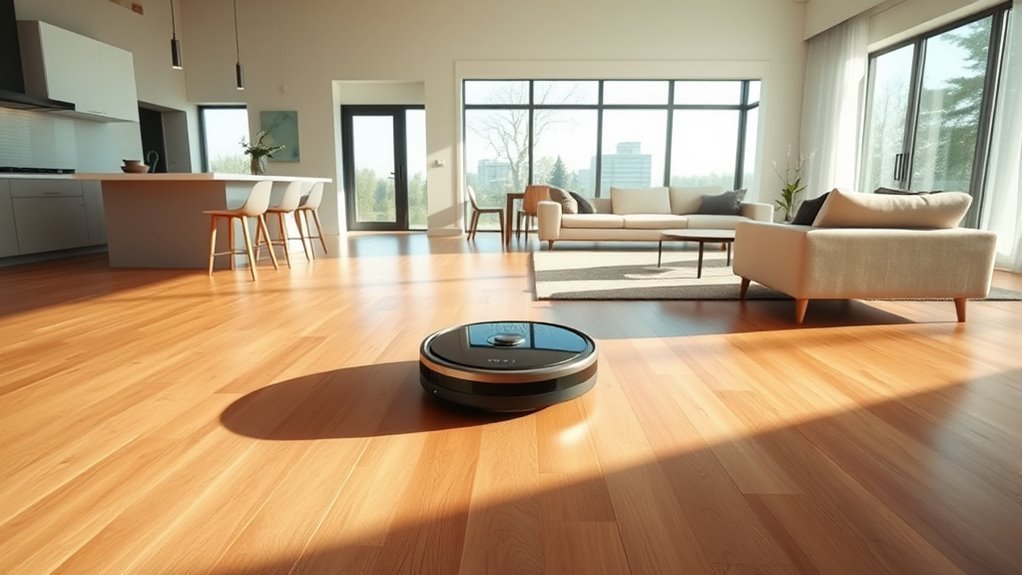
Robot vacuums handle open floor plans effectively by using LiDAR or vSLAM navigation to map large, unobstructed spaces with high accuracy.
In these environments, advanced navigation builds floor maps that guide efficient cleaning across wide living areas without repeated passes. Obstacle avoidance helps the unit move around furniture legs, cords, and low objects while keeping coverage consistent.
High suction power, often above 20,000 Pa in premium models, improves pickup of dust, crumbs, and pet hair from exposed surfaces.
High suction power, often above 20,000 Pa, helps lift dust, crumbs, and pet hair from open floors.
Many robot vacuums also support customizable cleaning schedules, allowing daily cleaning during hours that avoid disruption. No-go zones further refine control by blocking cluttered corners or storage areas that do not need service.
For open floors, the result is more autonomous operation, less manual intervention, and a cleaner space maintained with limited effort.
Set Up Your Robot Vacuum Map
With open-floor navigation established, the next step is to build and organize the map itself. For an open floor plan, place the robot vacuum and charging dock in a central position before starting the initial mapping run through app control. This lets the system chart furniture, obstacles, and clear travel lanes with minimal distortion.
Once the scan is complete, save and label the map precisely so cleaning routines can be selected without guesswork. The saved layout can then be used to customize cleaning for specific rooms or zones, while no-go zones block access to tight spaces, delicate items, or areas under low furniture.
The app should be checked after each major layout change, and the map should be regularly updated to preserve efficient cleaning paths. A well-maintained map reduces manual intervention and supports a cleaner, more autonomous floor.
Place the Dock for Better Coverage
For better coverage in an open floor plan, the dock should be placed in a central location so the robot can reach more of the area with fewer navigation constraints.
During setup, the robot vacuum should have at least 3 feet of clearance on both sides and 6 feet in front of the dock to support smooth docking and undocking. This spacing improves efficient navigation and helps preserve the full coverage area.
The dock should not sit near walls or furniture that can interfere with the robot’s return to dock when battery levels drop or a cleaning cycle ends. App-based virtual boundaries can then be used to exclude zones beyond practical reach, keeping cleaning cycles focused on designated spaces.
The dock area should be checked regularly for obstacles, since even small changes can disrupt movement. Proper placement reduces dependency on manual intervention and supports consistent, autonomous cleaning freedom.
Tame Cords, Clutter, and Loose Rugs
Cords and cables should be secured or routed away from the cleaning path to prevent tangling and interruption.
Clutter such as shoes, toys, and loose furniture should be cleared before each run so the robot can move without obstruction.
Loose rugs should be assigned no-go zones in the app to reduce snagging and protect floor coverings.
Cord And Cable Control
Keeping an open floor plan robot-friendly starts with controlling loose cables, clutter, and rug edges that can interfere with navigation. Effective cord management frees robot vacuums to move without snags. During setup, secure loose cables with cable ties or clips along walls, especially in high-traffic areas, and place power strips in cable management boxes. Use virtual no-go zones in the app to block delicate areas and reduce obstacles. Favor low-profile rugs or non-slip backs so edges do not catch the machine.
| Control | Result |
|---|---|
| Cable ties | Safer routing |
| No-go zones | Restricted access |
| Low-profile rugs | Fewer snags |
| Clear paths | Better cleaning efficiency |
Regular inspection keeps pathways open; even minor clutter can reduce coverage and delay autonomous cleaning.
Rug And Clutter Prep
A clear floor field improves robot vacuum performance in open layouts. In open floor plans, decluttering reduces obstacles and supports reliable navigation. Loose cords, toys, and small items should be removed or lifted; cord clips keep cables off the floor.
Area rugs need non-slip backing so each rug stays fixed and the robot vacuum does not snag or stall. App-based no-go zones help block clutter-prone areas while preserving routine efficiency.
Furniture and other obstacles should be checked often, because room flow changes over time.
- Secure cords with clips
- Remove floor clutter daily
- Anchor area rugs firmly
- Mark no-go zones in app
- Reposition obstacles as needed
Use Cleaning Schedules That Fit Your Day
Scheduling should align with daily household patterns so the robot vacuum runs when the open floor plan is least occupied and can clean with minimal interruption. Effective cleaning schedules begin with the daily routine, then use the app to customize cleaning times for early mornings or late evenings.
Robot vacuums can be assigned different frequencies for high-traffic areas than for quieter zones, improving coverage where debris accumulates fastest while preserving efficiency elsewhere. No-go zones should be configured to keep the robot away from cluttered or hazardous areas during scheduled runs. This reduces manual intervention and supports a more autonomous home.
The schedule should not remain fixed; seasonal changes, holidays, and family gatherings often increase mess and warrant adjustment. Regular review of timing and frequency helps maintain peak cleanliness across the open floor plan without requiring constant oversight.
The result is a cleaner space, fewer interruptions, and more freedom in daily life.
Adjust Suction and Zone Settings
Adjusting suction and zone settings helps the robot vacuum match performance to surface type and room layout. To optimize cleaning in open plans, users should adjust suction power: higher levels, up to 20,000 Pa, suit carpet, while lower settings preserve battery life on hard floors.
Adjusting suction power helps your robot vacuum match surface type, boosting carpet cleaning while preserving battery on hard floors.
The app enables no-go zones for under furniture, pet bowls, or other fixed obstacles, supporting cleaner navigation and more focused coverage.
- Set cleaning schedules for high-traffic zones.
- Use multi-floor mapping to save each layout.
- Assign suction profiles by floor type.
- Update the app and software regularly.
- Review zone settings after layout changes.
This supports tailored cleaning without constant intervention, improving efficiency across wide rooms and connected spaces.
With multi-floor mapping, the robot can store distinct maps and settings for each level, reducing manual resets. Regular app updates may refine navigation and zone accuracy, keeping routes consistent and helping the system optimize cleaning while maintaining control over time, coverage, and energy use.
Maintain Brushes, Sensors, and Wheels
After suction and zone settings are tuned, mechanical upkeep becomes the next factor in consistent performance. A robot vacuum should maintain brushes, sensors, and wheels through regular maintenance, because open layouts expose every weakness in debris pickup.
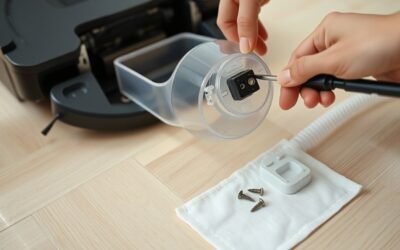
Side brushes should be checked often and replaced when worn, since depleted bristles lower cleaning efficiency and leave edges uncollected. The main brush requires weekly cleaning to remove hair and debris, preventing clogging and preserving suction power.
Wheels should be inspected for dirt buildup or damage; clean, functional wheels support smooth navigation and steady maneuverability across wide floors. Sensors must remain free of dust and obstructions so navigation stays accurate and the unit does not stall or wander.
Following the manufacturer’s maintenance intervals protects these parts and extends service life. With disciplined attention, the robot vacuum retains peak performance, clearer paths, and dependable debris pickup without unnecessary effort from the user.
Fix Robot Vacuum Mapping Problems
Common mapping errors usually stem from dirty sensors, blocked paths, incomplete first-pass scans, or outdated firmware, all of which can reduce navigation accuracy in open floor plans.
If the robot repeatedly misses zones or loses orientation, the layout should be checked for obstacle placement and dock position, and the saved map should be reviewed in the app for labeling or correction.
When errors persist after these adjustments, a reset and full remap can restore a clean baseline for more reliable room coverage.
Common Mapping Errors
Mapping errors in a robot vacuum are often caused by environmental changes, incomplete initial scans, or outdated software.
During daily use, accurate mapping depends on a clutter-free environment, clear floor space, and consistent placement of obstacles removed from the path. If the Vacuum shows mapping errors, inspect the app for recalibrating maps and verify the saved layout.
For multiple floors, keep separate floor plans and move the dock and unit together when needed. A firmware update can improve sensor logic and navigation precision, reducing missed zones and repeated passes.
- Move chairs, shoes, and cables before mapping
- Keep hallways open for cleaner scans
- Rerun mapping after major furniture shifts
- Label each floor map clearly
- Update firmware regularly for stable behavior
Reset And Remap
When map corruption, missed zones, or repeated passes continue despite basic cleanup, a full reset and remap is often the most effective fix.
The robot vacuum should be fully charged and connected to Wi-Fi before the mapping process begins. In the app settings, delete the existing map so the system can build a fresh layout for the open floor plan.
Place the dock and robot vacuum in a central location with clear access and minimal obstacles. Start a complete cleaning cycle from the app and let navigation run uninterrupted until the new map is saved.
Afterward, verify room boundaries and adjust zones if needed. Regular app updates should be installed, because firmware improvements often refine navigation, stabilize mapping, and reduce future errors.
Frequently Asked Questions
Is It Okay to Use a Robot Vacuum Every Day?
Yes; daily cleaning is generally acceptable, provided floor types suit it and robot maintenance stays regular. Scheduling features, navigation technology, pet hair handling, battery life, noise levels, user reviews, and smart integration should guide use.
Can I Use a Robot Vacuum on Multiple Floors, and if So, How?
Yes; multi floor cleaning works when robot vacuum setup saves separate maps per level. Navigation technology, home layout considerations, floor type compatibility, charging station placement, scheduling features, cleaning path optimization, maintenance tips, user experience feedback all matter.
Which Robot Vacuum Has the Best Mapping System?
Roborock Qrevo Series most often leads. Its LiDAR technology enables smart navigation, obstacle avoidance, precise floor mapping, real time updates, zone cleaning, app integration, virtual boundaries, and multi room mapping, and user reviews confirm it.
What Robot Vacuum Cleaners Can Map My House?
Robotic vacuums from iRobot, Roborock, Ecovacs, and Dreame can map a house using smart technology, improving cleaning efficiency across floor types. They handle pet hair, obstacle avoidance, battery life, app connectivity, maintenance tips, noise levels, and brand comparisons.
Conclusion
In open floor plans, a robot vacuum tends to perform best when its environment is carefully prepared and its settings are calmly refined. A well-placed dock, clear pathways, and disciplined scheduling help the machine navigate with little hesitation. With routine cleaning of brushes, sensors, and wheels, performance stays consistent. When mapping needs a gentle correction, small adjustments often restore order. In this way, the system quietly keeps pace with a home’s changing contours.