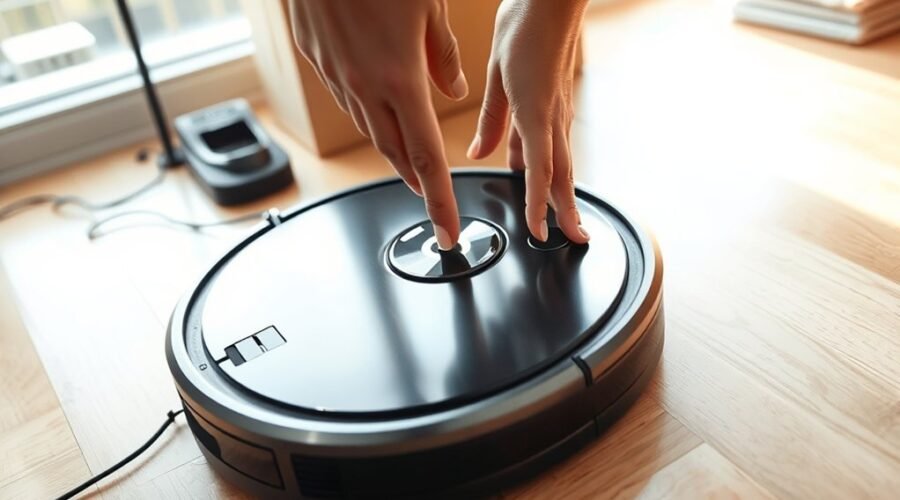
Before selling a robot vacuum, the reset process should begin with backup and preparation, since maps, schedules, and app links may be lost. A soft reset can resolve minor issues, but a factory reset is the critical step for clearing personal data and restoring default settings. The device should also be cleaned and unlinked from the app. The exact order matters, and the next step depends on the model.
When to Reset Before Selling
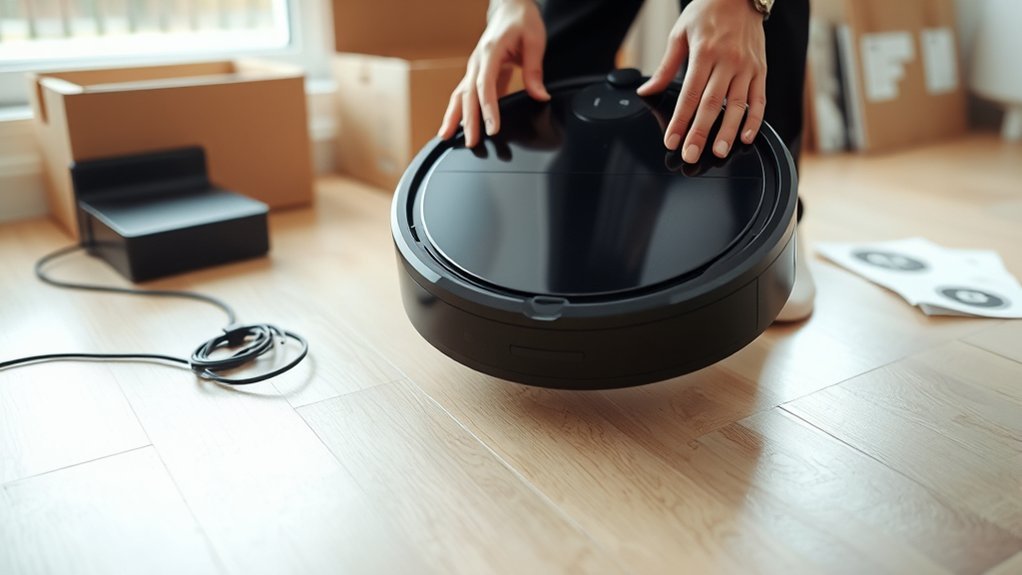
Before selling a robot vacuum, a factory reset should be performed to erase personal settings, saved Wi-Fi credentials, cleaning maps, and scheduled routines. This step should be taken before listing the device, transferring ownership, or removing it from a household network.
Before selling a robot vacuum, perform a factory reset to erase settings, Wi‑Fi credentials, maps, and schedules.
When owners reset your robot vacuum, the factory reset erases data that could otherwise expose routines or permit access to the home system. It also clears customized maps and schedules, allowing the next user to configure the machine without inherited constraints.
A reset may additionally remove persistent software faults or error messages that developed during prior use, improving handoff reliability. The precise procedure varies by model, so the user manual should be consulted before activation.
Following the documented sequence guarantees that all stored information is cleared completely and that the vacuum is released for its next owner in a clean, unburdened state.
Back Up Maps and Schedules
Before resetting, the robot vacuum’s maps should be saved through the companion app to preserve room layouts and boundary data.
Cleaning schedules should then be exported or synced to the user account or device, if supported by the model.
Any custom preferences, including room assignments and virtual boundaries, should also be documented for restoration after the reset.
Save Maps First
A factory reset can erase stored cleaning maps and custom schedules, so the robot vacuum’s app should be checked first for backup options.
The user should confirm the model supports save maps functions before proceeding.
Then, in the app’s map management area, the maps should be stored, and any cloud backup setting should be enabled if available.
Cleaning preferences that define routine behavior should be noted for later restoration, preserving autonomy after the reset.
- Open the robot app.
- Verify backup support in settings.
- Save maps from map management.
- Check cloud sync status.
- Confirm saved data is accessible.
Export Cleaning Schedules
Once map storage is confirmed, the robot vacuum’s cleaning schedules should be exported through the companion app or cloud service if the model supports it.
The user manual should be checked first, because procedures differ by model and the correct backup path matters. Many units let owners save cleaning schedules and maps in the app, preserving custom routines for transfer or later restoration.
Some models also offer cloud storage, which can simplify access after reset from any linked device. The export and backup process must be completed before any factory reset, since that action erases all saved data.
After saving, the app or cloud should be verified to confirm the schedules and maps are secured before the reset proceeds.
How to Soft Reset Your Robot Vacuum
To perform a soft reset, the robot vacuum’s Home and Clean buttons should be located and held simultaneously for 5–10 seconds until a confirmation chime or voice prompt sounds.
This soft reset clears temporary glitches and restores app communication without removing saved maps or settings, preserving user autonomy.
Before starting, verify the robot vacuum is charged above 20% to support reliable operation.
After the reset, allow the unit to restart fully, then run a brief cleaning cycle to confirm normal navigation and connectivity. If the issue remains, a stronger reset may later be required.
- Hold both buttons firmly.
- Wait for the audible confirmation.
- Confirm battery above 20%.
- Restart and observe the robot.
- Test with a quick cleaning pass.
How to Factory Reset Your Robot Vacuum
To factory reset the robot vacuum, the reset controls must be located, typically on the bottom or side, and pressed with a paperclip for 10–15 seconds.
This procedure removes saved settings such as cleaning schedules, maps, and Wi‑Fi credentials, returning the unit to its original factory state.
A confirmation beep or light indicator should be used to verify that the reset has been completed.
Locate Reset Controls
Locate the reset control on the robot vacuum, typically found on the bottom or side of the unit, and use a pin or paperclip if a recessed button requires it.
Before a factory reset, confirm the machine is powered on and charged above 20% to preserve an uninterrupted return to original settings.
Hold the reset button for 10–15 seconds until a beep or light signals initiation.
- Check the base and side panels.
- Use a pin for recessed access.
- Hold 10–15 seconds.
- Watch for beep or light indicator.
- Verify the manual for model-specific guidance.
This controlled procedure restores autonomy by clearing the device’s personalized state, preparing it for transfer without unnecessary complication.
Remove Saved Settings
With the reset control identified, the next step is removing the stored data through a factory reset. The operator should press and hold the reset button for 10–15 seconds, or use the required button combination specified in the manual, until a beep or light indicates completion.
This factory action clears all saved settings, including Wi‑Fi credentials, cleaning maps, schedules, and personalized preferences. Any important maps should be backed up before proceeding, since the erase cannot preserve them.
Once the reset is executed, the robot returns to its original state, free of prior user data and ready for transfer to a new owner. For liberation from outdated configurations and personal traces, this reset procedure is essential when preparing the device for sale.
Confirm Factory Reset
A successful factory reset is confirmed when the robot vacuum emits a beep or other indicator after the reset button is held for 10–15 seconds. This action returns the unit to its original state, erasing personal settings, cleaning maps, and Wi‑Fi credentials.
The reset button is usually identified in the user manual, and the process should be verified only after the confirmation signal appears.
- Back up maps and schedules first.
- Hold the reset button 10–15 seconds.
- Listen for the beep or indicator.
- Confirm removal of all personal settings.
- Reconnect the app and Wi‑Fi.
For a new owner, this factory reset is essential because it clears personal data and restores operational freedom without prior user traces.
Remove It From Your App
Open the mobile app linked to the robot vacuum and go to the settings or device management section. Select the target unit, then choose to remove device or unlink it from the account. Confirm the prompt to sever app access and release the machine from prior control.
| Action | Where | Result |
|---|---|---|
| Open app | Settings | Access device list |
| Select vacuum | Device management | Target correct unit |
| Tap remove device | Account menu | Break app link |
| Confirm unlink | Prompt screen | Clear association |
| Proceed next | Vacuum controls | Prepare for factory reset |
This step prevents leftover user data and stored preferences from remaining attached to the account. It also creates a clean shift of ownership, supporting a new owner’s freedom from inherited settings. After the unlink is complete, the vacuum should still receive a factory reset on the hardware itself so its internal state returns to baseline before transfer.
Clean the Robot Before Listing It
Before listing the robot vacuum, it should be thoroughly cleaned inside and out to remove dust, dirt, and debris and present the unit in proper condition for buyers. This cleaning step supports honest maintenance and strengthens perceived value. A disciplined approach helps the robot vacuum appear reliable and ready for independent use.
- Empty the dustbin completely.
- Wash or replace the filter per manufacturer guidance.
- Inspect brushes for hair, fibers, and buildup.
- Clean wheels to restore smooth movement.
- Wipe sensors with a soft, dry cloth.
Each component should be checked methodically. Exterior surfaces may be wiped to remove residue, while interior compartments should be cleared of loose debris.
Each component should be checked methodically, with exterior surfaces wiped clean and interior compartments cleared of loose debris.
Brushes and wheels require careful attention because tangles can signal neglect. Sensors must remain unobstructed to preserve navigation accuracy. Following the manufacturer’s maintenance instructions protects delicate parts and demonstrates responsible ownership.
Clean equipment signals readiness, order, and respect for the next operator.
Get It Ready for the Buyer
Guarantee the robot vacuum is restored to a buyer-ready state by performing a factory reset, which erases personalized settings, cleaning maps, and stored schedules.
If the device supports backup, preserve maps and schedules before the reset so no useful configuration is lost.
Afterward, empty the dustbin, clean the brushes, and wipe the sensors to remove debris that can reduce cleaning efficiency and create a poor first impression.
Disconnect the unit from the Wi-Fi network so the new owner can complete setup without access conflicts or security exposure.
Verify that no linked app accounts remain active.
Gather the original packaging, manuals, charging base, and accessories, then present them with the machine.
This preparation increases perceived value, simplifies onboarding, and gives the buyer a clean release from your previous configuration.
A fully prepared vacuum transfers control cleanly, with no lingering data, dust, or network ties.
Frequently Asked Questions
How Do I Factory Reset My Robot Vacuum?
Factory reset requires pressing the robot vacuum’s reset button for 10–15 seconds until confirmation. This robot vacuum maintenance step clears cleaning schedules and Wi‑Fi settings; consult troubleshooting tips and the manual for model-specific instructions.
How to Transfer iRobot to a New Owner?
To transfer iRobot, the robot vacuum should be factory reset, then removed from the app account; like clearing a docked ship for open water, the user manual should guide ownership transfer, accessories, and Wi‑Fi setup.
How Do I Remove Roomba From My Account?
He removes the Roomba in the iRobot app by opening device Settings, selecting Remove Robot, and confirming. This clears Smart home integration, reduces Roomba connectivity issues, supports Robot vacuum maintenance, and restores ownership freedom.
I Bought a Used Roomba. How Do I Factory Reset It?
Factory reset begins with a charged Roomba over 20%. Press the reset button, or hold Home plus Clean for j7+ models, 10–15 seconds. This liberates ownership; Roomba maintenance tips, Used vacuum considerations, Cleaning robot benefits follow.
Conclusion
Before listing, the machine should be treated like a ship preparing to leave port: maps and schedules preserved if needed, then a soft reset, followed by a full factory reset to clear personal data. Remove it from the app, clean the dustbin, filters, and sensors, and confirm the battery is above 20% during reset. With accessories gathered and packaging included, the vacuum is presented as a ready, well-maintained device for its next owner.