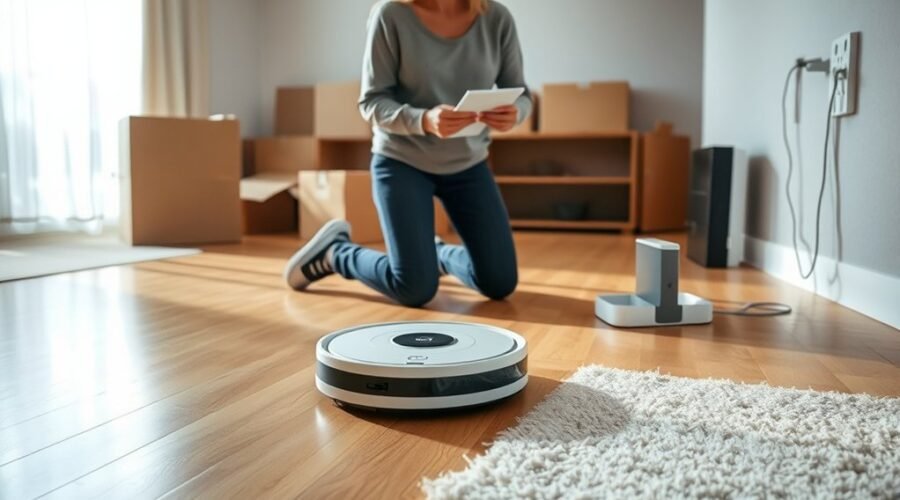
After moving, a robot vacuum needs more than a power button press. The dock must be placed in a clear, stable location, the floor must be cleared of loose items, and the unit should be assembled and fully charged before pairing. Wi‑Fi setup and app configuration come next, followed by a controlled mapping run. Small errors at this stage can affect cleaning performance and docking accuracy in the new home.
Choose the Best Spot for the Dock
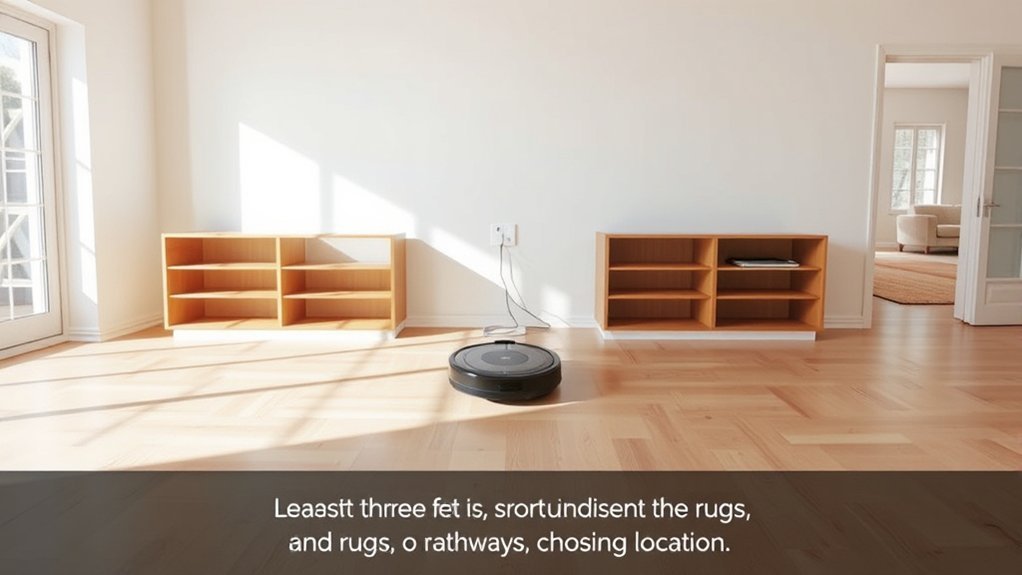
The docking station should be placed against a wall near a power outlet on a hard, level surface so the robot vacuum can recharge reliably and return without tipping.
The dock should remain on hard floors, where contact is stable and wheel alignment is predictable. A clearance of at least 0.5 meters on each side and 1.5 meters in front should be preserved so the unit can enter and exit without hesitation.
Keep the dock on hard floors with clear space around it for reliable, effortless entry and exit.
The area must stay free from obstacles, cords, and loose furniture legs that could block navigation or trap the vacuum. Placement should also avoid stairs, ledges, and drop-offs, because uninterrupted operation depends on safe returns.
A clear approach path supports consistent docking and preserves autonomy during cleaning cycles. When the station is positioned correctly, the robot can reclaim movement, reduce manual intervention, and operate with greater independence.
Prep the Floor Before First Run
Before the first run, the floor should be cleared of rugs, pet bowls, toys, and other obstacles so the robot can navigate without interruption.
Loose cables and wires should be secured to prevent entanglement, and any rugs that may bunch or shift should be adjusted or removed.
Thresholds should also be checked for height and flooring changes to confirm smooth passage during cleaning.
Clear Floor Obstructions
A clear floor plan gives a robot vacuum the best chance to complete its first run efficiently. Before activation, remove rugs, pet bowls, toys, and other floor items to secure unobstructed access.
Check pathways for large debris that can hinder navigation, including cords, shoes, and furniture legs. The machine requires clearance on either side to move freely through rooms and reach edges without intervention.
During the initial cleaning cycle, observe its route and note where it hesitates or reorients. Use that mapping data to refine placement and establish no-go zones in the app for persistent trouble spots.
Maintain uncluttered corridors so the regular vacuum routine can operate with minimal interruption, giving the user a cleaner space and greater freedom from manual correction.
Manage Cables And Rugs
Cables and rugs should be secured before the robot vacuum’s first run to prevent avoidable interruptions. To manage cables, remove hanging leads and route stationary cords with organizers so they remain outside the cleaning path. Fringed rugs should be lifted, rolled, or tucked under furniture; loose tassels can entangle brushes and reduce cleaning efficiency. Flat rugs without fringes may remain in place because most units cross them with minimal resistance.
| Item | Action | Result |
|---|---|---|
| Hanging cables | Remove | No entanglement |
| Stationary cords | Organize | Clear path |
| Fringed rugs | Tuck away | Avoid brush capture |
| Flat rugs | Keep down | Easy traversal |
| Initial run | Monitor obstacles | Optimize efficiency |
During the first cycle, observe for obstacles such as toys or pet bowls, then adjust the layout accordingly.
Assemble the Robot Vacuum
Carefully remove the robot vacuum and all included accessories from the box, then strip away any protective films from the unit.
To assemble the robot vacuum, attach the side brushes and debris trays exactly as directed by the manufacturer; correct placement supports reliable cleaning and prevents unnecessary wear.
Attach the side brushes and debris trays exactly as directed to ensure reliable cleaning and prevent unnecessary wear.
Next, connect the slope base to the charging dock, confirming a firm lock for optimal performance.
Place the charging dock on a flat, open surface with clear access so the unit can enter and exit without obstruction.
Turn on the power switch, then position the vacuum in the dock for its initial charge.
Allow the battery to reach 100 percent, which typically requires about four hours.
If the model includes automatic debris emptying or water refilling, verify that the docking station is configured for those functions after charging.
This completes the physical setup and prepares the system for independent operation.
Connect the Robot Vacuum to Wi-Fi
With the robot vacuum, Wi-Fi router, and smartphone positioned close together, the unit’s wireless setup can begin. The robot vacuum should be powered on, then its Wi-Fi feature activated by the reset button or the button combination specified in the manual. A blinking indicator light confirms that the connection attempt is active and that the system is ready to connect.
- Open the manufacturer’s app on the smartphone.
- Follow the prompts to join the robot vacuum to the home Wi-Fi network.
- Verify the indicator remains blinking during setup.
If the device fails to connect, check battery level first, since low power can interrupt provisioning. Next, confirm that the home Wi-Fi is compatible with the vacuum’s supported band and security settings.
Finally, inspect smartphone data settings, because some apps require them enabled for a complete handshake. Once these checks pass, the robot vacuum can be released onto the network and prepared for autonomous cleaning.
Download the App and Pair the Robot
Begin by downloading the latest version of the robot vacuum app from the smartphone’s app store to guarantee compatibility and full feature access.
After installation, the user should create an account or log in, then grant Bluetooth permission so the app can detect the robot vacuum.
Next, the app will prompt model selection and pairing; the robot vacuum’s Wi-Fi indicator should be blinking before proceeding.
The smartphone, vacuum, and router should remain within close range to support a stable Wi-Fi connection and reduce pairing errors.
If the app fails to connect, the user should verify network settings, confirm the vacuum is charged, and check that the home network matches the vacuum’s compatibility requirements.
Once paired, the device is ready for app control, giving the user direct access to a streamlined setup that minimizes dependence on manual intervention and restores autonomous cleaning freedom.
Set Cleaning Preferences in the App
Open the app and navigate to the cleaning preferences section to configure settings for each room type and floor material. This step lets the robot vacuum align with the home’s surfaces and the user’s autonomy. Set cleaning preferences for suction, water flow, and pass count so each zone receives the correct treatment.
- Select room types and assign modes for carpet, tile, or hardwood.
- Schedule cleaning cycles by day and time to support hands-free operation.
- Save the configuration as a Favorite for fast recall and easy revision.
Use the app to review cleaning patterns and modes, then adjust them for high-traffic areas or quiet periods. If the unit offers vacuuming, sweeping, and mopping, enable the 3-in-1 options as needed.
In a smart home, these controls reduce manual effort while preserving consistent results. After saving, the preferred routine remains available for future use, giving the household more control with less interruption.
Run the First Mapping Clean
After the robot vacuum is fully charged, the first mapping clean can start using the CLEAN button or the app.
Before it begins, the cleaning area should be cleared of rugs, cables, and other loose obstacles so the robot can clean without interruption and record an accurate layout.
During this initial pass, the robot can clean while exploring the home systematically, tracing walls, openings, and room shapes.
It is prudent to supervise the run the first mapping clean, since tight passages, high thresholds, or stuck points may reveal where the route needs adjustment.
Once the cycle ends, the generated map should be reviewed in the app.
At that stage, virtual boundaries and no-go zones can be assigned to protect restricted spaces and preserve independence from manual correction later.
This first mapping clean establishes the foundation for future automated sessions.
Troubleshoot Docking and Connection Issues
To guarantee reliable docking and app pairing, the robot vacuum should be positioned so the charging station sits on a hard, level surface with at least 0.5 meters of clearance on both sides and 1.5 meters of open space in front.
Place the charging station on a hard, level surface with clear space on both sides and in front.
This setup frees the device to enter the docking station without obstruction and supports a stable connection during setup.
- Verify Wi-Fi activation on the vacuum by using the reset button or the manual’s button combination.
- Enable smartphone Bluetooth, then keep the vacuum within close range while pairing.
- If the connection fails, troubleshoot by confirming charge, Wi-Fi compatibility, and the network’s data settings.
Persistent errors should be handled through the app’s support section, where device-specific guidance is usually provided.
If recovery remains blocked, a factory reset can restore a clean starting state and remove prior pairing conflicts.
This controlled process preserves autonomy while reducing avoidable setup friction.
Frequently Asked Questions
How Do I Set up My Robot Vacuum?
Set the robot vacuum on a level dock with clearances, charge fully, connect Wi‑Fi for smart home integration, review robot vacuum features, run an initial mapping clean, then program cleaning schedules and follow maintenance tips.
How to Get a Robot Vacuum to Start?
Press the CLEAN button or start the robot vacuum in the app. After charging, select cleaning modes, adjust robot vacuum features, set scheduling options, and follow maintenance tips for reliable, autonomous operation.
How to Set up Roomba in a New Home?
They should place the charging station considering home layout considerations, then charge the robot vacuum fully, connect Wi‑Fi, inspect robot vacuum features, run a mapping cycle, and adjust cleaning schedule settings for efficient, autonomous operation.
How Do You Reprogram a Robot Vacuum?
Freedom begins with a reset. Reprogram the robot vacuum by restoring factory settings, confirming app connectivity, then adjusting the cleaning schedule and mapping features; if errors persist, consult robot vacuum troubleshooting for model-specific instructions.
Conclusion
In the end, the robot vacuum settles into its new routine as if by coincidence, finding the dock, tracing familiar edges, and learning the rooms it was placed in. Once the app is paired and the first mapping run is complete, the home’s layout becomes a clear digital guide. With cables secured, floors cleared, and connection issues resolved, the system is ready to clean efficiently, quietly, and with reliable precision in its new environment.