Robot vacuum drive wheels often fail for simple reasons: packed dust, tangled hair, or grit around the axle. A careful cleaning can restore traction and reduce strain on the motor. The process is straightforward, but the wrong approach can damage small parts or push debris deeper into the assembly. Knowing what to remove, what to avoid, and when lubrication is appropriate makes the difference.
Fix Stuck Robot Vacuum Wheels
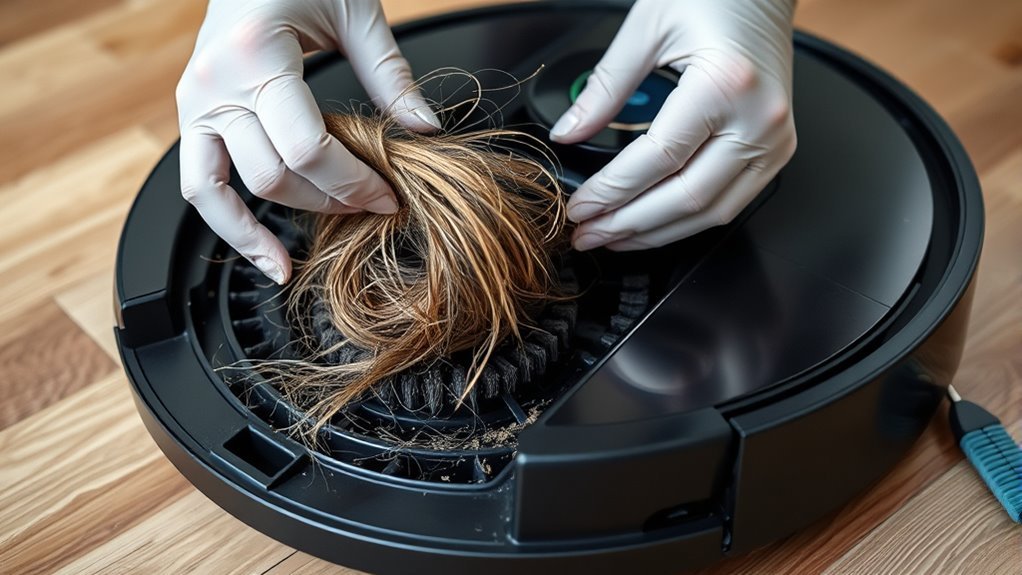
Begin by powering off the robot vacuum and turning it upside down to safely inspect the drive wheels.
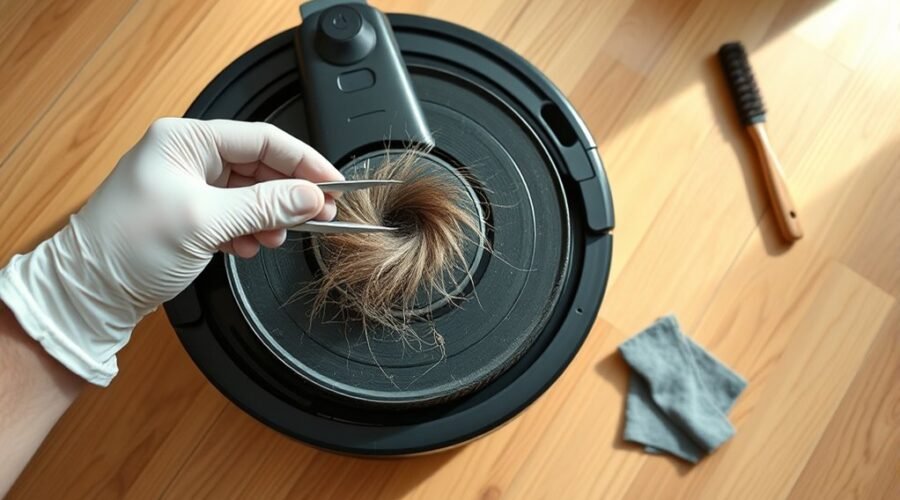
Examine the wheels for debris, thread, or compacted dust that may restrict movement. Use tweezers or a small brush to remove hair and other obstructions from the wheel housing, then clean the side surfaces and the surrounding axle area with a damp cloth.
Examine the wheels for debris and compacted dust, then clear obstructions and wipe the axle area clean.
If loose dust remains in crevices, apply compressed air in short bursts to clear it without forcing particles deeper.
Check that each wheel turns freely and that the axles are not coated with grime, because buildup can prevent proper rotation.
After cleaning, rotate the wheels by hand to verify smooth motion and confirm that nothing binds under light pressure.
If the wheels still stick, the issue may be mechanical and may require service support.
This method restores control, reduces friction, and keeps the machine responsive.
Remove Hair From Drive Wheels
Once the wheels are free of larger debris, any remaining hair wrapped around the drive wheels should be cut away with a seam ripper or small yarn scissors, taking care not to nick the wheel tread or housing.
To remove hair from drive wheels effectively, inspect the axle and tread for debris wrapped around the assembly. A small brush can loosen strands from tight gaps, while tweezers may lift stubborn fibers without forcing components.
- Cut tangled hair in short, controlled passes.
- Use the small brush to clear loose fibers.
- Clean the wheel housing with a damp cloth after removal.
Routine checks help prevent buildup that can cause malfunction and reduce cleaning efficiency.
Monthly maintenance gives the robot vacuum a clearer path to restore proper motion and sustain reliable performance.
Clean the Robot Vacuum Caster Wheel
Next, the robot vacuum’s caster wheel should be removed and cleaned to preserve smooth maneuverability and accurate navigation.
To clean the robot vacuum caster wheel, carefully remove the front caster wheel from its housing and inspect the axle for dirt, hair, and debris that can restrict motion. A damp cloth should be used to wipe the wheel surface and axle thoroughly.
Carefully remove the front caster wheel, wipe away dirt and hair, and keep the axle moving smoothly.
Where compacted buildup remains, use a small brush to dislodge particles from grooves and seams without forcing them deeper into the mechanism. This inspection matters because even minor obstructions can make wheels feel stiff and reduce the machine’s ability to travel freely across a room.
After the parts are dry and clear, reinstall the caster wheel securely until it clicks into place. This simple maintenance protects performance, supports accurate navigation, and keeps the robot operating with the independence expected from a well-kept device.
Stop Wheel Squeaks With Light Grease
With the caster wheel cleaned and reinstalled, the drive wheels can be checked for squeaks and lubricated with a light grease if needed. A Robot Vacuum that makes noise often has friction in the wheel housing, and the wheels may feel stiff after dust buildup.
Clean the area first, because debris reduces the effect of any lubricant and can trap abrasive particles against the shaft. Use only a small amount of light grease formulated for plastic or rubber parts; excess can migrate and collect grit.
- Inspect both drive wheels for free movement.
- Apply a thin film of approved grease to contact points.
- Rotate each wheel to distribute the lubricant evenly.
Manufacturer guidelines should be consulted before service so the chosen product matches the materials. Regular lubrication supports quieter travel, longer component life, and better performance.
Such care of your robot preserves motion, reduces resistance, and keeps operation disciplined, efficient, and materially liberated.
When to Replace Robot Vacuum Wheels
Robot vacuum wheels should be replaced when the rubber treads show significant wear, since reduced tread depth can weaken traction and cleaning performance.
During regular inspections, technicians should check whether the wheels feel smooth, hardened, or uneven, because these signs often precede failure. If the unit frequently sticks or jams after cleaning, the drive wheels may be damaged enough to replace robot vacuum wheels without delay.
Visible cracks, breaks, or chunks missing from the material indicate structural loss and justify immediate replacement. Persistent wheel overload errors also suggest the motors are being forced beyond normal limits by worn components. Waiting invites greater strain and less reliable navigation.
A practical maintenance schedule, with inspections every few months, helps identify decline before the machine loses autonomy. Replacing worn wheels restores mobility, reduces stress on the drive system, and supports consistent, self-directed cleaning performance.
Frequently Asked Questions
How to Clean the Side Wheels on a Roomba?
It should be powered off, inverted, and the side wheel cover pried off. Side wheel maintenance requires removing common debris, wiping the axle, observing cleaning frequency, and applying troubleshooting tips before considering wheel replacements.
What Are the Most Common Problems With Robot Vacuums?
The most common robot vacuum problems are battery issues, navigation problems, sensor malfunctions, software glitches, and brush obstructions. These faults reduce autonomy, mapping accuracy, and cleaning efficiency, requiring inspection, maintenance, and timely resets.
How to Clean Extremely Dirty Wheels?
He would turn it off, invert it, pry the housing, cut debris with seam ripper or scissors, wipe dry, then lightly grease axles. These wheel maintenance tips, cleaning tools required, routine upkeep methods, debris removal techniques, performance improvement strategies.
How to Get Hair Out of Roomba Wheels?
Hair is removed from Roomba wheels using hair removal techniques: a seam ripper, small scissors, tweezers, and a brush. Weekly wheel maintenance tips support robot vacuum upkeep by clearing common hair types and restoring smooth rotation.
Conclusion
Clean drive wheels restore quiet motion, while neglected debris turns a capable robot into a stalled machine. After power is removed and the unit is inverted, hair, dust, and grit can be cleared from the wheel surfaces, axle, and caster with simple tools. A light grease may reduce squeaks, but worn wheels should be replaced. Regular inspection keeps traction smooth, movement consistent, and cleaning performance reliable.