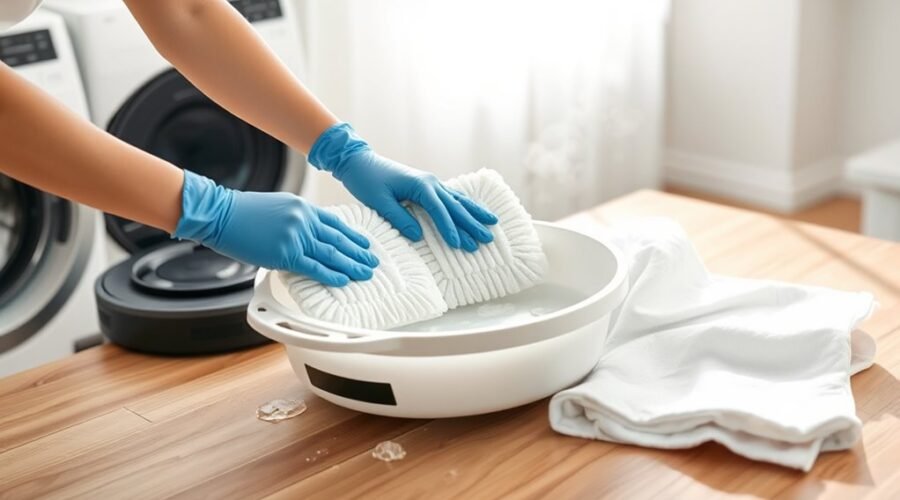
Keeping robot vacuum mop pads clean matters more than many owners realize. A careful routine starts with removing the pads correctly, then choosing between spot-cleaning, hand-washing, or machine-washing based on how dirty they are. Mild detergent, warm water, and full air drying help prevent damage and odor. The question is not just how to clean them, but how to do it without shortening their lifespan.
How to Clean Robot Vacuum Mop Pads Safely
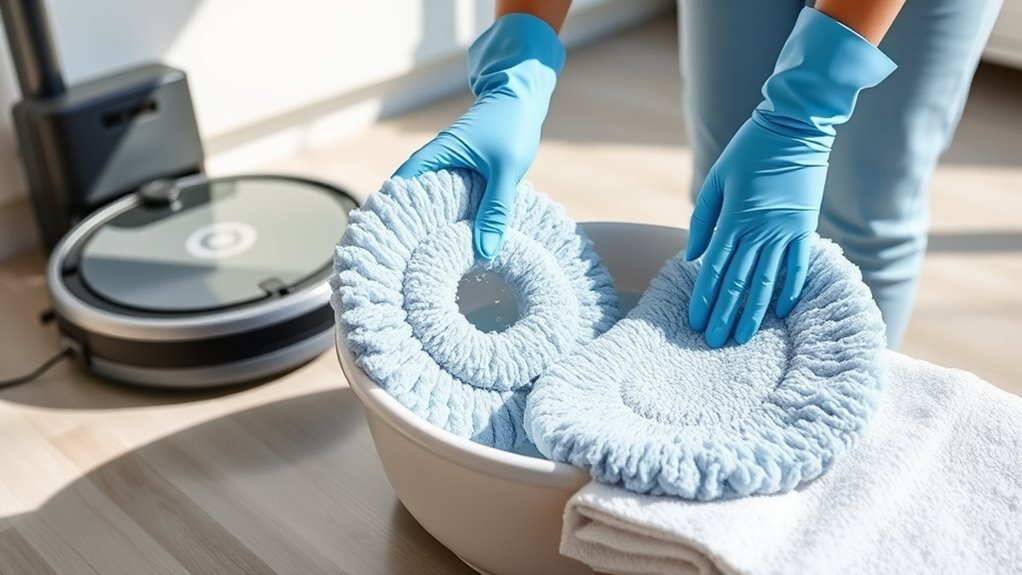
To clean robot vacuum mop pads safely, they should first be detached from the robot vacuum according to the user manual to prevent accidental damage.
Once removed, the mop pads can be rinsed under warm water to loosen debris before deeper cleaning begins. A mild detergent should be applied sparingly, since it removes dirt and grime without harming fibers.
If stubborn stains remain, a vinegar solution can be used as a pre-treatment to improve cleaning effectiveness. The pads should then be washed gently, with attention given to preserving their shape and absorbency.
Harsh chemicals and fabric softeners should be avoided because they can weaken the material and reduce performance.
After washing, the mop pads must air dry completely before reattachment. This prevents mold buildup and supports peak performance during the next cleaning cycle.
Tools and Supplies for Cleaning Mop Pads
A small set of basic supplies is enough to clean robot vacuum mop pads effectively. A mop owner needs mild detergent, warm water, a soft-bristled brush, and a white vinegar solution for deeper deodorizing.
Mild detergent breaks down dirt and grime without damaging fibers, while the soft-bristled brush lifts stubborn residue without rough treatment. For a fresher result, a white vinegar solution mixed with warm water can support sanitation and odor control.
Mild detergent and a soft-bristled brush lift grime gently, while a vinegar solution helps freshen and deodorize.
These tools keep maintenance independent, simple, and fully manageable. Regular inspections help reveal visible dirt, wear, or buildup before cleaning performance declines.
After washing, mop pads should air dry completely to prevent mold and mildew. With this small kit, routine care stays efficient, and the equipment remains ready for reliable use.
Consistent supply use supports peak performance and keeps the mop pad in service longer, with less waste and more control over daily upkeep.
How to Remove the Mop Pad Properly
Power off the robot vacuum before removing the mop pad to prevent accidental activation during handling.
Then locate the release tab or button near the pad attachment area. Press or pull it gently to detach the mop pad without forcing the mechanism. The pad should come free cleanly when the latch is released.
Hold the mop pad by its edges, not the surface, so dirt and contaminants are not transferred during removal. After the pad is removed, inspect it for stains, fraying, or other damage that could affect performance.
If the pad is ready to clean, set it aside according to the chosen method; if it is worn, replacement may be wiser.
When reattaching, follow the manufacturer’s instructions exactly and confirm the pad is secured tightly. A pad that is not fastened securely can fall off during operation and compromise cleaning results.
When to Spot-Clean vs. Machine-Wash?
After the mop pad has been removed and inspected, the next step depends on how dirty it is. For light soil, a spot-clean is the fastest, most efficient choice. Visible dirt should be cleared after each use so residue does not harden and reduce effectiveness.
When the pad has faced high-traffic floors, spills, or stubborn stains, a machine-wash on a gentle cycle with mild detergent is the better deep clean. That approach helps restore absorbency and remove embedded debris that spot-cleaning cannot fully release. Deep clean the pad at least monthly, or more often with regular use.
If the fibers look frayed, discolored, or otherwise damaged, replacement is wiser than any cleaning methods. Either spot-clean or machine-wash, but not both in quick succession, since alternating cleaning methods can create inconsistent results and add wear and tear.
Choosing the least intensive method that still achieves cleanliness preserves the pad’s lifespan and keeps maintenance simple and free.
How to Wash Robot Vacuum Mop Pads
The mop pads should be removed according to the manufacturer’s instructions, then shaken or rinsed to clear away loose debris before washing.
A mild detergent with warm water is appropriate for hand washing or a gentle machine cycle, while harsh chemicals should be avoided to protect the fibers.
After washing, the pads should be rinsed thoroughly and air-dried completely before reattachment to prevent residue buildup and mold.
Remove And Rinse Pads
Gently detach the robot vacuum mop pads according to the manufacturer’s instructions to prevent damage, then rinse them under warm running water to remove loose dirt and debris before adding any cleaner. This first step lets the user remove grime without forcing it deeper into the fibers.
| Step | Action |
|---|---|
| 1 | Remove pads carefully |
| 2 | Rinse with warm water |
| 3 | Check for residue |
| 4 | Spot-clean if needed |
| 5 | Air dry fully |
If buildup remains, a cleaning solution can follow, but only after the initial rinse. For targeted spots, a mild detergent may be used sparingly. A soft-bristled brush helps lift debris without abrasion. After washing, the pads should air dry completely so the vacuum stays fresh, efficient, and free.
Use Mild Detergent
Once the pads have been rinsed and any loose debris removed, a mild detergent can be used to wash away embedded dirt without harming the fibers or reducing absorbency.
Hand wash the pads in warm water with a small amount of mild detergent, or use a gentle machine cycle if the manufacturer allows. Harsh cleaning agents should be avoided, since they can weaken the fabric and leave residue.
For stubborn stains, pre-treat the area with mild detergent or a diluted vinegar solution before washing. After cleaning, rinse thoroughly until the water runs clear and no soap remains. This protects future performance and keeps the pads ready for continued use.
Let the pads air dry completely so they remain fresh, functional, and free from trapped moisture.
Dry Fully Before Reattaching
After washing, the mop pads should be air-dried completely before being reattached to the robot vacuum. This drying step protects performance, freedom from maintenance stress, and hygiene.
Place the pads in a well-ventilated area, away from direct sunlight and any dryer, so fibers stay intact and moisture leaves gradually. Follow the manufacturer’s guidelines for any special drying times.
- Let each pad dry fully.
- Check for hidden dampness.
- Prevent mold and odors.
- Reattach only when completely dry.
Careful, ventilated drying helps the pads remain effective and prevents moisture retention in the vacuum.
When the pads are air-dried and ready, reattaching them becomes a clean, confident final step, not a risky shortcut that compromises cleaning results.
How to Dry Mop Pads Without Damage
Mop pads should be air dried flat after washing, with excess water gently pressed out rather than twisted from the fibers.
High heat should be avoided because it can warp or weaken the material; direct sunlight is also best skipped to protect the pad’s structure.
The pads should be reattached only when they are fully dry, which helps prevent mold and preserves cleaning performance.
Air Dry Flat
Air drying robot vacuum mop pads flat on a clean, dry surface helps preserve their shape and cleaning performance by preventing stretching and deformation.
To air dry, place the mop pads in a well-ventilated area so moisture leaves evenly during the drying process. This simple method helps maintain the pads and support peak cleaning. The pads should be completely dry before reattachment to the vacuum to prevent mold and odor buildup.
- Lay them flat, not hanging.
- Keep the surface clean and dry.
- Check for wear or damage.
- Reattach only when fully dry.
Avoiding distortion gives the user freedom from avoidable repairs and weak results.
When mop pads stay flat, clean, and completely dry, they remain ready to perform with less trouble and more control.
Skip High Heat
High heat should be avoided when drying robot vacuum mop pads because it can damage the fabric, weaken adhesives, and reduce cleaning performance. The safest option is air drying on a clean surface or in open air, where moisture can escape freely and the mop pads can thoroughly dry without warping.
| Method | Effect |
|---|---|
| Air drying | Protects fibers |
| Clean surface | Promotes even drying |
| Fan | Speeds airflow |
| High heat | Damaging materials |
| Manufacturer’s instructions | Prevents mistakes |
Avoid using dryers, radiators, or direct sunlight. A warm, dry room is acceptable if heat is indirect. Following manufacturer’s instructions preserves performance and keeps materials intact, giving users a simple, dependable path to maintenance without unnecessary limits.
Reattach When Fully Dry
Once the mop pads have been washed, they should be laid flat and left to air dry completely before being reattached, since any remaining moisture can cause mold, odors, streaks, or water marks on floors.
Proper drying preserves cleaning performance and hygiene, while improper drying invites moisture buildup and damage.
- Gently squeeze, do not wring, to protect the fibers.
- Keep the mop pads away from dryers and high heat.
- Allow full air dry time in a cool, dry place.
- Reattach when fully dry to avoid streaks and frustration.
This careful routine supports freedom from repeat cleaning, premature wear, and hidden contamination.
How Often to Clean or Replace Mop Pads
Robot vacuum mop pads should be cleaned after each use to prevent dirt buildup and preserve cleaning performance. This cleaning frequency helps the clean mop stay free of residue and supports effective mopping capabilities.
After each cycle, inspect the pads for visible dirt, then wash them before the next run if needed. In high-traffic areas or after heavy spills, cleaning may be required more often to avoid lingering grime and odors. The manufacturer’s guidelines should always direct maintenance intervals, since models differ in pad material and washing tolerance.
Inspect mop pads after each cycle and wash as needed, especially after heavy spills or high-traffic cleaning.
Mop pads should be replaced when they show significant wear, thinning, fraying, or fading, usually every 3 to 6 months with regular use. Households that run the robot daily may need to replace mop pads sooner.
Tracking cleaning frequency and replacement dates gives users control over maintenance and helps the machine work efficiently without unnecessary strain.
Signs Your Mop Pad Needs Replacing
A mop pad should be replaced when visible wear becomes noticeable, such as fraying edges, thinning fabric, or discoloration, because these signs indicate that the pad is no longer cleaning effectively.
Once a mop pad is worn out, cleaning performance drops, and the robot loses cleaning efficiency. Look for these clear signals:
- Persistent streaking after mopping.
- Odor emission from trapped grime or bacteria.
- Debris left behind despite repeated passes.
- Repeated washing with no improvement.
Each condition points to a pad that can no longer lift dirt or absorb moisture properly.
Replacing the mop pad restores peak performance and prevents dirty floors from becoming a recurring burden. A fresh pad supports a cleaner result with less effort, giving the household greater freedom from constant rework.
When these signs appear, it is practical to replace the pad promptly rather than forcing it through another cycle.
How to Reattach the Mop Pad Correctly
After a mop pad shows wear and is replaced, proper reattachment keeps the robot vacuum working at full efficiency. To reattach, the mop pad should be completely dry, clean, and free of debris. It is then aligned with the designated attachment area and pressed into place so it sits securely. The user manual should be checked first, because some models use clips, tabs, or magnetic mounts that differ at the attachment points. Firm pressure on the edges helps lock the pad and supports peak performance during cleaning sessions.
| Step | Action | Purpose |
|---|---|---|
| 1 | Inspect the pad | Confirm dryness and cleanliness |
| 2 | Align properly | Match attachment points |
| 3 | Reattach firmly | Prevent detachment |
| 4 | Check manual | Follow model-specific method |
| 5 | Inspect again | Verify secure fit |
Regular inspect of the attachment points helps reveal wear or damage before operation.
Tips to Keep Mop Pads Cleaning Better
Keeping mop pads cleaning better starts with consistent care after every use. Regular cleaning helps prevent dirt buildup and keeps fibers free to work, so the device can deliver a cleaner floor with less effort.
- Rinse or wash the mop pads soon after cleaning to stop residue from hardening.
- Pre-treat stains with a mild detergent or vinegar solution, then wash the mop on a gentle cycle or by hand in warm, soapy water.
- Avoid using harsh chemicals or fabric softeners, because they weaken absorbency and shorten performance.
- Store mop pads in a dry, well-ventilated place to prevent moisture buildup and extend their lifespan.
This simple routine helps maintain their effectiveness and gives the owner more freedom from repeated scrubbing, waste, and replacement costs.
Careful handling preserves the pad structure, supports stronger cleaning passes, and keeps the robot ready for dependable use.
Frequently Asked Questions
Can Roomba Mop Pads Be Washed?
Yes, Roomba mop pads can be washed. Useful robot maintenance tips include mild cleaning solutions options, checking pad replacement frequency, preserving mop pad effectiveness, noting vacuum filtration importance, avoiding surface compatibility issues, comparing robot mop brands, and choosing eco friendly alternatives.
Can I Put Vinegar in My Robot Mop?
Vinegar may go in a robot mop only if the manual allows; one technician once saw seals fail from undiluted acid. Vinegar benefits include odor removal, yet safe alternatives, eco friendly options, and proper cleaning frequency protect pad longevity and robot maintenance.
What Is the Best Floor Cleaner for Robot Mops?
The best floor cleaner for robot mops is a pH-neutral, dye-free, fragrance-free solution; floor cleaner comparisons show it supports robot mop effectiveness, cleaning solution recommendations, floor type suitability, robot mop maintenance, eco friendly cleaners, essential oil benefits, stain removal techniques.
What Is the Best Way to Clean Mop Pads?
Coincidentally, the best way is machine washing on a gentle cycle; mop pad maintenance depends on cleaning frequency, material considerations, and compatibility issues. For stain removal and odor elimination, use mild detergent, then thorough drying techniques.
Conclusion
In the relentless routine of floor care, robot vacuum mop pads can become tiny dirt magnets, and neglecting them can sabotage an otherwise flawless clean. Proper removal, gentle washing, complete air-drying, and careful reattachment turn a simple maintenance task into a powerful performance boost. With regular cleaning and timely replacement, the pads stay effective longer, the robot works smarter, and every pass across the floor delivers a far more impressive result.