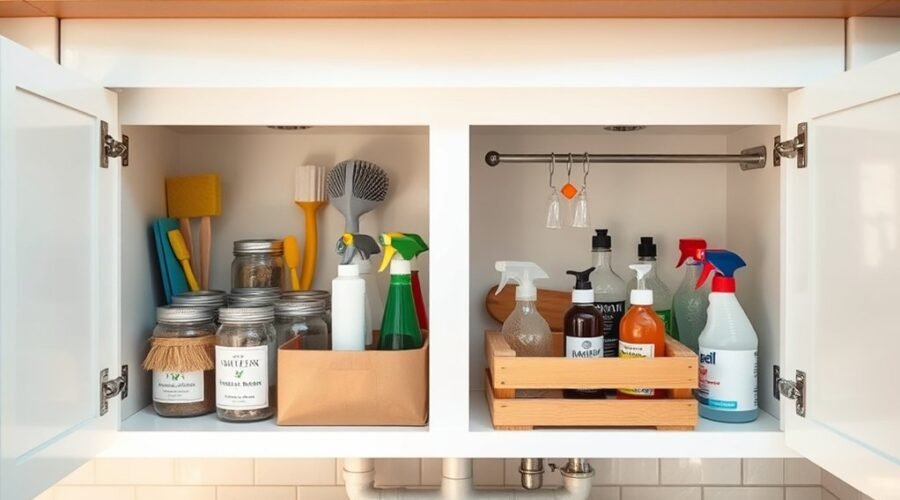
Under the sink, clutter can build fast, but the fix does not have to cost much. A quick clear-out, a few low-cost bins, and a simple way to work around pipes can change the space without much effort. With a shelf, a pull-out tray, or a few hooks on the door, the cabinet starts to work harder. The small details often make the biggest difference.
Clear and Measure the Cabinet First
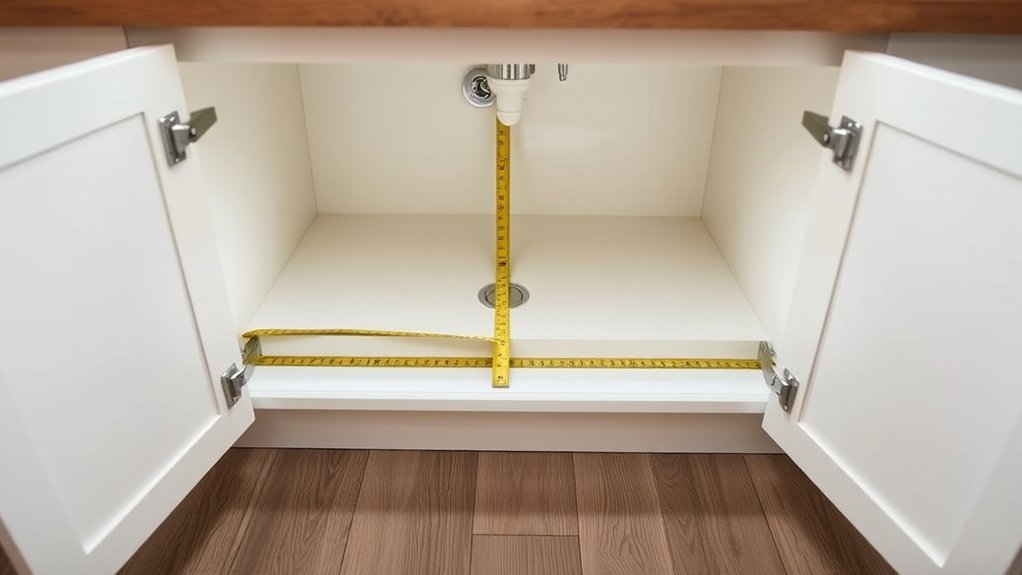
Start by emptying the cabinet completely so every item under the sink can be sorted and assessed. A full clear view makes it easier to declutter and see what truly serves daily life.
Anything expired, empty, or unused should leave at once; holding onto it only wastes space. The cabinet interior can then be wiped clean, removing dust, drips, and old residue.
Expired, empty, or unused items should go; then wipe the cabinet clean of dust and residue.
With the area reset, it is time to measure the width, depth, and height of the sink base. Plumbing parts, pipes, and any disposal unit must be noted, since they reduce usable space.
These dimensions should be written down before shopping or planning. Careful organization begins here, not with buying extras.
Accurate measurements protect against waste and help choose storage solutions that fit the cabinet instead of forcing the cabinet to fit the solution.
Best Budget Organizers for the Cabinet
A few inexpensive organizers can make the cabinet far easier to use without stretching the budget.
In kitchen organization, small plastic caddies from Dollar Tree keep cleaning supplies grouped, visible, and easy to grab.
Wire shelves add affordable solutions by using vertical space, turning wasted height into useful sink storage for sprays, cloths, and refills.
Command hooks on cabinet doors free up room for sponges and dish gloves, a simple DIY Under Sink move that helps the area stay open and orderly.
Repurposing items such as baskets and bins from other rooms is another smart way to cut costs while improving organization ideas.
These pieces can separate recyclables, backups, and daily-use products without buying special containers.
Contact paper offers a clean finish and protects surfaces, making the cabinet feel calmer and more intentional.
With a few chosen tools, the space supports freedom from clutter, not more chores.
Build a Shelf Around the Pipes
Once the cabinet is sorted with low-cost organizers, a custom shelf around the pipes can make the most of the remaining space.
For a kitchen sink DIY upgrade, the first step is measuring the under-sink opening, including plumbing and disposal placements. That keeps the shelf clear of obstacles and avoids wasted material.
A cut-to-size shelf made from ¾” plywood offers a sturdy, budget-friendly base for storage. Birch edge banding on exposed edges gives the piece a clean finish and protects it from wear.
For more freedom, drill holes for adjustable shelf pins so the layout can change with the contents. Secure the frame with pocket holes and 1-¼” pocket screws for a stable fit that supports cleaning supplies and other essentials.
This simple build turns awkward plumbing into usable space and helps the cabinet work harder without adding cost.
Add Pull-Out Trays for Easy Access
Pull-out trays make under-sink storage far easier to use by bringing cleaning supplies forward instead of burying them in the back of the cabinet.
For under-sink organization, a simple DIY build in ¾” plywood keeps costs low and strength high. Accurate measurements matter: the cabinet dimensions should allow at least a 13” width and 18” height opening so the trays can move freely.
Drawer slides give the trays smooth travel and a secure mount, making daily access less frustrating. Varying tray heights can separate tall bottles from smaller items, so each item has a clear place without waste.
This approach helps reclaim control over a cramped cabinet and reduces the need to bend, reach, or dig. With careful cutting and fitting, the project remains budget-friendly, practical, and easy to repeat in other rooms.
Use the Door for Gloves and Sponges
The cabinet door offers another simple way to free up space under the sink. In a kitchen, this small change supports better sink organization without adding cost or bulk.
Command hooks mounted on cabinet doors can hold gloves with curtain ring clips, keeping them visible, dry, and easy to grab. Small wire baskets attached to the same surface create neat storage for sponges, turning unused vertical space into a useful zone.
This approach keeps cleaning items off the counter and out of the cabinet floor, reducing clutter and making the area feel more open. The method works best when hooks and baskets are secured firmly, so items stay in place during daily use.
With a few inexpensive pieces, the door becomes practical storage that supports a clutter-free under-sink setup and gives the kitchen a more orderly, liberated feel.
Frequently Asked Questions
How Can I Organize Everything Under My Sink?
He should clear the cabinet, sort items, and use sink storage with decluttering tips. Add container options, vertical space, and access solutions for cleaning supplies. This enables space maximization through budget friendly ideas.
What Are Some Inexpensive Ways to Organize My Kitchen?
Kitchen storage can improve with budget friendly solutions like repurposed containers, drawer organizers, and vertical space shelving. A minimalist approach reduces clutter, keeps cleaning supplies accessible, and adds functional decor without sacrificing freedom or style.
How to Organize Without Spending Money?
They can organize without spending money by using free storage solutions, repurposed containers, utilizing baskets, DIY dividers, creative labeling, and vertical space; this minimalistic approach supports decluttering strategies while creating practical, liberating order.
What Are Some Common Mistakes to Avoid When Organizing Under Sink Storage?
Common mistakes include improper sizing, poor accessibility, inadequate labeling, lack of visibility, overstuffed containers, clutter accumulation, forgotten items, and neglecting maintenance. A practical system stays roomy, measured, water-safe, and easy to reach.
Conclusion
In the end, a tidy under-sink cabinet comes down to clear space, simple tools, and using every inch wisely. One homeowner turned a jumble of sprays and sponges into a neat setup with a plastic caddy, a wire shelf, and a few hooks for less than the cost of a takeout meal. Like stacking blocks in a small box, each piece had a place, and the whole cabinet finally worked better, looked cleaner, and stayed that way.