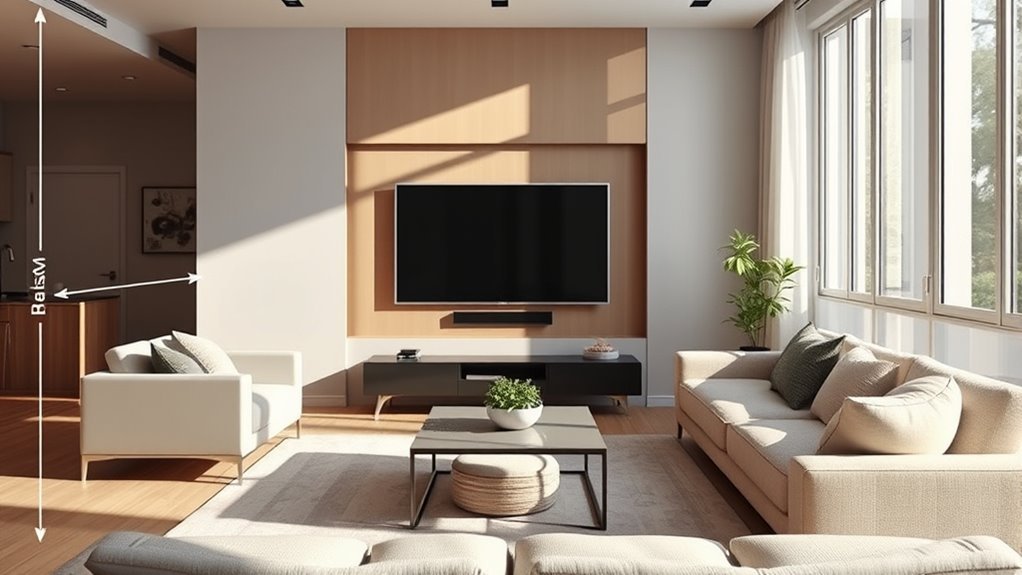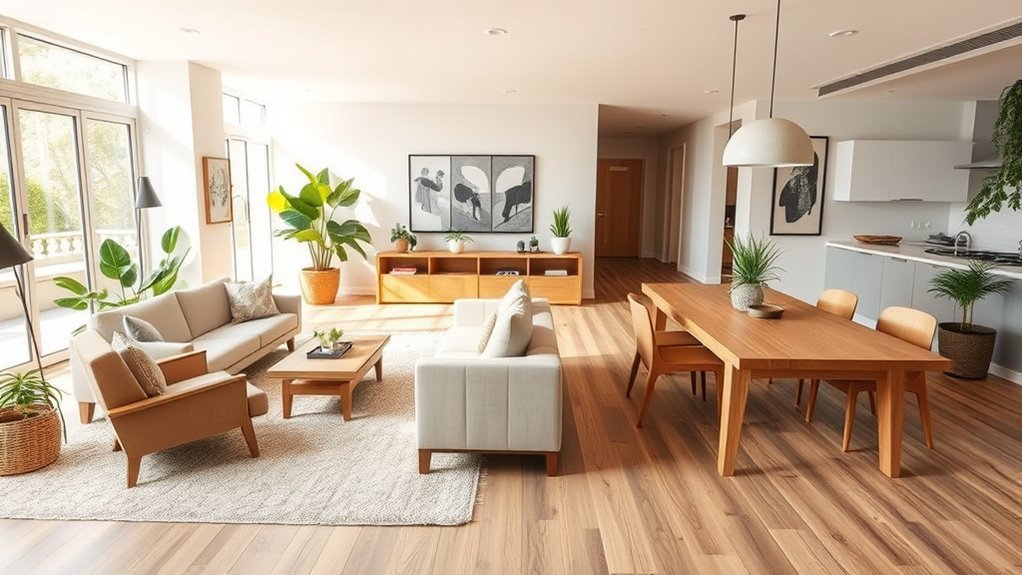
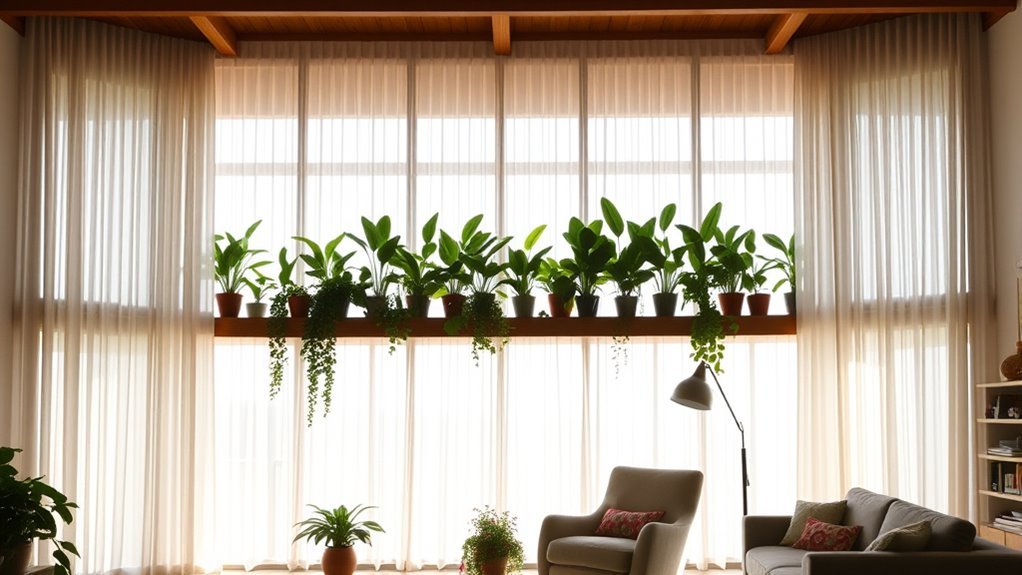
Creating privacy in a living room with large windows means balancing three priorities: blocking outside sightlines, keeping natural daylight, and choosing between temporary or permanent hardware. Window film, solar shades, cellular shades, curtains, shutters, and exterior screens all solve the problem differently depending on your glass type, exposure, and budget. The right combination stops neighbors and passersby from looking in during both day and night without turning your living space into a dark cave.
Quick Answer
To get privacy in a living room with large windows, install frosted or reeded window film for 24-hour light-filtering coverage, 1% to 3% openness solar shades or sheer curtains for daytime screening, and lined drapes or cellular shades for nighttime privacy. Combine a daytime layer with an opaque evening layer for full control.
At a Glance
| Time Required | 30 minutes for measuring; 1–3 hours for DIY window film or curtain rods; 2–4 hours for mounted shades or ceiling tracks |
| Difficulty | Easy for tension rods, curtains, and static-cling film; moderate for wide adhesive film panels and bracket-mounted shades |
| Tools Needed | Steel tape measure, pencil, level, step stool, sharp utility knife, spray bottle, baby shampoo, squeegee, microfiber cloth, and drill for hardware |
| Cost | Low for DIY static-cling film and sheers; medium for ready-made cellular shades or drapes; high for custom shutters, motorized shades, or smart glass |
Why Privacy Matters for Large Living Room Windows
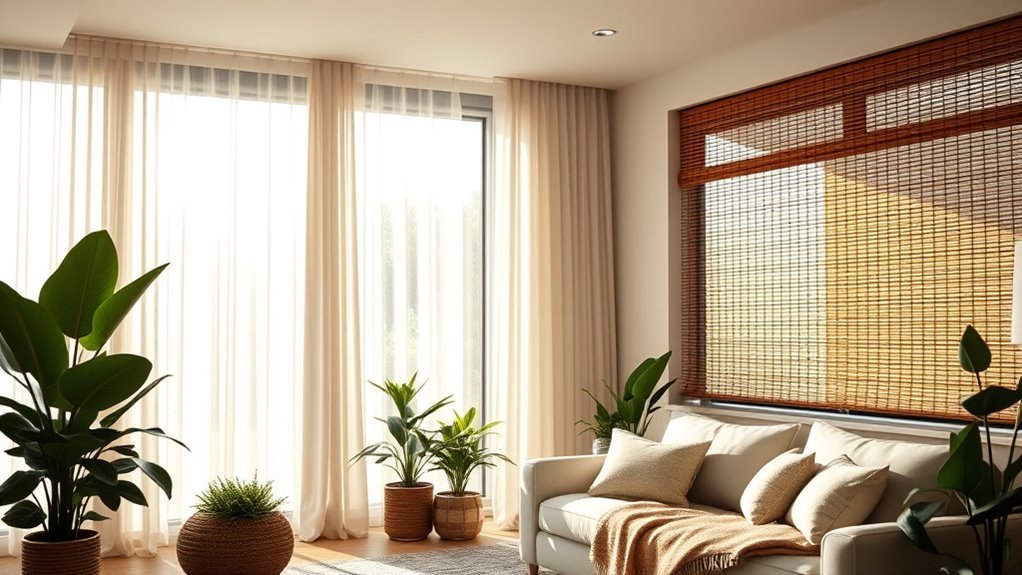
Large picture windows and glass walls flood a living room with daylight, but they also expose seating areas, televisions, and evening routines to sidewalks, streets, and neighboring homes. Choosing the right window treatment lets you control outside sightlines at eye level while keeping the bright, open feel of the room.
Well-fitted coverings also cut glare and regulate indoor temperatures across wide expanses of glass. According to the U.S. Department of Energy, tightly installed cellular shades can reduce winter heat loss through windows by 40% or more—saving about 10% on heating energy—and cut unwanted summer solar heat gain by up to 60%. Medium-colored draperies with white plastic backings can also reduce summer heat gain by 33% when closed.
When comparing off-the-shelf coverings, look for performance labels from the Attachments Energy Rating Council, which scores window attachments for both Warm Climate and Cool Climate energy performance. Consumer selection guides from the Efficient Window Coverings Collaborative also help match fabrics and shade styles to your climate zone. Before shopping, decide whether your room needs daytime screening, nighttime coverage, lower-sash blocking, or 24-hour privacy.
How to Measure Large Windows Accurately
Accurate measurements prevent light gaps along the edges of shades and ensure wide curtain panels stack completely off the glass. Because oversized window frames often settle unevenly over time, always measure width, height, and frame depth in multiple spots before ordering film, rods, or custom shades.
Gather Necessary Tools
Use a rigid steel measuring tape, pencil, notepad, bubble level, and sturdy step stool. Never use a cloth measuring tape, which stretches across wide spans and causes inaccurate sizing. Ask a helper to hold the tape end flat against the casing on windows wider than 60 inches, and stick to either inches or centimeters throughout the project.
Record the exact window construction before buying hardware or adhesive products. Note whether you have single-pane annealed glass, double-pane insulated glass units (IGUs), low-emissivity (low-e) coated glass, sliding glass doors, bay angles, or upper transoms. These details dictate whether adhesive films are safe to apply and whether frames can support inside-mount brackets.
Measure Width and Height
Measure the opening width at the top, middle, and bottom, then measure height at the left, center, and right to the nearest 1/8 inch. For inside-mount shades or blinds, use the narrowest width so the headrail and bottom rail move freely without scraping the casing, and verify you have at least 2 to 2.5 inches of flat frame depth (or up to 3.5 inches for double cellular shades and motorized rollers).
For outside-mount roller or cellular shades, add 3 to 4 inches to each side (6 to 8 inches total) and 3 inches above the frame to block perimeter light leaks. For curtain rods on large windows, mount the rod 4 to 6 inches above the upper casing and extend it 8 to 12 inches past each side of the frame so opened drapes stack against the wall rather than covering the glass. Order curtain panels with a combined width equal to 2 to 2.5 times the total rod width for proper fullness when closed.
| Measurement | Where to Measure | Rule to Follow |
|---|---|---|
| Exposed Glass | Gasket edge to gasket edge on each pane | Add 1–2 inches on each side for initial window film cutting before final trimming |
| Inside-Mount Width & Height | Top, middle, and bottom inside the casing | Record the smallest width and longest height for shades, blinds, or shutters |
| Frame Depth | Front of inside trim to glass or crank hardware | Confirm at least 2–2.5 inches of unobstructed depth for flush inside mounting |
| Outside Wall Clearance | Above, beside, and below the outer frame | Allow 4–6 inches above and 8–12 inches per side for drapery stack-back |
Account for Window Seat
If your living room window sits above a built-in bench or window seat, measure from the inside top casing down to the top of the seat cushion, then subtract 1/2 inch so shades rest cleanly without scuffing the fabric. Full-length curtains hang awkwardly over a projecting bench and trap dust behind cushions.
Instead, install inside-mount top-down bottom-up cellular shades, cafe curtains, or frosted window film directly on the panes. These treatments block outside views while keeping the seating nook open and usable.
Types of Window Treatments for Privacy and Light Control
Every window covering trades off some outward visibility for indoor privacy. Translucent films and sheer fabrics diffuse daylight while blurring shapes, whereas opaque drapes, cellular shades, and shutters physically block sightlines after dark. Compare the eight primary options below to match your room’s day and night needs.
| Treatment | Best For | Privacy Level | Light & View Control |
|---|---|---|---|
| Frosted or decorative film | 24/7 street-facing privacy, renters, lower window sashes | High day and night | Transmits 60%–80% soft daylight; blurs views both ways |
| Solar shades (1%–5% openness) | Cutting TV glare while keeping daytime outward views | Daytime only (strongest at 1%–3%) | Blocks 95%–99% of UV rays; see-through from outside at night |
| Sheer curtains | Softening wide window walls and daytime sightlines | Low to medium (daytime only) | Diffuses harsh sun while keeping the living room bright |
| Layered sheers and lined drapes | Complete day-to-night flexibility on wide spans | High when outer drapes close | Adjusts from open view to filtered daylight or full blackout |
| Cellular (honeycomb) shades | Thermal insulation, top-down bottom-up control, clean lines | High day and night | Available in light-filtering or blackout fabrics; blocks view both ways |
| Plantation shutters or wood blinds | Architectural structure and directional light control | Medium to high (adjustable) | Tilting louvers upward blocks street views while bouncing light onto the ceiling |
| Switchable PDLC smart film or glass | Minimalist modern homes and high-budget renovations | High when switched opaque | Switches from clear to frosted on demand using ~0.5–0.7 watts per sq. ft. |
| Exterior solar screens | Stopping severe west or south heat gain before it hits glass | Daytime only | Reduces solar heat and daytime glare while preserving outward visibility |
Note: Daytime privacy and nighttime privacy work on different optical principles. Reflective films, solar shades, and sheer curtains rely on outdoor daylight being brighter than your interior; once you turn on indoor lamps after sunset, passersby can see straight inside unless you close an opaque shade or curtain.
Recommended Products

Top Privacy, Soft Light: Enjoy complete seclusion without sacrificing sunlight. Our film creates a frosted white wall effect, instantly blurring outdoor views for bathrooms and bedrooms. It bathes your room in a soft, natural glow, eliminating the need for gloomy curtains
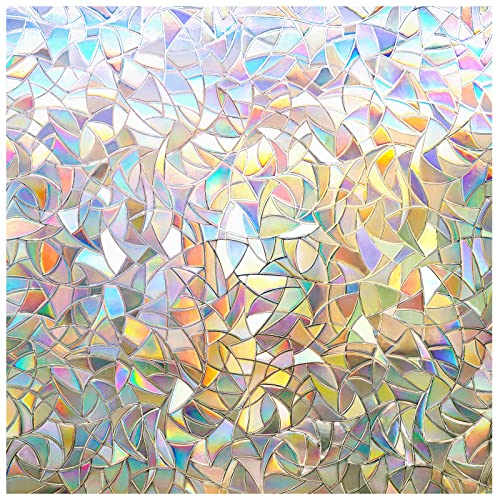
Striking Pattern, Stylish Decoration: With over 10 years of experience in window film innovation, rabbitgoo static film features unique irregular patterns that cast rainbow glows in sunlight, adding a stylish touch to your decor. A cost-effective alternative to bulky curtains, blending durability with everyday elegance
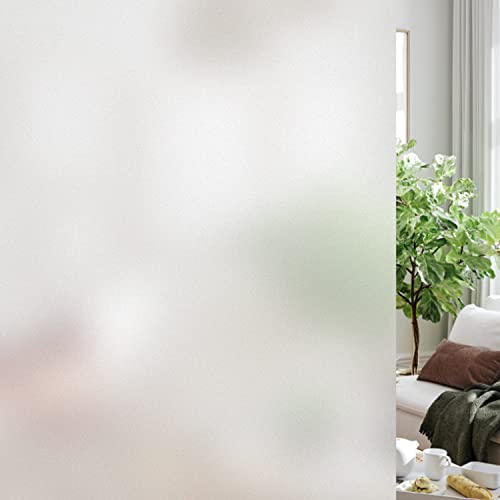
TWO-WAY PRIVACY PROTECTION: HIDBEA window frost film can provide 24h privacy to block unwanted prying eyes from outside and no one can see in, at a 4 inch distance, the effect of privacy can up to 95% without losing any natural light, which can help you live in a comfortable and safe place.
How to Choose the Right Window Film for Large Glass
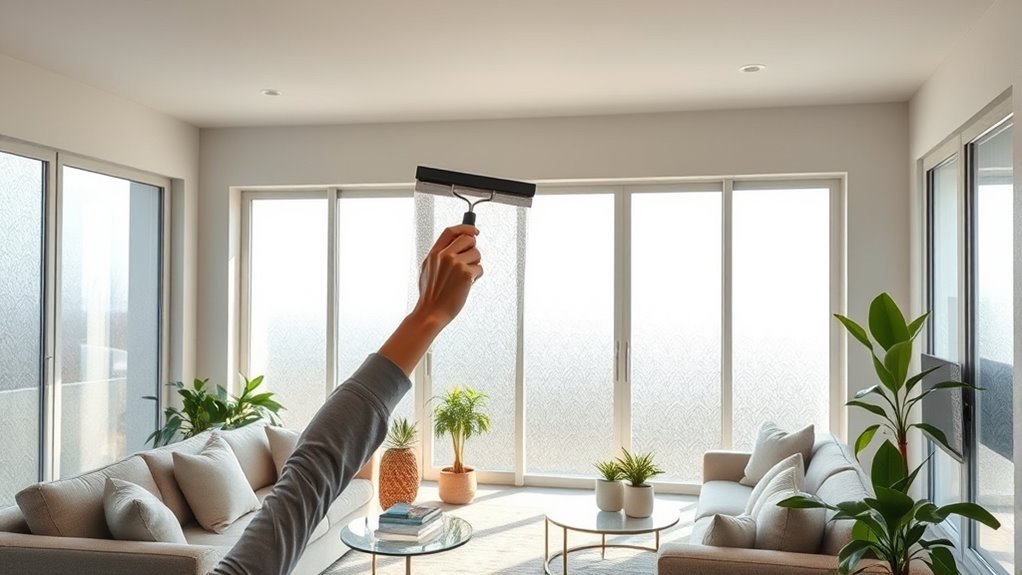
Window film adds privacy directly to the glass without bulky rods or fabric stacks, making it ideal for oversized picture windows, arched transoms, and street-level sashes. To pick the right product, compare how each film scatters or reflects light and verify its performance ratings before applying it to insulated panes.
When comparing energy-control and privacy films, check the label from the National Fenestration Rating Council. It lists two key metrics on a 0 to 1 scale: Visible Transmittance (VT), where a higher number means more natural daylight enters the room, and Solar Heat Gain Coefficient (SHGC), where a lower number means less solar heat passes through the pane. As the NFRC Consumer Guide to Window Film notes, quality films also block up to 99% of ultraviolet (UV) radiation, protecting living room floors and upholstery from fading.
Film Types Overview
- Frosted and acid-etched films: Scatter incoming light to obscure shapes from both sides 24 hours a day while transmitting 60% to 80% of visible daylight.
- Decorative patterned films: Mimic reeded, fluted, linen, rain, or geometric glass to blur sightlines while adding architectural texture.
- Non-adhesive static-cling films: Bond to wet glass via suction rather than glue, making them easy for renters to peel off and reuse without sticky residue.
- One-way mirror and dual-reflective films: Standard reflective films create an exterior mirror only when outside light is at least 3 to 4 times brighter than inside light, creating a “reverse fishbowl” effect at night. Dual-reflective films pair a reflective outer layer with a low-reflectivity inner layer to reduce internal mirror glare after dark, though curtains are still needed when bright indoor lights are on.
- Ceramic and solar-control films: Reject 50% to 70% of total solar energy and cut TV glare without a shiny metallic finish, ideal for sunny south- or west-facing living rooms.
- Switchable PDLC smart film: Uses a polymer-dispersed liquid crystal layer wired to a wall switch or remote. It turns frosted when power is off and clear when energized, consuming about 0.5 to 0.7 watts per square foot.
Warning: Never apply dark or high-absorption tint film to double-pane, triple-pane, or low-e insulated glass units without checking manufacturer compatibility. Films that absorb more than 50% of solar radiation can create center-to-edge temperature differentials above 15–20°F, causing thermal stress cracks or blown window seals that void your window warranty.
Glass Compatibility and Pre-Installation Checks
Before ordering rolls for wide living room windows, inspect the corner spacer or etching on your glass to confirm whether it is single-pane annealed glass, tempered safety glass, or a sealed double-pane unit. According to the International Window Film Association, window film manufacturers publish film-to-glass compatibility tables that specify safe solar absorption limits for insulated and tinted panes.
Static-cling frosted and clear decorative films absorb very little solar heat and are generally safe on most residential glass, but dark tinted or heavy reflective films require careful matching. If a single pane exceeds 48 to 60 inches in width, order a roll wide enough to cover the glass in one continuous horizontal or vertical piece, or align the seam along an existing window mullion.
Curing Times and Safe Cleaning
Newly applied window film needs time for residual slip solution between the film and glass to evaporate through the membrane. Initial adhesion takes 24 to 48 hours, while full curing takes 3 to 5 days in warm, sunny weather and up to 15 to 30 days in cool or humid conditions.
During curing, slight cloudiness or tiny water blisters are normal and disappear on their own. Once cured, clean the surface with a soft microfiber cloth or synthetic sponge and an ammonia-free glass cleaner. Never use razor blades, abrasive scouring pads, or bristle brushes on the film.
Step-by-Step Guide to Applying Window Film
Applying privacy film to a large living room window takes about 45 to 90 minutes per pane when you prepare the surface properly. Follow these eight steps in exact order for a bubble-free finish:
- Measure the exposed glass. Measure the exact width and height between the rubber gaskets, then record each pane separately.
- Rough-cut the film with overlap. Cut the film 1 to 2 inches wider and taller than the glass measurement using a straightedge so you can trim a factory-clean edge on the window.
- Deep-clean the pane and seals. Scrape off dried paint or mineral spots with a flat razor blade on bare glass, wipe the rubber perimeter gaskets where dust hides, and dry with a lint-free microfiber towel.
- Mix and spray the slip solution. Fill a spray bottle with 1 quart (32 oz) of distilled water and 3 to 5 drops of baby shampoo—avoid kitchen dish soaps with degreasers that weaken film adhesives. Mist the entire glass generously.
- Peel the liner and float the film. Stick two pieces of tape to opposite sides of one corner and pull them apart to separate the clear backing liner. Have a helper mist the exposed side as you peel, then lay the wet film onto the wet glass and slide it into alignment.
- Squeegee from the center outward. Mist the outer face of the film so your tool glides smoothly. Hold a felt- or silicone-edged squeegee at a 45-degree angle and push water and air from the center past the edges using overlapping strokes.
- Trim a 1/16-inch perimeter gap. Press a rigid metal straightedge or trim card into the corner where the glass meets the rubber gasket, then slice away excess film with a fresh snap-off utility blade. Leaving a 1/16-inch to 1/8-inch gap around all four edges prevents the gasket from lifting the film and allows water to escape.
- Seal the edges and let cure. Wrap your hard card in a dry microfiber cloth and make one final pass from center to edge to absorb squeezed-out water. Leave the film untouched while it cures.
Pro Tip: If a dust speck or large air bubble gets trapped while the film is still wet, do not try to crush it with the squeegee. Gently peel back the nearest corner just past the flaw, mist beneath the film with slip solution, flush the speck out, and squeegee flat again.
Best Window Treatment Alternatives: Curtains, Shades, and Blinds
When you want complete evening privacy, better room acoustics, or an easy way to open the full view, pair or replace window film with fabric coverings, shades, or blinds. Each style handles wide living room windows differently:
- Sheer curtains: Diffuse sunlight and obscure daytime views into the room while maintaining an airy look. Hang them at 2.5 to 3 times the rod width so the pleats stay dense enough to screen sightlines.
- Blackout or thermal-lined drapes: Block 95% to 100% of light and eliminate nighttime silhouettes. Choose a three-pass thermal or blackout liner on a double rod behind or in front of daytime sheers.
- Top-down bottom-up cellular shades: Lower from the top while staying anchored at the bottom sill, blocking street-level views across the lower 4 to 5 feet of glass while letting clear sky light enter at the top.
- Solar roller shades: Woven mesh fabrics rated by openness factor. Choose 1% to 3% openness for street-facing living rooms needing strong daytime privacy and glare control, or 5% openness to preserve a sharper outward view. Always pair solar shades with drapes if you need nighttime privacy.
- Lined Roman shades: Fold into crisp horizontal pleats when raised and provide a warm, tailored fabric barrier when lowered. Best for individual window bays up to 72 inches wide.
- Wood or faux-wood blinds (2-inch to 2.5-inch slats): Wide slats mimic architectural shutters at a lower cost. Tilt slats slightly upward to stop people on a lower sidewalk from seeing in while bouncing daylight across the ceiling.
- Ceiling-mounted curtain tracks: Heavy-duty aluminum tracks distribute weight evenly across glass walls wider than 10 feet, allowing panels to glide past center support points where standard rods snag.
Warning: Dangling window cords are a hidden strangulation hazard for infants and young children. Follow U.S. Consumer Product Safety Commission safety guidance and federal standard 16 CFR Part 1260 by choosing cordless, motorized, or wand-operated coverings, and immediately replace older blinds with accessible pull loops or inner cords.
Troubleshooting and Pro Tips for Large-Pane Film
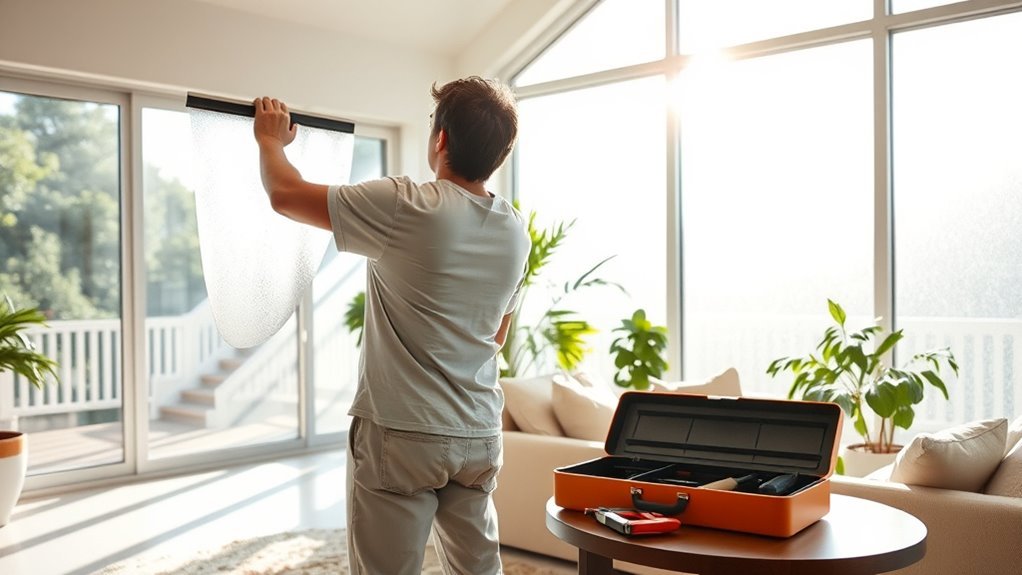
Installing privacy film across wide living room panes requires controlling static electricity, evaporation speed, and sheet alignment. Work early in the morning or on an overcast day when glass temperature is between 45°F and 85°F, and shut off ceiling fans and HVAC vents 15 minutes beforehand so airborne dust settles.
Match Film Opacity to Window Orientation
Match your film choice to the direction your living room faces rather than picking the darkest tint available. North- and east-facing windows receive cooler, indirect light; cover them with high-transmittance frosted or reeded film (VT 0.65 or higher) so the room stays bright all afternoon.
South- and west-facing windows take intense afternoon sun that heats furniture and washes out television screens. On those exposures, choose a dual-reflective or ceramic solar-control film with an SHGC below 0.45, or apply frosted film only to the bottom half of the sash so upper daylight still reaches the back of the room.
Handle Oversized Sheets Without Creasing
Wide sheets of window film act like magnets for static dust once you peel the backing liner. Instead of peeling the entire liner on a table, use the two-person reverse-roll method: roll the cut film loosely with the liner facing out, press the top edge against the wet glass, and unroll the sheet downward while peeling the liner and spraying the adhesive face inches above the glass.
When smoothing wide panels, never stop a squeegee stroke in the middle of the pane, which leaves a thin silver water line once dry. Carry every horizontal stroke completely off the edge of the film, and snap off a fresh blade tip on your utility knife before trimming each side so the knife never snags or tears the wet edge.
Budget-Friendly Privacy Solutions for Large Windows
Outfitting floor-to-ceiling or wall-to-wall windows with custom shutters or motorized rollers can cost thousands of dollars, but smart layering cuts the price significantly.
The most cost-effective privacy plan combines an affordable daytime screen—like lower-sash frosted film or sheer panels—with simple ready-made drapes for evening coverage.
- Frost only the lower eye-level band: Apply a 36- to 48-inch roll of static-cling frosted or reeded film across the lower portion of the glass. You block direct street views for under $40 per window while leaving the top half completely clear for sky views.
- Mount sheer panels on heavy-duty tension rods: Inside deep window casings (2+ inches), spring tension rods hold lightweight voile or linen-blend sheers without drilling holes—ideal for apartments and rentals.
- Hang ready-made curtains on a spliced track or rod: Standard 84-, 96-, or 108-inch retail panels look custom when hung near the ceiling with clip rings or pleat hooks and steamed so the folds fall evenly.
- Pair stationary side drapes with a budget roller shade: Instead of buying enough drapery fabric to span a 120-inch window wall, frame the outer edges with two stationary curtain panels and mount inexpensive cordless cellular or roller shades inside the frames.
- Install mid-window cafe rods: Mount a slim brass or matte black rod at seated eye height (54 to 60 inches off the floor) to screen the sofa area while letting sun pour over the top.
- Layer tall indoor foliage in front of glass corners: Arrange 5- to 7-foot potted plants such as parlour palms, snake plants on stands, or olive trees near the glass to break up diagonal sightlines from neighboring windows.
How to Maintain Your Window Treatments
Large window coverings collect household dust, cooking aerosols, and UV wear faster than wall surfaces. Follow a quick seasonal maintenance schedule to keep mechanisms smooth and fabrics crisp:
- Window film: Wipe every 4 to 6 weeks with a damp microfiber cloth and mild soapy water or ammonia-free spray; press down any lifting corner immediately before dust dulls the adhesive or cling surface.
- Sheer curtains and lined drapes: Vacuum monthly from top to bottom using a low-suction upholstery brush attachment, and wash or dry-clean panels annually according to the fabric care tag to prevent sun-baked dust from yellowing fibers.
- Wood and faux-wood blinds: Close slats flat in one direction, wipe with a dry microfiber duster, then tilt slats the opposite way and repeat. Avoid spraying water directly onto real basswood slats, which can warp.
- Cellular honeycomb shades: Dust the exterior pleats with a microfiber wand and blow out dust or insects trapped inside the horizontal cells using a hair dryer on its cool setting or canned compressed air—never submerge blackout cellular shades in water.
- Solar and roller shades: Spot-clean vinyl-coated solar mesh with lukewarm water and mild detergent while the shade is fully lowered, then let it dry completely before rolling it back up to prevent mildew.
- Rods, tracks, and brackets: Check wall anchors and center support screws twice a year, and apply dry silicone spray (never oily lubricants that stain fabric) to ceiling curtain tracks if gliders stick.
How to Match Privacy Treatments to Your Living Room Decor
Because large windows dominate a living room’s visual footprint, their coverings act like an accent wall. Use these five design principles so your privacy setup looks intentional rather than improvised:
- Match fabric tone to wall color for visual space: Choosing shades or drapes within one or two shades of your wall paint creates an unbroken horizon that makes narrow living rooms feel wider. Use high-contrast dark frames or patterned drapes only when you want the window to be the main focal point.
- Echo natural room textures: Pair woven bamboo or linen-textured shades with leather and oak furniture, or use crisp pleated sheers and fluted glass film in modern minimalist spaces.
- Keep headrail and rod heights uniform: If your living room has windows of different widths or a sliding patio door next to a picture window, mount all curtain rods or shade valances at the exact same height near the ceiling to unify the room.
- Coordinate metal hardware with lighting fixtures: Match rod finials, ceiling tracks, and tiebacks to existing matte black, brushed brass, or satin nickel finishes in your living room lamps and hardware.
- Preserve upper sky and treetop views: Whenever neighbors or streets sit below your upper window line, use top-down bottom-up shades or lower-half film so your eye still connects with the outdoors.
Best Privacy Solutions by Living Room Situation
Different room layouts and outdoor exposures call for different combinations of film, shades, and drapery. Use this quick-reference guide to pick the best setup for your specific living room problem.
| Living Room Situation | Best Privacy Setup | Why It Works Best |
|---|---|---|
| Ground-floor street-facing window | Lower-half frosted film + lined side drapes | Blocks pedestrian eye-level views 24/7 while keeping upper sky light open during the day |
| Close multi-story neighbors | Top-down bottom-up cellular shades + sheer curtains | Covers elevated sightlines precisely while diffusing natural light across the room |
| Harsh afternoon sun and TV glare | 1%–3% solar shades + blackout outer curtains | Eliminates daytime screen reflections without losing the view, then seals the room at night |
| Rental apartment or condo | Static-cling reeded film + tension-rod sheers | Installs in under an hour with zero screw holes or permanent adhesive residue |
| Wide modern glass wall (10+ ft) | Ceiling-mounted double curtain track or motorized shades | Spans wide architectural openings smoothly without sagging rods or tangled cords |
| Bay window or built-in window seat | Inside-mount cellular shades or partial frosted film | Fits neatly inside each angled sash without crowding bench cushions |
Key Takeaways
- Frosted and patterned static-cling films blur sightlines 24 hours a day while transmitting 60% to 80% of natural daylight.
- One-way mirror films and solar shades (1%–5% openness) provide daytime privacy only and reverse when interior lights turn on at night.
- Tightly fitted cellular shades offer both day-and-night privacy and cut winter window heat loss by 40% or more.
- Extend curtain rods 8 to 12 inches past each side of wide windows and use 2 to 2.5 times fabric fullness so drapes clear the glass when open and cover cleanly when closed.
- Always verify double-pane or low-e glass compatibility before applying dark tint film, and choose cordless coverings around young children.
Frequently Asked Questions
How do you get privacy with large living room windows?
The most effective way to get privacy with large living room windows is to layer a daytime screen with an evening cover. Pair sheer curtains, 1% to 3% solar shades, or lower-sash frosted film for bright daytime privacy with lined drapes, cellular shades, or shutters for full nighttime coverage.
What can I put on my windows so I can see out but nobody can see in?
Solar shades with a 1% to 3% openness factor and one-way reflective window film let you see outside during the day while blocking views from the street. Because both rely on outdoor daylight being brighter than indoor light, you must close curtains or opaque shades at night when lamps are on.
How do you make a living room window more private without losing light?
Install high-transmittance frosted or reeded window film, sheer curtains, light-filtering cellular shades, or top-down bottom-up shades to keep natural daylight while blocking views. Covering only the bottom half of the window stops eye-level sightlines from the sidewalk while letting unobstructed sunlight enter through the top pane.
Is window film good for nighttime privacy?
Frosted, etched, and opaque patterned window films provide dependable nighttime privacy because they scatter light and blur shapes from both sides 24 hours a day. Standard one-way mirror and tinted films do not work at night and turn transparent from outside whenever your living room lights are on.
Are blinds or curtains better for privacy?
Lined curtains and cellular shades provide better total privacy when closed because they cover the glass as a solid sheet without slat gaps. Wood or faux-wood blinds offer better directional light control during the day, making a layered setup of inside-mount blinds and outer curtains the most versatile choice.
How do you create zones in a large living room while adding privacy?
Match your window treatments to the function of each seating zone along the glass wall. Use sheer curtains and tall floor plants behind a daytime reading nook, install 1% to 3% solar shades opposite the television to stop glare, and anchor the main conversation area with a large rug and full-length drapes.
Conclusion
Creating privacy in a living room with large windows does not require sacrificing natural light or outward views. Start by measuring your glass width, height, and frame depth accurately, then combine a daytime filter—like frosted lower-sash film, sheer curtains, or solar shades—with an evening barrier such as lined drapes or cordless cellular shades. Check your glass type before applying adhesive film, and hang outer rods wide enough so opened panels stack clear of the glass.
Sources
- U.S. Department of Energy: Energy Efficient Window Coverings: Supports cellular shade and drapery heat-loss and solar heat-gain reduction percentages, glare control, and window film guidance.
- Attachments Energy Rating Council: Supports Warm Climate and Cool Climate energy performance ratings for residential window attachments.
- Efficient Window Coverings Collaborative: Supports consumer guidance on selecting window coverings for daylighting, comfort, and privacy by climate zone.
- National Fenestration Rating Council: Supports the 0-to-1 rating scales for Visible Transmittance (VT) and Solar Heat Gain Coefficient (SHGC).
- NFRC Consumer Guide to Window Film: Supports window film UV rejection data and optical performance comparisons.
- International Window Film Association: Supports film-to-glass thermal stress guidelines, warranty considerations on insulated glass, and safe cleaning rules.
- U.S. Consumer Product Safety Commission: Window Covering Cords: Supports child safety guidance and federal standard 16 CFR Part 1260 for cordless window coverings.