To prepare your home for a robot vacuum, you need more than a clear floor. Loose cables, awkward thresholds, and poor dock placement can interrupt cleaning even when the rooms look tidy. A careful first setup helps the robot reach more areas, build a useful map, and return to its charging station without getting stuck.
Quick Answer
Clear toys, shoes, clothing, and small objects from the floor. Secure loose cables, move pet bowls, and check rugs and thresholds. Place the charging dock against a wall with adequate clearance. Open the rooms you want cleaned, complete the first mapping run, and use the app to adjust boundaries and problem areas.
At a Glance
| Difficulty | Easy; suitable for beginners |
| Tools Needed | Cable ties or clips, charging dock, and the manufacturer’s app if supported |
Prepare Your Home for a Robot Vacuum Before the First Run
Start by checking every room the robot will enter. Look for anything that could catch its brushes, block its wheels, or prevent it from reaching the next room.
You do not need to move every piece of furniture. The goal is to remove temporary clutter while leaving the normal room layout accessible.
- Charge the robot. Follow the manufacturer’s first-use instructions and place it on its docking station.
- Open interior doors. Give the robot access to every room you want included in its first map.
- Remove loose hazards. Pick up clothing, shoelaces, small toys, and other items that could become tangled.
- Check the floor. Remove wet spills, sticky messes, and pet waste before starting.
- Prepare restricted areas. Close doors or use physical barriers where the robot should not enter.
Dyson’s robot vacuum preparation guidance also recommends removing thin rugs and opening interior doors before mapping.
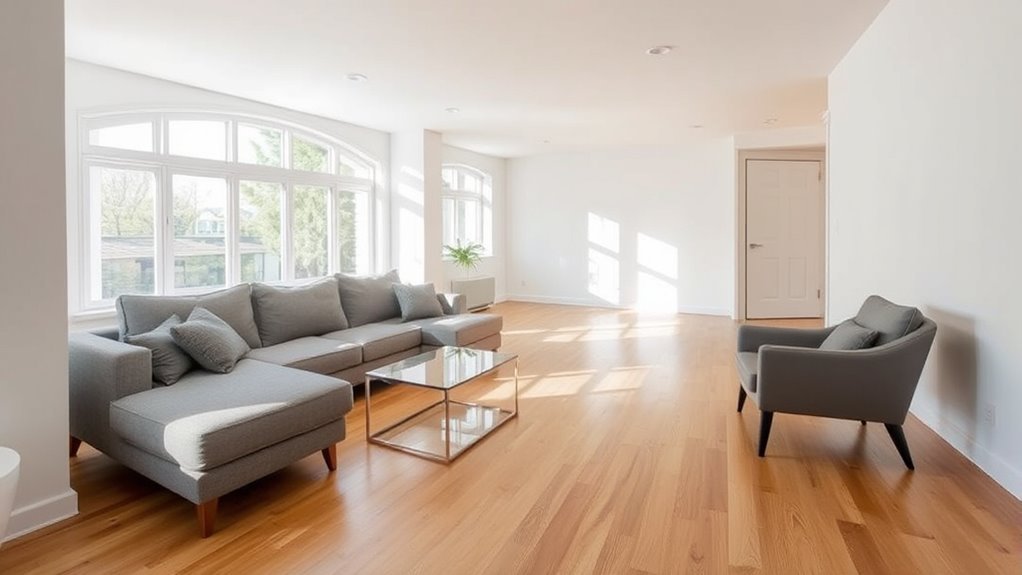
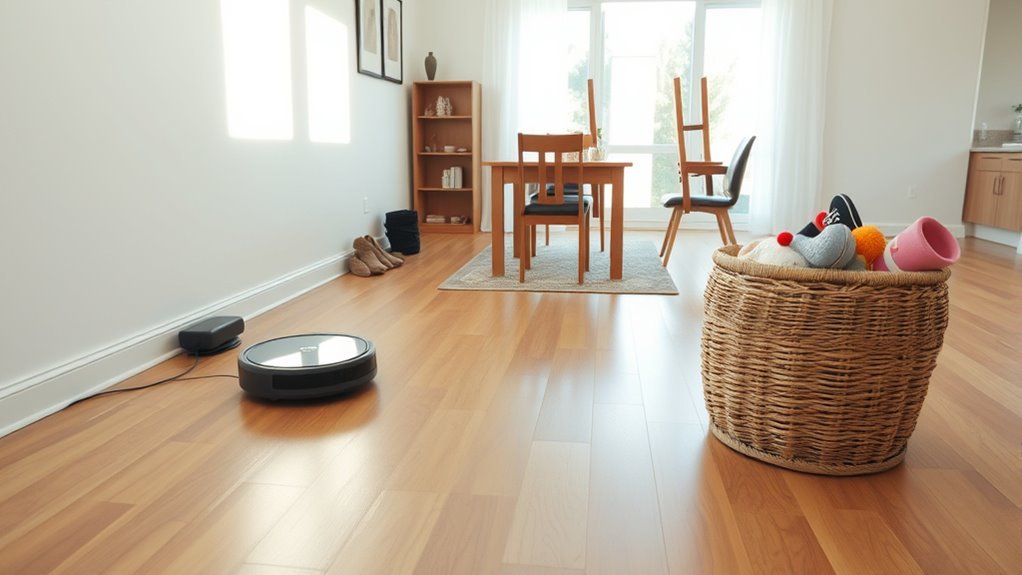
Before the first run, clear floors of loose items and secure cables to help your robot vacuum work uninterrupted.
Check the space beneath sofas, beds, and cabinets. Furniture that appears high enough may still have low supports or narrow gaps that trap the robot.
Keep the main furniture layout as you normally use it. That way, the first map reflects the spaces the machine will clean on future runs.
Clear Floors for Better Robot Vacuum Navigation
Clear floors allow the robot to follow its cleaning route with fewer interruptions. Small objects can block narrow passages, while larger items may cause the machine to avoid an entire area.
Pay particular attention to hallways, doorways, and the spaces around furniture legs.
Remove coins, paper scraps, socks, and other objects that could become lodged in the brushes or wheels. Lift items that normally sit on the floor if you want the robot to clean underneath them.
Check these common trouble spots:
- Under desks, where cables and small objects often collect.
- Beside beds and sofas, where shoes or clothing may block access.
- Around dining chairs, where narrow gaps can restrict movement.
- Near doors, where a loose item may stop the robot from entering another room.
You do not have to remove every chair. Start with the usual furniture arrangement and observe whether the robot can move around it.
After cleaning, review the app’s coverage map if your model provides one. A consistently missed area may need more floor clearance rather than another cleaning pass.
Manage Cables and Charging Cords
Loose cables are among the most common objects that can interrupt a robot vacuum. Charging cords, extension leads, and thin wires can wrap around the brushes or wheels.
Secure them with cable ties, sleeves, clips, or adhesive hooks. Whenever possible, lift charging cables completely off the floor.
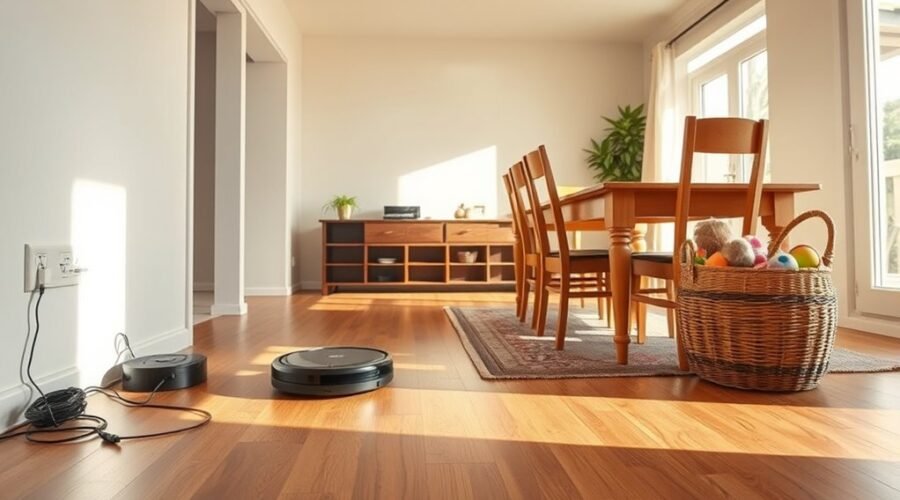
Lift charging cords off the floor with hooks or organizers to keep the robot’s path clear and tangle-free.
Keep device charging stations in fixed locations so their cables do not spread across the cleaning route. Tuck away excess cable near the robot’s own docking station as well.
Do not assume that an obstacle-avoidance camera will recognize every wire. iRobot explains that PrecisionVision obstacle detection is inactive during training or mapping runs on certain models.
This means a robot that normally avoids charging cables may still encounter them while learning your home.
Before each scheduled cleaning, check for newly connected devices or chargers that have been moved. This is especially useful around desks, bedside tables, and entertainment centers.
Recommended Products

【Under-Desk Cable Management】Tired of tangled cables under your desk? This cable organizer includes 20 pcs of 120x40mm hook-and-loop cold holder, 20pcs 30x40mm adhesive pad and one 30x80mm adhesive pad. Fansto cable management under desk can be used alone or paired with adhesive hooks for under desk mounting—perfect for keeping your workspace or home office neat, A office essentials

High quality material:XHF Adhesive Cable Clips are manufactured from Strong Adhesive and PA66 nylon

[One-Handed Snap Lock & 70° Open Angle] Featuring an upgraded large snap-lock design, our unique mechanism locks tight and holds cables securely – unlike magnetic clips or spring cable clips that let wires pop out. The 70° fixed angle stays open – no need to hold it; just press once, insert your cable with one hand. Eliminates hand fatigue and protects cables from pinch damage at narrow angles. Simple, durable, and drop-proof.
Pick Up Rugs, Bowls, and Small Obstacles
Remove lightweight rugs, pet bowls, toys, and loose objects before the first cleaning session. These items can move, spill, or become trapped beneath the robot.
You can leave suitable rugs in place, but check their edges and fringes first.
Recommended Products

Dish Washer Safe and Non-Slip Mat: Prevent pet messes with the Hubulk Waterproof Pet Food Mat with Super raised edges. Protect floors from pet bowls, gravity water dispensers, fountains, and elevated feeders.

【Premium Material】The dog food mat is made of a surface of high-quality non-toxic diatomaceous earth, so not only this dog mat for food and water is long lasting, but also the food grade dog placemat will not bring any peculiar smell to your room

Super Absorption: The christmas dog mat for water bowl can absorb spilled water without leaving traces and dry quick, avoid wetting pet paws even for messy drinkers. And it does not attract pet hair like traditional silicone dog bowl mat.
Check Rugs and Carpet Edges
Flat rugs with secure edges are generally easier for robot vacuums to cross than lightweight rugs with loose corners.
Watch for fringes that may wrap around the brush. If a rug bunches up or the machine repeatedly catches its edge, secure it appropriately or remove it during cleaning.
For a vacuum-and-mop combination, check whether the robot detects carpets or supports no-mop zones before starting a wet-cleaning session.
Move Pet Bowls and Check for Messes
Move food and water bowls outside the cleaning path. This prevents accidental spills and allows the vacuum to reach the floor beneath them.
Check the area for pet waste as well. Even robots with obstacle recognition can have limitations, particularly during mapping.
Warning: Remove liquid spills and pet waste manually before starting a robot vacuum. Do not rely on obstacle detection or virtual boundaries to protect the machine from every hazard.
During the first cleaning cycle, watch how the robot handles the remaining rugs and obstacles. Remove or reposition anything that repeatedly interrupts its route.
Set Up the Dock the Right Way
Place the docking station against a wall on a hard, level surface. Choose a location with an open approach so the robot can leave, turn around, and return without obstruction.
Roborock’s dock troubleshooting guidance specifies at least 50 cm of clearance on each side and 1.5 meters in front.
These measurements are useful setup references, but exact requirements vary by model and dock type. Follow your product’s manual if it specifies different distances.
Avoid placing the dock in a narrow corner, behind a door, or beneath furniture that blocks the robot’s approach.
The dock should rest against the wall, but its sides should not be tightly enclosed. Leave the surrounding floor accessible for cleaning and maintenance.
Also consider the following:
- Choose a nearby power outlet so the cable does not cross the floor.
- Keep the dock on a stable surface that will not shift when the robot makes contact.
- Leave enough room to access the dustbin or maintenance compartments.
- Keep the dock in a location with suitable Wi-Fi coverage if your robot uses app-based features.
Once the first map has been created, avoid moving the dock unnecessarily. Some mapping systems use its position as a reference point.
If the robot struggles to return, check for obstructions and confirm the station has power before changing its location.
Recommended Products

✅ Precision Fit – No Loose Connections Unlike cheap third-party replacements on the market, our charging dock is manufactured to exact original specifications. The gold-plated charging contacts are perfectly aligned, so your Roomba docks successfully every single time – no repeated back-and-forth attempts, no interrupted charging cycles. One dock, one charge, every time.
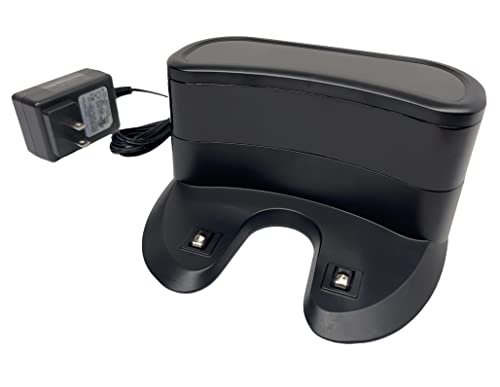
✅ Compatibility: Replacement Charging Dock Base Compatible with Shark ION RV700 RV720 RV750 RV755 RV700N RV720N RV725N RV750N RV725N RV761 RV850 RV850BRN RV850C RV850WV RV851 Robot Vacuum Cleaners

Reliable Recharge Base Charger Station: Designed for use with for MAMNV BR150 / BR151, for GTTVO BR150 / BR151, for ONSON BR150 / BR151, for MANVINS G20, and for Kilgone G20 robot vacuums, offering a stable charging home that keeps your device powered and ready for the next cleaning task.
Set Room Boundaries and Check Thresholds
Room boundaries tell a compatible robot where it should clean and which areas to avoid. Thresholds determine whether it can physically travel between those rooms.
Both need attention before regular unattended cleaning.
Set Boundaries Around Problem Areas
Use your robot’s app to create no-go zones around places you do not want it to enter. Common examples include pet feeding areas, delicate objects, and cluttered storage spaces.
If your machine supports no-mop zones, use them for rugs or surfaces that should not receive water.
Keep a clear route between permitted rooms. A boundary that covers a doorway can prevent the robot from reaching an otherwise accessible space.
Check Door Threshold Heights
Many conventional robot vacuums can cross thresholds around 2 cm high, but this is not a universal limit.
For example, Roborock’s Qrevo Edge model comparison specifies different capabilities:
- Qrevo Edge S5A: thresholds up to 2 cm.
- Qrevo Edge: standard thresholds up to 3 cm.
- Qrevo Edge: complex double-layer thresholds with a combined height up to 4 cm.
Measure any raised strips that appear likely to cause problems. Observe whether the robot crosses them without repeatedly slipping or becoming stuck.
If a transition is too tall, a suitable low-profile threshold strip or ramp may help. Choose one that does not obstruct the door or create a new trip hazard.
Never assume that every vacuum can handle the same height. Check the specifications for your particular model.
Run a First Pass and Fine-Tune the Map
The first mapping run helps the robot learn your home’s layout. Start from the charging dock and allow it to explore every accessible room.
Some models offer a dedicated mapping mode without vacuuming. Others create a map while cleaning.
Once the initial map is complete, review the route and make changes before setting a regular cleaning schedule.
Initial Mapping Run
Begin with the robot charged and positioned at its dock. Open the rooms you want mapped, then start the appropriate cleaning or mapping function.
Keep the rooms adequately lit if your model uses a camera for navigation. Robots that rely on other navigation systems may not need the same lighting conditions.
ECOVACS includes adequate lighting, open doors, and cleared obstacles in its quick mapping instructions.
| Step | Action |
|---|---|
| 1 | Place the robot at the charging dock |
| 2 | Keep rooms lit if the navigation system requires light |
| 3 | Watch the app map after the run |
| 4 | Set virtual boundaries where needed |
Let the robot finish its run and return to the dock on its own whenever possible.
Avoid lifting it or moving the station during mapping. Interruptions can affect how some systems identify their location.
After the run, check that every intended room appears on the map. If a room is missing, look for a closed door, blocked entrance, or threshold the robot could not cross.
Spot Problem Areas
Watch the robot’s first cleaning cycle to identify places where it slows, becomes stuck, or repeatedly misses debris.
Pay attention to furniture legs, rug edges, door thresholds, and narrow passages.
Use the following checks to diagnose common problems:
- Repeated stops: Look for cords, small objects, or material caught in the brushes.
- Missed rooms: Check doors, thresholds, and room access.
- Failed docking: Inspect the docking approach and surrounding clearance.
- Incomplete map: Check lighting requirements, obstacles, and whether the first run finished successfully.
Review the cleaning history and map in the app. If the robot consistently avoids one location, inspect that area before changing the entire map.
For persistent navigation problems, clean accessible sensors according to the manufacturer’s instructions.
Once the route is reliable, set a cleaning schedule that suits your household.
Refine No-Go Zones
Use the completed map to create boundaries around places the robot should avoid. Then test those boundaries during another cleaning run.
On supported models, you can adjust room dividers, name rooms, and create virtual restrictions.
iRobot’s Smart Maps guidance explains how Keep Out Zones can prevent entry into areas containing fragile items, pet bowls, or recurring obstacles.
Start with these areas:
- Spaces containing fragile objects or exposed cords.
- Tight areas where the vacuum regularly becomes trapped.
- Pet feeding areas that should remain undisturbed.
- Rugs or flooring that should not be mopped, if supported.
Give each boundary enough space around the object. A zone drawn too tightly may still allow contact during normal navigation.
Keep virtual restrictions away from the dock’s approach unless your manufacturer’s instructions permit otherwise.
Remember that some basic robot vacuums do not support saved maps or app-based no-go zones. Depending on the model, physical barriers or closed doors may be necessary.
After rearranging furniture or changing the floor layout, review the saved map again. Update the boundaries when the environment changes.
Frequently Asked Questions
What Are the Downsides of Using a Robotic Vacuum Cleaner?
Robot vacuums can miss corners, struggle with obstacles, and require regular maintenance. They also have limitations on certain floor types, rugs, and thresholds. Noise, purchase price, battery life, and cleaning time vary by model. Most still need occasional manual vacuuming, dustbin emptying, and brush cleaning.
Should I Leave My Robot Vacuum Plugged in All the Time?
Yes, many modern robot vacuums are designed to remain on their powered charging docks between cleaning sessions. For example, iRobot recommends keeping compatible Roomba models docked and charging when not in use. Follow your manufacturer’s battery instructions, particularly when storing the robot for an extended period.
How Long Does a Robot Vacuum Take to Clean a House?
A robot vacuum may take around 60–120 minutes to clean a house, although actual cleaning time varies considerably. Floor area, furniture, obstacles, cleaning settings, and battery capacity all affect the result. Some models return to their docks to recharge before resuming unfinished cleaning, which increases the total time.
Where to Hide Your Robot Vacuum?
You can place a robot vacuum beneath suitable furniture, in an open storage area, or inside a specially designed cabinet. The dock still needs enough clearance for the robot to enter and leave reliably. Avoid enclosed spaces that block navigation, charging access, ventilation, or routine maintenance.
For additional battery guidance, see iRobot’s battery maintenance recommendations. Its Recharge and Resume explanation also describes how supported models continue cleaning after charging.
Conclusion
A little preparation makes a robot vacuum easier to use and less likely to get stuck. Keep floors clear, secure cables, check rugs and thresholds, and give the dock enough room.
After the first run, use the saved map to correct trouble spots and set suitable boundaries. Repeat a quick floor check before scheduled cleaning, and the robot can handle everyday maintenance with less supervision.
Sources
- Dyson Support: Home preparation, mapping, and navigation guidance.
- iRobot Support: PrecisionVision obstacle detection and mapping limitations.
- Roborock Support: Charging dock clearance and return-to-dock troubleshooting.
- Roborock Support: Qrevo Edge and Edge S5A threshold specifications.
- ECOVACS Support: Initial mapping preparation and lighting requirements.
- iRobot Support: Smart Maps, room boundaries, and Keep Out Zones.
- iRobot Support: Battery maintenance and charging recommendations.
- iRobot Support: Recharge and Resume functionality.