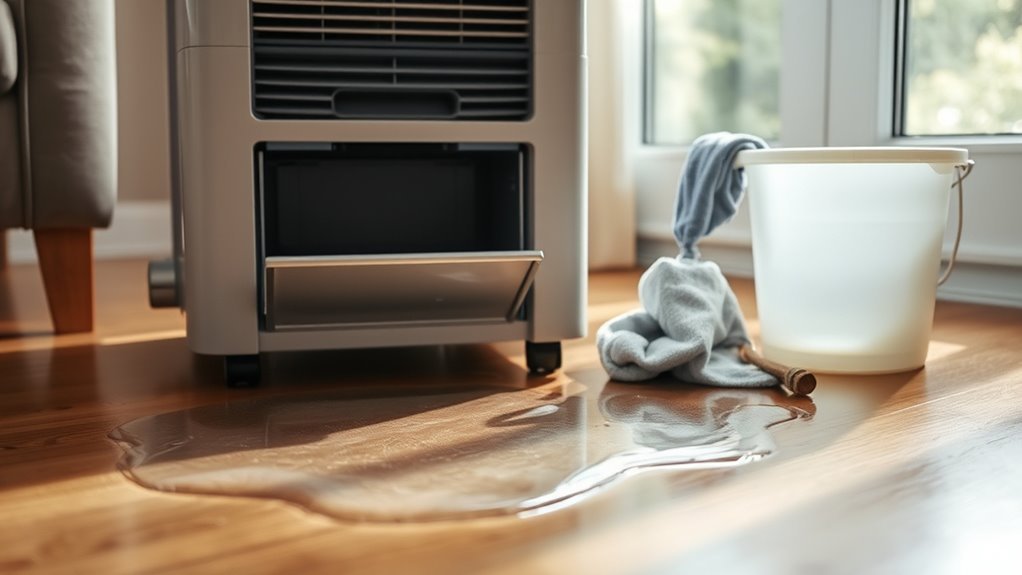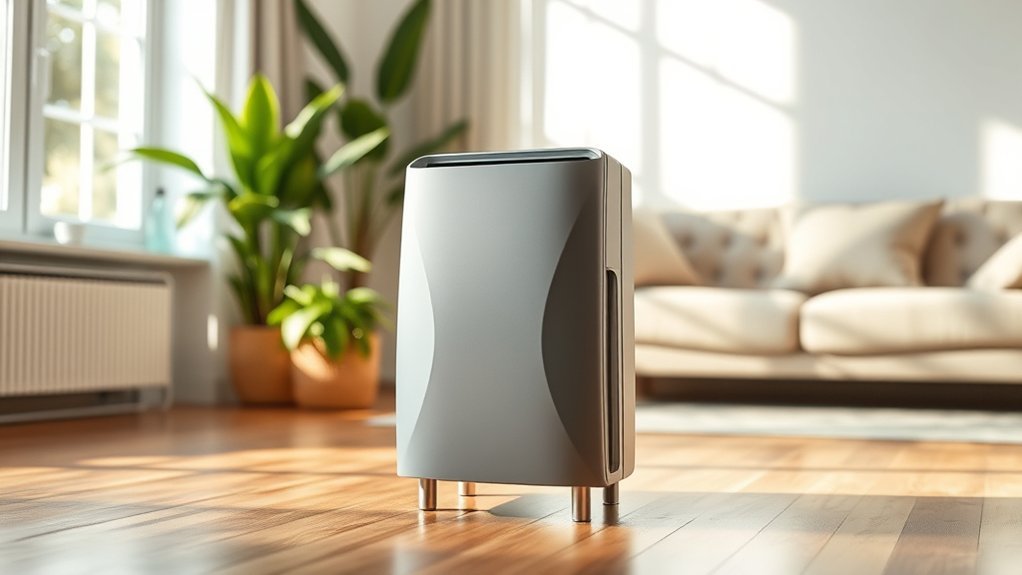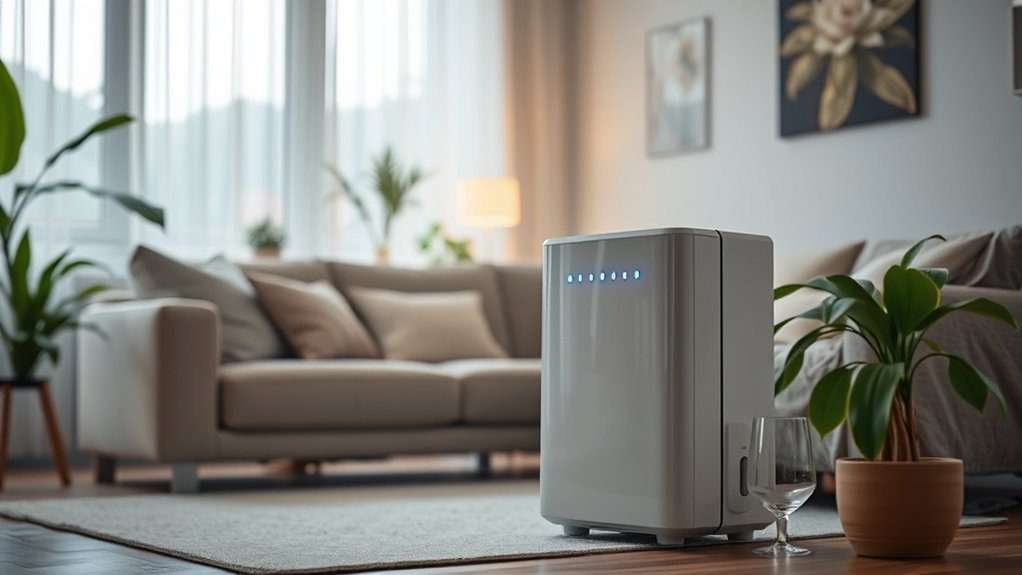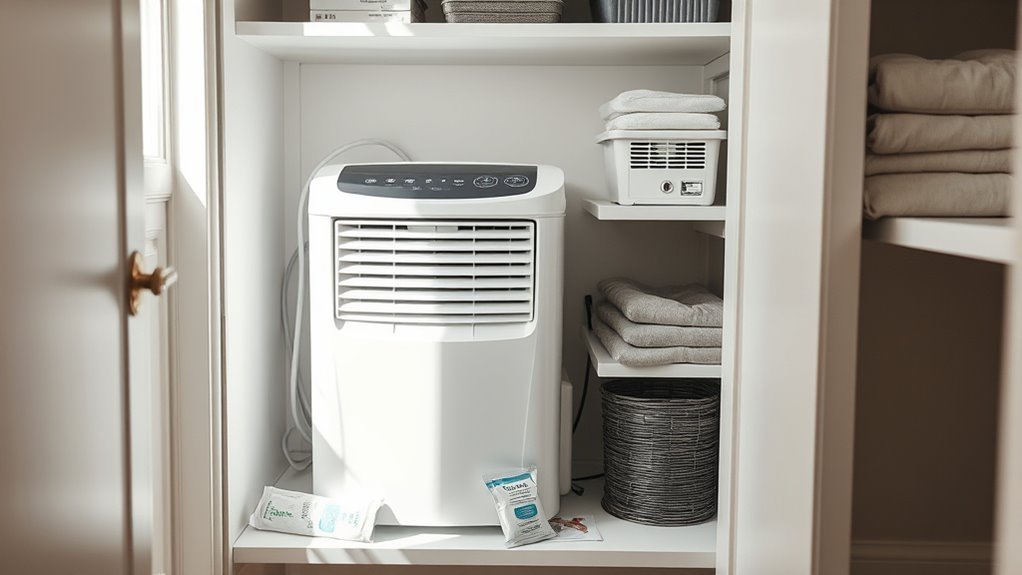
Storing a dehumidifier properly prevents trapped water, dust, odors, damaged filters, blocked drainage parts, and avoidable startup trouble. The safest process is to unplug the appliance, clean the parts approved in its manual, drain every water path, let everything dry fully, and keep the unit upright in a dry indoor location until it is needed again.
Quick Answer
To store a dehumidifier safely, unplug it, empty and wash the bucket, clean the filter as the manual allows, disconnect and dry any hose, and let every part dry fully. Store the unit upright in a dry, ventilated indoor area, covered loosely against dust. Before reuse, inspect the cord, recall status, filter, tank, and drainage.
Key Takeaways
- Turn the dehumidifier off, unplug it, and follow its model-specific cleaning instructions.
- Empty and dry the bucket, filter, hose, pump parts, drain tray, and other removable accessories before packing the unit.
- Store a compressor dehumidifier upright on a level surface in a dry, ventilated location.
- Do not operate the appliance while it is covered, boxed, or sitting in its storage position without normal airflow clearances.
- Before reuse, check the model for recalls and inspect the plug, cord, tank, filter, drainage connection, and cabinet.
At a Glance
| Time Required | About 30–45 minutes of cleaning, plus enough air-drying time for every part to become fully dry; some manufacturers recommend leaving drained parts to dry for 1–2 days. |
| Difficulty | Easy |
| Tools Needed | Owner’s manual, mild dish soap, warm water, soft cloth, soft brush or vacuum brush attachment, towel, cable tie, and labeled accessory bag |
| Cost | Usually $0–$10 with common household supplies |
Clean the Dehumidifier Before Storage
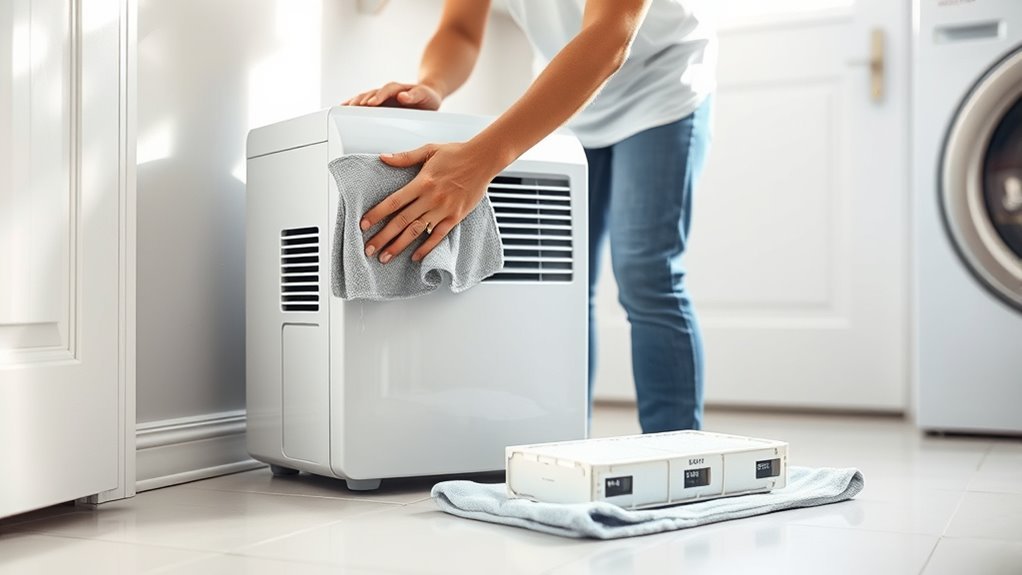
Start by reading the storage and cleaning section of the owner’s manual. Dehumidifiers differ in filter type, drainage design, pump system, cabinet access, and approved cleaning products. General instructions are useful, but the manual for your exact model should take priority.
Warning: Turn the unit off and unplug it before cleaning. Do not open the sealed cabinet, wet the controls, bend coil fins, mix cleaning chemicals, or reconnect power until all cleaned parts and surfaces are dry.
Remove the water bucket and any detachable drainage accessories. Wash the bucket with warm water and a small amount of mild dish soap unless the manufacturer specifies another method. Use a soft cloth or nonabrasive sponge to clean the bottom, corners, seams, float mechanism, splash guard, and handle area. Rinse away all soap residue.
Wipe the exterior cabinet with a soft damp cloth. Use a soft brush or vacuum brush attachment to remove dust from accessible inlet and outlet grilles. Do not spray cleaner directly into the appliance or force compressed air into electrical compartments.
Current Frigidaire storage guidance recommends disconnecting power and drain hoses, washing the bucket, and allowing the parts to dry before storage. GE Appliances likewise advises cleaning and thoroughly drying the tank and filter before storing the unit upright in a dry location.
Inspect the Cord, Plug, and Cabinet
Before packing the appliance, examine the cord and plug for cuts, flattened sections, scorch marks, loose prongs, or exposed wire. Check the cabinet, bucket, casters, handle, grille, and drain connection for cracks or deformation.
Do not store a unit with a damaged electrical cord and assume it will be safe next season. Arrange qualified repair or replace the appliance according to the manufacturer’s instructions.
Disconnect and Clean the Drain Hose
If you use continuous gravity drainage, turn the appliance off, unplug it, and remove the hose. Allow remaining water to drain into a suitable container. Flush the hose with clean water if the manual permits, then hang or lay it where both the inside and outside can dry completely.
- Remove the hose without pulling sideways on the drain fitting.
- Check the hose for algae, sludge, kinks, cracks, or hardened sections.
- Clean it according to the manufacturer’s instructions.
- Dry it completely before coiling it loosely.
- Reinstall the drain cap, plug, or rubber stopper on the dehumidifier.
- Label the hose and store it with any adapters or washers.
For a pump-equipped model, drain the pump reservoir and pump hose according to the manual. Do not assume that emptying the main bucket also removes all water from the pump system.
Pro Tip: Take a photo of the hose, cap, washer, and adapter arrangement before disassembly. Store the small pieces in a labeled zip bag so the drainage system is easy to rebuild later.
Dry the Tank, Filter, and Coils
Drying is as important as cleaning. Water left in the bucket, hose, filter compartment, drain tray, or pump system can create musty odors and support mold or bacterial growth while the appliance sits unused.
Empty the Water Tank
Drain the bucket completely, wash it, rinse it, and wipe water from seams and corners. Place it upside down or at an angle in a ventilated area where air can reach the interior. Do not reinstall it until the tank and float mechanism are dry.
- Tilt and drain the tank fully.
- Wipe the seams, corners, handle, and float area.
- Leave the tank open to the air.
- Check it again in bright light before reassembly.
If residue or odor remains after washing, repeat the manufacturer-approved cleaning process. Avoid improvised chemical combinations, especially mixtures involving bleach, ammonia, acids, or vinegar.
Clean the Air Filter
Remove the air filter according to the manual. First identify what type of filter the unit uses:
- Washable mesh filter: Vacuum loose dust or rinse it with warm water and mild soap when the manufacturer allows washing.
- Disposable HEPA, carbon, or specialty filter: Do not rinse it unless its instructions clearly say it is washable. Replace it when dirty, damaged, expired, or no longer effective.
- Combined filter assembly: Separate the washable prefilter from replaceable media only as directed by the manual.
Allow a washable filter to air-dry completely on a flat surface away from direct heat. Do not use a hair dryer, heater, oven, or strong sunlight that could warp the frame or damage the media.
Inspect the filter for tears, loose edges, heavy discoloration, or a persistent musty smell. Replace damaged or non-cleanable filters before the next operating season.
Dry the Coils Thoroughly
Some dehumidifiers include a fan-only, internal-drying, or storage mode. Use that feature only when the owner’s manual specifically recommends it. A normal dehumidification cycle is not the same as a fan-only cycle and may create additional condensate.
If no drying mode is specified, unplug the appliance, remove the bucket and filter, and leave the unit in an upright position in a clean, ventilated room. Allow moisture in accessible drain and air passages to evaporate naturally.
Inspect only the coil surfaces or drain areas that the manual makes safely accessible. Use a soft vacuum brush on exterior dust where permitted. Do not remove protective covers or insert tools into the sealed refrigerant cabinet.
- Confirm the bucket and filter are dry.
- Check the hose, drain fitting, and pump parts.
- Look for damp spots beneath the unit.
- Smell for mustiness before packing.
- Wait longer if any surface or accessory remains damp.
A clean dehumidifier is not ready for storage until the bucket, filter, hose, drain path, and accessible interior surfaces are fully dry.
Choose a Cool, Dry Storage Spot
Store the dehumidifier in a dry, ventilated indoor location protected from direct sunlight, water leaks, flooding, corrosive fumes, pests, and extreme temperature changes. A closet, utility room, finished basement, or indoor storage room may work when it remains dry and stable.
A basement is not automatically a suitable storage location. Avoid any area with a musty smell, visible condensation, plumbing leaks, floor seepage, past flooding, or persistently high humidity. A garage may also be unsuitable when it freezes, overheats, admits wind-driven rain, or develops condensation.
Follow the storage-temperature limits in the model’s manual. Because those limits vary, one temperature range should not be presented as correct for every dehumidifier.
If the storage room itself is prone to dampness, monitor it with a hygrometer. The U.S. Environmental Protection Agency recommends keeping indoor humidity generally between 30% and 50% to reduce excess moisture and mold risk. That is room-air guidance, not a replacement for the appliance’s storage specifications.
Note: Silica-gel packets may help inside a storage cabinet or accessory bin, but they do not correct a damp room or active leak. Keep desiccant packets away from children and pets, and do not place loose material inside the dehumidifier.
Keep the Dehumidifier Upright and Covered
Place the dehumidifier upright on a flat, stable surface. Upright storage is especially important for compressor models because the sealed refrigerant system contains compressor oil. Manufacturer storage guidance commonly requires the appliance to remain upright.
Do not lean the cabinet against a wall, lay it on its back, or store it upside down merely to save shelf space. Do not stack heavy boxes on top of it. Weight can crack the cabinet, distort grilles, damage controls, flatten the cord, or interfere with the bucket fit.
Use the original carton when it is clean, dry, and undamaged. Otherwise, use a loose dust cover, clean storage blanket, or manufacturer-approved bag. A cover should keep dust out without trapping existing moisture.
Warning: Never operate the dehumidifier while it is wrapped, covered, boxed, or surrounded by stored items. Unpack it and restore all manufacturer-required airflow clearances before connecting power.
What If the Dehumidifier Was Laid on Its Side?
Return it to the upright position and consult the manual before switching it on. Compressor models often require an upright settling period after sideways transport, but the required time varies by manufacturer and model. Do not guess when the manual gives a specific waiting period.
Store the Power Cord and Accessories Safely
Coil the power cord loosely without sharp bends. Secure it with a reusable cable tie or hook-and-loop strap, but do not wrap it so tightly that the insulation becomes compressed. Never suspend or move the appliance by its cord.
| Item | Storage Action |
|---|---|
| Power cord | Inspect, coil loosely, and secure without pinching |
| Drain hose | Flush if permitted, dry fully, coil loosely, and label |
| Pump hose | Drain and store according to the pump instructions |
| Caps, plugs, washers, and adapters | Dry and keep together in a labeled bag |
| Washable filter | Clean and air-dry completely before reinstalling |
| Replaceable filter | Keep clean and dry or replace it before the next season |
| Manual and receipt | Store in the accessory bag or save a digital copy |
Keep accessories off the top of the cabinet if they could scratch the controls or apply pressure. A shallow labeled bin beside the appliance is often safer than placing loose parts inside the water bucket.
Check Storage Conditions During the Off-Season
Inspect the storage area every month or two, especially after storms, plumbing work, freezing weather, or a period of high humidity. The dehumidifier should remain unplugged during storage.
Temperature and Humidity
Check for condensation, musty odors, damp cardboard, water stains, rust on nearby objects, or a rising hygrometer reading. Improve ventilation, repair leaks, or relocate the appliance when the storage room becomes damp.
Do not rely on a single universal temperature limit. Keep the appliance away from direct heaters and sunlight, and follow the minimum and maximum storage temperatures stated in the manual.
Inspect for Moisture
| Checkpoint | What to Look For | Action |
|---|---|---|
| Floor and walls | Water stains, seepage, condensation, or mold | Fix the moisture source and relocate the unit until the area is dry |
| Cover or carton | Dampness, pests, tears, or trapped odor | Remove the cover, inspect the appliance, and replace damaged packing |
| Cabinet and cord | Rust, cracks, rodent damage, or flattened insulation | Do not operate until the damage is evaluated |
| Accessory bag | Missing caps, washers, adapters, or hose parts | Replace the correct manufacturer-approved part before use |
Do not run the dehumidifier merely as a storage check. Operation should wait until the unit has been uncovered, inspected, assembled, placed with proper clearance, and returned to a normal operating environment.
What Not to Do When Storing a Dehumidifier
- Do not store water in the bucket, hose, pump, or drain tray.
- Do not reinstall a washable filter while it is damp.
- Do not wash a disposable filter unless the manufacturer identifies it as washable.
- Do not open the refrigerant cabinet or insert tools through the grille.
- Do not lay a compressor dehumidifier on its side for long-term storage.
- Do not wrap a damp appliance in airtight plastic.
- Do not stack heavy objects on the cabinet.
- Do not sharply bend, knot, or tightly compress the cord.
- Do not store the unit beside chemicals, fuel, fertilizer, or corrosive fumes.
- Do not operate it while covered or boxed.
- Do not use a recalled appliance.
Recommended Products

【Function】This is a dust cover designed for most dehumidifiers. It keeps your machine free from dust and stains during extended periods of non-use, ensuring cleanliness.
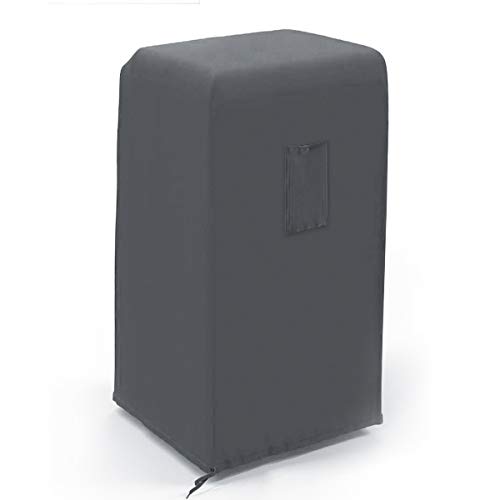
【Soft Milk Silk Fabric】: Portable air conditioner cover are made of soft, lightweight, high elasticity milk silk, not scratch the ac unit.
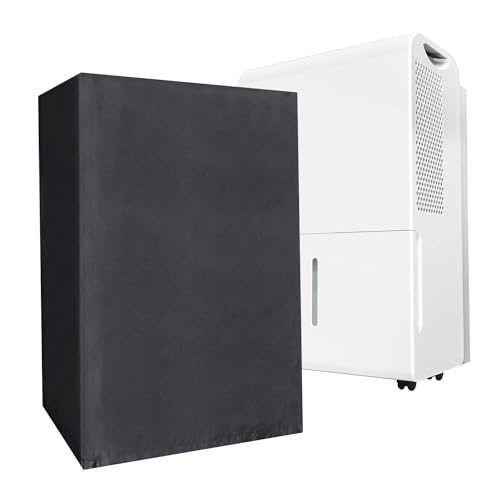
【Function】This is a dust cover designed for most dehumidifiers. It keeps your machine free from dust and stains during extended periods of non-use, ensuring cleanliness.
Restart the Dehumidifier After Storage
Move the appliance to its operating room and keep it upright. If it was transported on its side or exposed to a large temperature change, follow the manual’s settling and acclimation instructions before plugging it in.
Check for Recalls Before Use
Find the model number, serial number, and date code on the product label. Search the U.S. Consumer Product Safety Commission’s dehumidifier recall listings or the appropriate product-safety authority in your country. Stop and follow the recall instructions when the model is affected.
Complete a Pre-Start Inspection
- Remove the carton, blanket, bag, and all packing material.
- Confirm that the cabinet is upright, level, clean, and dry.
- Inspect the cord and plug for damage.
- Check that the filter is clean, dry, correctly installed, and suitable for reuse.
- Verify that the bucket is clean, dry, and fully seated.
- Install the drain cap, gravity hose, or pump hose in the correct configuration.
- Confirm that the hose is not cracked, kinked, blocked, or routed uphill when gravity drainage is required.
- Place the unit with the airflow clearance stated in the manual.
- Use a properly grounded wall receptacle and follow the manufacturer’s extension-cord restrictions.
Set a reasonable target humidity and observe the first operating cycle. Check for normal fan and compressor sounds, stable controls, proper water collection, and leak-free drainage.
Do not expect immediate bucket water in a cool or already-dry room. Collection depends on room temperature, humidity, air movement, set point, and appliance condition.
Troubleshoot Problems After Storage
Recommended Products

BUY WITH CONFIDENCE Genuine AprilAire MERV 8 Replacement Filter for your AprilAire Whole Home Dehumidifier Models E080 or E100 or Dehumidifying Ventilator 8192A (and all variations of these models)

【𝐂𝐨𝐦𝐩𝐚𝐭𝐢𝐛𝐥𝐞 𝐌𝐨𝐝𝐞𝐥𝐬】This 9 x 11 x 1 MERV 13 Replacement Dehumidifier Filter is compatible with Santa Fe Compact70, Ultra70, Element, Compact2, UA 65H. Not compatible with Santa Fe other models, please check your model before ordering.
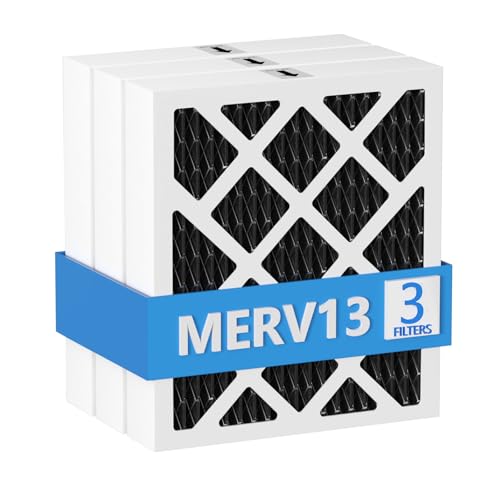
【Compatibility】 Our MERV 13 PN07126 Replacement Carbon Dehumidifier Filter Media is Compatible with Sanidry Sedona Dehumidifier PN07126 Replacement Filter.
Musty Odor
Turn the unit off and unplug it. Reinspect the bucket, filter, drain tray, hose, and accessible air passages for moisture or residue. Replace non-cleanable filters and repeat the approved cleaning process. Stop using the appliance if odor persists or visible contamination is inside an inaccessible compartment.
Water Leak
Check that the bucket is seated correctly, the float moves freely, the drain cap is installed, and the hose connection is tight. A gravity hose should slope continuously toward a suitable drain without kinks or a submerged outlet.
Little or No Water Collection
Check the humidity setting, room conditions, filter, bucket position, airflow clearance, and drainage configuration. A dehumidifier may collect little water when the room is already near the target humidity. Persistent poor performance may require manufacturer support.
Icing or Frost
Turn the unit off and check the operating-temperature limits, filter, and airflow clearance. Some models include automatic defrost, but heavy or persistent icing can indicate restricted airflow or a service problem.
Noise, Error Code, or Electrical Smell
Stop operation immediately if you notice burning odor, smoke, sparking, repeated breaker trips, unusual rattling, severe vibration, or a recurring error code. Unplug the appliance and contact the manufacturer or a qualified technician. Do not continue testing a unit that shows an electrical or fire warning sign.
Choose a Dehumidifier That Stores Easily
When buying a replacement or second dehumidifier, measure the intended storage space before choosing a model. Compare the full cabinet dimensions rather than relying on labels such as “compact” or “mini.”
Useful storage features include built-in cord management, sturdy handles, smooth casters, a removable bucket, accessible filters, removable hoses, and a cabinet shape that remains stable when upright. A lightweight model may be easier to carry, but it still needs enough moisture-removal capacity for the room where it will operate.
For example, the official MeacoDry Arete Two 10L specifications list dimensions of 472 × 319 × 237 mm and a weight of 10.7 kg. Larger models are taller and heavier, so buyers should select by exact model rather than assuming the entire range has the same storage footprint.
Before placing any dehumidifier into storage, remove residual water, clean approved surfaces, dry every component, secure the accessories, and protect the finish from scratches.
Recommended Products

High Efficient Dehumidifiers for Home: This compact 44oz dehumidifier efficiently removes excess moisture in rooms with 86°F and 80% RH, collecting up to 11.8oz (349ml) of water in 24 hours. It maintains an ideal humidity level of 45%-55% while operating at ultra-low energy consumption (24W/hour, 576W/day). Perfect for bedrooms, bathrooms, and small spaces.

✔ EASY TO USE: This mini dehumidifier is spill and mess free. Just hang and go! Non-toxic, child and pet safe! Your small rooms will be dry and odor free. Works for areas up to 333 cubic feet.

Semiconductor dehumidifiers use thermoelectric cooling to remove moisture from the air. They create a drier, more comfortable environment by reducing humidity and improving air quality.
Related Guides
Frequently Asked Questions
Where should I store a dehumidifier when it is not in use?
Store it upright in a dry, ventilated indoor area protected from sunlight, leaks, flooding, pests, corrosive fumes, freezing conditions, and extreme heat. A closet, utility room, garage, or basement is suitable only when that specific space stays dry and meets the model’s storage requirements.
Can I store a dehumidifier on its side?
Long-term sideways storage is not recommended for compressor dehumidifiers. Keep the appliance upright. If it was laid down during transport, return it upright and wait for the period stated in the owner’s manual before operating it.
How long should a dehumidifier dry before storage?
There is no single drying time for every unit. The bucket, washable filter, hose, pump parts, and accessible water paths must be fully dry. Depending on airflow and design, that may take several hours or one to two days. Follow the manufacturer’s instructions.
Should I remove the drain hose before storage?
Yes, unless the manual says otherwise. Disconnect the hose, drain it, clean it as approved, allow it to dry, and store it loosely coiled. Reinstall the dehumidifier’s drain cap or stopper and keep adapters and washers in a labeled bag.
Should you use a dehumidifier if you have COPD?
A dehumidifier may help when excess humidity, dampness, mold, or steam aggravates symptoms, but it does not treat COPD. Avoid making the room uncomfortably dry, keep the appliance clean, and follow your clinician’s advice and COPD action plan. Seek medical care for new or worsening breathing difficulty.
Is it safe to leave a dehumidifier on when you go out?
Do not assume every unit is safe for unattended operation. First check for recalls, inspect the cord, use the required grounded outlet, provide proper clearance, and confirm that auto shutoff or continuous drainage works correctly. Follow the owner’s manual and do not leave a damaged, recalled, leaking, overheating, or extension-cord-powered unit running.
Should I keep a dehumidifier in my garage?
You can operate or store one in a garage only when the model is approved for the garage’s temperature range and the area is dry, ventilated, protected from weather, and free from flammable or corrosive fumes. An unconditioned garage that freezes, overheats, or develops condensation is a poor storage location.
Should I cover a dehumidifier during storage?
A clean original carton, loose dust cover, or storage blanket can protect the appliance. Cover it only after every part is dry. Do not seal a damp unit in airtight plastic, and remove all covering before operation.
Conclusion
Correct dehumidifier storage starts with complete drainage, careful cleaning, and thorough drying. Empty the bucket, treat the filter according to its type, remove and dry hoses, replace drain caps, secure the cord, and keep the cabinet upright in a dry indoor location.
Inspect the storage area during the off-season, but leave the appliance unplugged. Before the next use, check its recall status, cord, filter, tank, drainage system, airflow clearance, and first operating cycle. These steps reduce moisture, odor, leakage, electrical, and startup problems without relying on unsupported universal temperature rules.
Sources
- GE Appliances: Dehumidifier Storage — cleaning, drying, filter care, upright storage, and dry-location guidance.
- Frigidaire: Dehumidifier Clean and Care — power disconnection, hose removal, bucket cleaning, drying, covering, and restart care.
- U.S. Environmental Protection Agency: Care for Your Air — indoor humidity and moisture-control guidance.
- U.S. Consumer Product Safety Commission: Dehumidifier Recalls — model recall and fire-safety information.
- American Lung Association: Clean Air at Home — humidity, mold, appliance-filter, and lung-health guidance.
- Meaco: MeacoDry Arete Two 10L Specifications — verified dimensions, weight, filter, and product features for the named example.