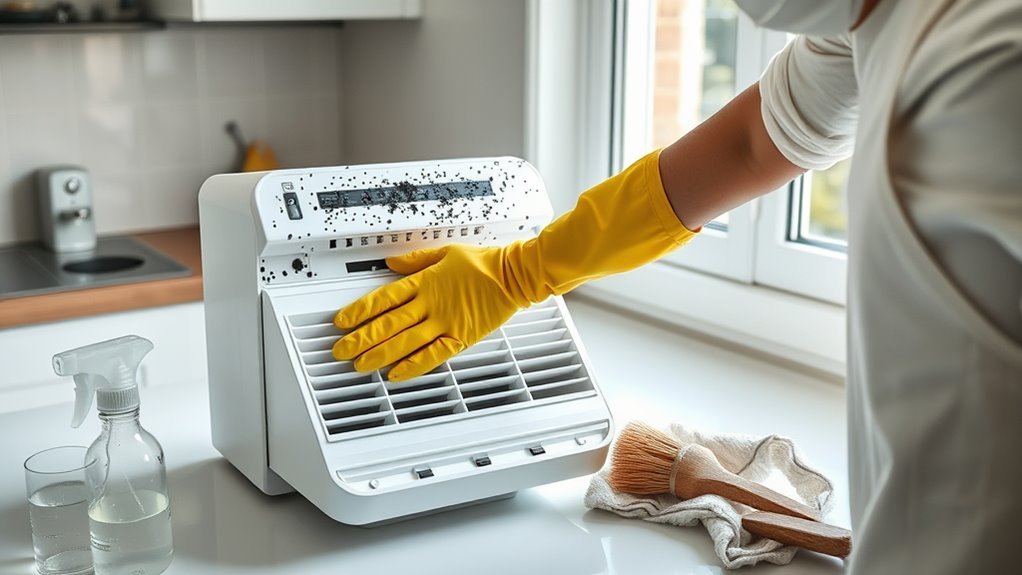
Mold inside a dehumidifier needs more than a quick rinse. The safest approach is to unplug the unit, clean only the parts your owner’s manual allows you to remove, wash the bucket with mild detergent, clean or replace the filter as directed, and dry everything fully. Use stronger cleaners only when the manufacturer specifically approves them.
Quick Answer
To clean mold from a dehumidifier, turn it off, unplug it, empty the bucket, and remove the washable filter. Scrub removable plastic parts with mild dish soap and warm water, rinse them, and let them dry completely. Do not wet electrical parts or use vinegar or bleach unless the model’s manual allows it.
Key Takeaways
- Unplug the dehumidifier before removing the bucket, filter, drain hose, or access grille.
- Use mild soap and water as the default cleaner for removable plastic parts.
- Never mix bleach with vinegar, ammonia, detergent, or any other cleaner.
- Keep liquids away from coils, controls, wiring, the fan motor, and other electrical parts.
- Dry every part fully and control room humidity to reduce the chance of mold returning.
At a Glance
| Time Required | 30 to 60 minutes of cleaning, plus several hours of drying |
| Difficulty | Easy for removable parts; professional service may be needed for internal mold |
| Tools Needed | Gloves, eye protection, mild dish soap, soft cloth, soft brush, towel, and a vacuum with a brush attachment |
| Cost | Low when using household supplies; a replacement filter or professional service costs extra |
Why Mold Grows in a Dehumidifier
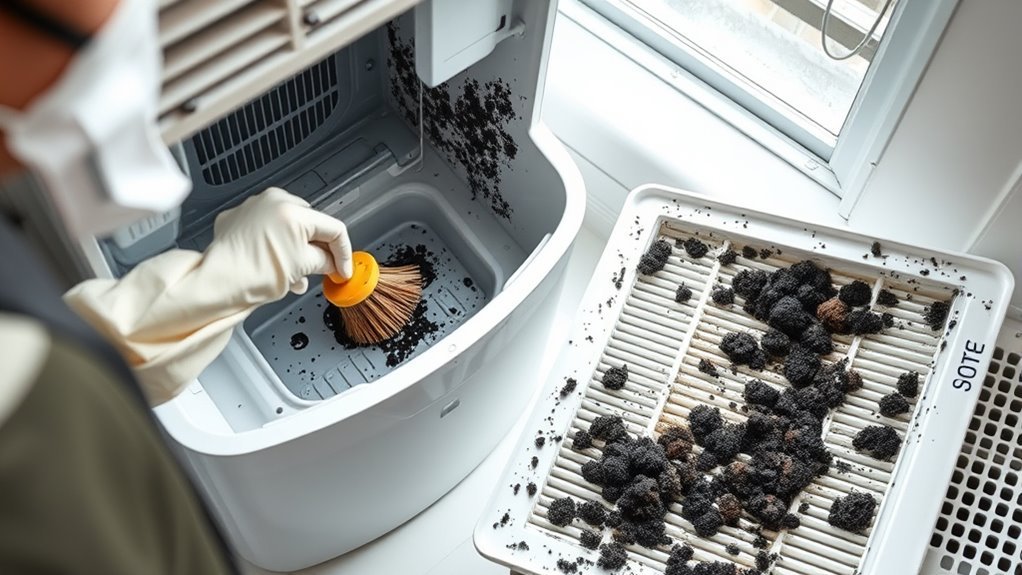
A dehumidifier collects water from humid air, so its bucket, drain path, filter area, and nearby surfaces can stay damp. Mold spores are common in indoor air. When those spores land on a wet surface that also holds dust or other debris, they can begin to grow.
The U.S. Environmental Protection Agency explains that moisture control is the key to mold control. Cleaning removes existing growth, but the problem can return if standing water, clogged drainage, poor airflow, or high room humidity remains.
Removing mold is only half the job. The bucket, filter, drain path, and room must also stay clean and dry enough to prevent regrowth.
What You Need to Clean It Safely
Start with the mildest supplies that can do the job. Gather the owner’s manual, household gloves, eye protection, mild dish soap, warm water, a soft cloth, a soft-bristle brush, a towel, and a vacuum with a soft brush attachment. Use an N95 respirator when visible mold or dust may become airborne, especially if the contamination is more than a tiny spot.
- For the bucket and removable plastic parts: mild dish soap and warm water
- For a washable filter: warm soapy water only if the manual permits washing
- For a non-washable filter: a vacuum or replacement, as the manual directs
- For accessible dry dust: a soft brush or vacuum attachment
- For stronger disinfection: only a manufacturer-approved product used exactly as directed
Warning: Never mix bleach with vinegar, ammonia, detergent, or any other cleaner. Do not spray or pour cleaning liquid into the operating unit, controls, fan motor, wiring, or sealed housing. Open windows or doors when using any chemical cleaner.
Recommended Products

ULTRA ABSORBENT QUICK DRY TOWEL: Our highly absorbent towel is made from sponge-like synthetic chamois PVA material that sucks up and holds onto water, drying surfaces faster than cloth towels. The ultimate chamois towel & drying towels for cars.

4-GALLON RECTANGULAR CLEANING BUCKET: Great for a variety of cleaning tasks and designed with a large opening to accommodate most mop styles and sizes
Before You Clean: Know When to Stop
Routine bucket and filter cleaning is usually a do-it-yourself task. Stop and contact the manufacturer, a qualified appliance technician, or a mold professional when mold is behind sealed panels, on wiring or electrical parts, deep inside the fan or coil assembly, or linked to sewage or contaminated water. Replacement may be safer when a musty odor returns quickly after proper cleaning or when internal insulation is visibly contaminated.
The Centers for Disease Control and Prevention advises people with asthma, COPD, immune suppression, underlying lung disease, or strong mold allergies not to take part in mold cleanup. Keep children and pets away from the work area.
How to Unplug and Prep the Unit
Move the dehumidifier only after turning it off and unplugging it. Empty the bucket first if the unit is heavy, and disconnect a drain hose or pump hose according to the owner’s manual. Put a towel or plastic sheet under the unit to catch drips.
Power Off First
- Turn the dehumidifier off.
- Unplug the power cord with dry hands.
- Disconnect the drain hose or pump hose if your model uses one.
- Remove only the bucket, filter, grille, or other parts identified as user-removable in the manual.
Do not remove sealed covers or touch capacitors, wiring, sensors, or the compressor area. If water has reached an electrical part, leave the unit unplugged and arrange professional inspection before using it again.
Clear the Workspace
Work in a well-ventilated area with good light. Place the cleaned parts on a separate dry towel so they do not pick up dirt again. Keep bleach, vinegar, and other chemicals away from one another, and never prepare more than one cleaning solution at a time.
Pro Tip: Take a quick photo before removing the filter, splash guard, float, or hose. It makes correct reassembly easier and helps prevent a stuck bucket-full switch.
Clean the Tank, Filter, and Coils
Clean one part at a time, starting with the water bucket. The safest method depends on the material and the manufacturer’s instructions.
Recommended Products
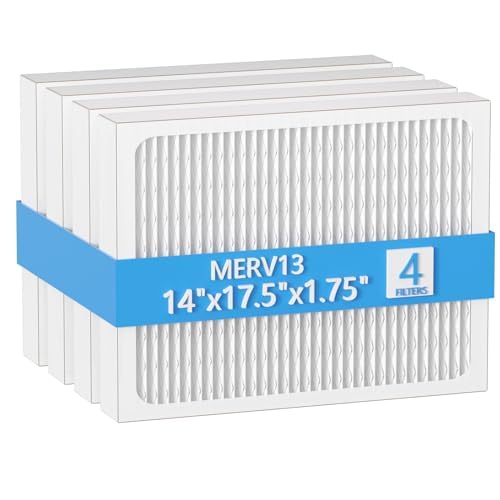
【Compatibility】 Our 14 x 17.5 x1.75 MERV 13 Replacement Dehumidifier Filter Media is Compatible with Honeywell DR90 & DR120 dehumidifier models.
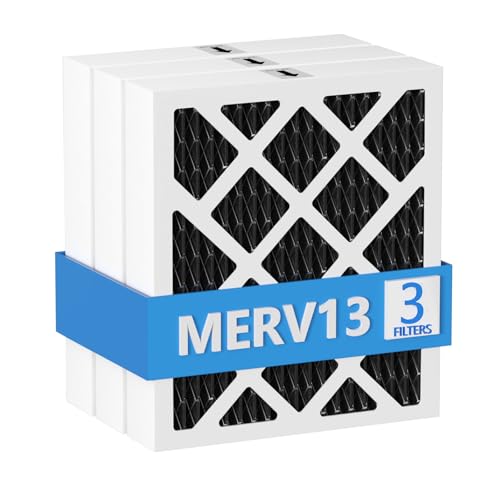
【Compatibility】 Our MERV 13 PN07126 Replacement Carbon Dehumidifier Filter Media is Compatible with Sanidry Sedona Dehumidifier PN07126 Replacement Filter.

COMPATIBILITY: Our DH02 HEPA filter compatible with Afloia (AQ8/Q8)/ Honati/ Hysure Q7/ Tenergy Sorbi 2-in-1 Air Purifier/Dehumidifier(1000ML) or please double check before order
Clean the Water Tank
- Empty the tank and remove any splash guard or handle only as the manual directs.
- Add warm water and a small amount of mild dish soap.
- Scrub seams, corners, the float area, and the drain outlet with a soft brush or cloth.
- Rinse with clean water until no soap remains.
- Inspect the float and make sure it moves freely.
Both Frigidaire and GE Appliances recommend mild soap and water for routine bucket cleaning. Some models allow a specific diluted bleach treatment in the bucket, while others restrict bleach. Follow the instructions for your exact model rather than using a universal recipe.
Clean or Replace the Filter
Check the filter label or owner’s manual before getting it wet. If the filter is washable, rinse or wash it gently with warm soapy water, then rinse well. Do not use bleach, vinegar, fragrance, or harsh chemical cleaner on the filter. If it is torn, warped, heavily stained, or still smells musty after cleaning and drying, replace it.
Some manufacturers use a time-based reminder. For example, GE Appliances says certain filters should be checked every two to three weeks, while newer models may show a reminder after 250 operating hours. Your manual takes priority.
Clean Accessible Coils, Grilles, and the Case
Use a vacuum with a soft brush attachment to remove dry dust from the intake grille, outlet grille, and any coil surface that is clearly accessible without taking the unit apart. Work gently so you do not bend the thin metal fins.
- Do not spray vinegar, bleach, water, or cleaner onto coils.
- Do not push a wet cloth through the grille.
- Do not use compressed air that can drive debris deeper into the unit.
- Do not operate the unit if internal mold remains visible.
Wipe the outer case with a well-wrung cloth and mild soap solution, then wipe it dry. Frigidaire and GE both warn against bleach on the cabinet or case.
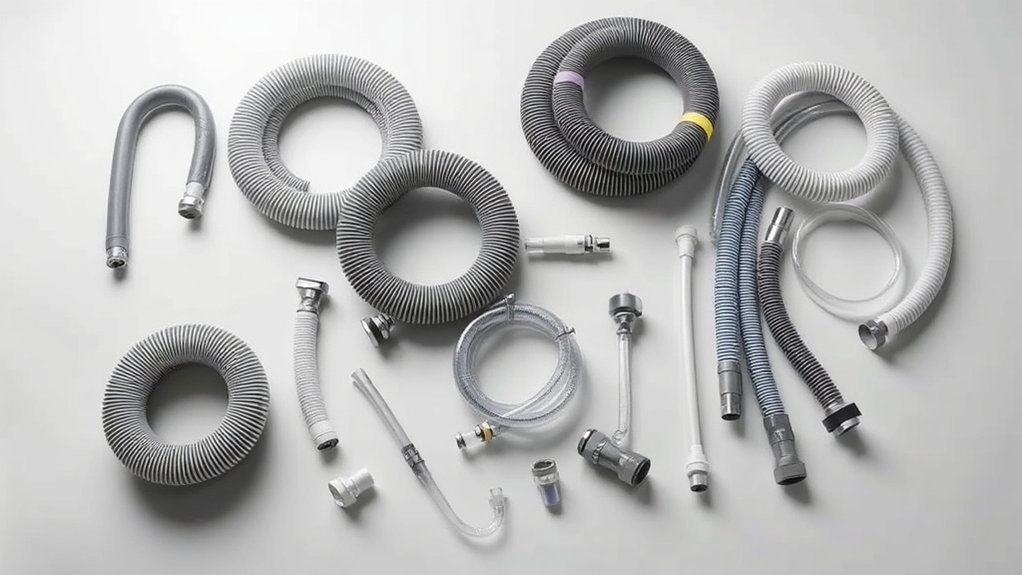
Clean the Drain Hose and Port
If you use continuous drainage, inspect the hose for slime, kinks, clogs, or standing water. Disconnect it as the manual directs, flush a removable hose with warm soapy water, rinse it, and let it drain completely. Replace a cracked, permanently stained, or foul-smelling hose. Use a cotton swab or soft brush only on a removable drain adapter, not inside the sealed unit.
Remove Mold and Odors
Physical cleaning is more important than trying to “kill” mold with a strong chemical. Scrub visible growth from washable, nonporous, removable parts with detergent and water, rinse the parts, and dry them completely. If the owner’s manual approves bleach or another disinfectant for the bucket, use only that method and follow the product label for dilution, contact time, ventilation, protective equipment, rinsing, and disposal.
| Part | Safe Default | Avoid |
|---|---|---|
| Water tank | Mild soap, warm water, rinse, and full drying | Unapproved bleach strength, fragrance, or essential oil |
| Washable filter | Warm soapy water when the manual allows | Bleach, vinegar, hot water, or reinstalling it damp |
| Coils and grilles | Gentle dry vacuuming or brushing | Liquid cleaners, bent fins, or opening sealed panels |
| Outer case | A well-wrung cloth with mild soap solution | Bleach, abrasives, or excess water near controls |
| Drain hose | Flush, rinse, drain, and replace if damaged | Leaving stagnant water or forcing tools into the unit |
Do not add oil drops, perfume, air freshener, or essential oil to the tank. These products can leave residue, damage some plastics, interfere with a pump or float, and create an odor that hides rather than fixes contamination.
Note: The color of mold does not tell you how dangerous it is or which cleaner to use. You do not need to identify the species before removing visible growth and correcting the moisture problem.
Recommended Products
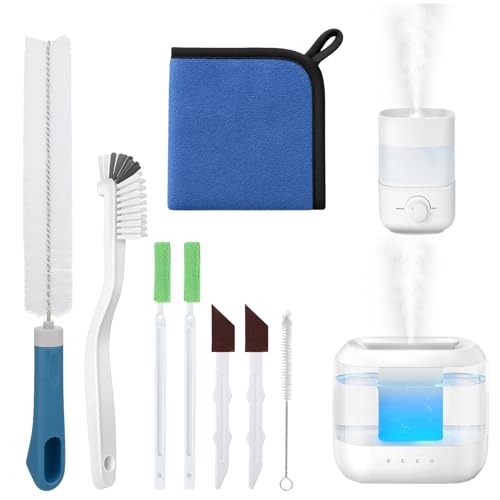
Humidifier Cleaning Solution:Still looking for a cleaning tool that can thoroughly clean your humidifier? Come and try our humidifier cleaning brush set!The nylon brush cleans the stains on the base, the sandpaper brush powerfully removes the severe scale at the bottom, and the long brush can easily reach the air outlet and the interior of the water storage tank, thoroughly cleaning every corner of the humidifier in all aspects, making your humidifier look brand new and more reassuring to use.

【All-in-One Dryer Duct Cleaning Kit】No more running to the hardware store for missing parts. This complete vent cleaning kit includes a heavy-duty dryer vent cleaning brush for 4-inch pipes, a set of flexible nylon rods, a dedicated lint brush, a dryer vent cleaner drill attachment, and protective gloves—everything you need in one box, ready to use right away.

All-in-One Dryer Duct Cleaning Kit — No more running to the hardware store for missing parts. This complete vent cleaning kit includes a heavy-duty dryer vent cleaning brush for 4-inch pipes, a set of flexible nylon rods, a dedicated lint brush, a dryer vent cleaner drill attachment, and protective gloves—everything you need in one box, ready to use right away.
Dry Every Part Before Reassembly
Drying is a required cleaning step, not an optional finish. Damp filters, seams, and drain channels can support new growth and can also reduce airflow.
Dry the Tank Fully
Set the rinsed tank upside down or at an angle where air can reach the seams. Wipe pooled water with a clean, dry cloth. Check the handle mounts, float chamber, splash guard, drain cap, and corners before reinstalling the bucket.
Air-Dry Filters and Parts
Place the filter and other washable parts in a clean, well-ventilated area. A fan can speed drying, but do not use high heat, a hair dryer, an oven, or direct heat unless the manual permits it. Heat can warp plastic or filter material.
| Part | Drying Check |
|---|---|
| Filter | No damp spots, cool patches, or musty odor |
| Tank | No drops in seams, corners, float chamber, or drain cap |
| Drain hose | No trapped water, slime, blockage, or odor |
| Grille and case | Dry around controls, vents, and edges |
Check Hidden Moisture
Look at seams, latches, the bucket recess, the filter frame, and the drain connection. If you see water inside the sealed cabinet or around wiring, do not plug the unit in. Have it inspected by a qualified technician.
Once every user-removable part is dry, reassemble the unit according to the manual. Seat the bucket and filter correctly, reconnect the drain hose without kinks, and run the unit while watching for leaks, unusual noise, a stuck bucket-full light, or a returning musty smell.
Keep Mold From Coming Back
Empty a collection bucket daily or whenever it fills. Do not leave collected water sitting in a switched-off unit. Clean the bucket on a regular schedule and clean the filter when the manual or filter indicator tells you to do so.
- Keep the air intake and outlet clear of walls, curtains, and furniture.
- Make sure a continuous drain hose slopes correctly and does not hold standing water.
- Use a hygrometer to check room humidity instead of relying only on how the air feels.
- Aim for indoor relative humidity near 30% to 50% when practical, and keep it below 60% to reduce mold growth.
- Store the unit only after cleaning and drying the bucket, filter, and drain hose.
An air purifier may capture some airborne particles, but it cannot remove mold growing inside a wet dehumidifier. Source control, cleaning, drying, and proper humidity are the main steps.
When to Avoid Vinegar and Bleach
Mild detergent and water are the safest default for most removable parts. Do not pour vinegar into the bucket and run the machine, and do not wipe vinegar over coils, screws, electrical connections, or other metal parts. Acid can damage some metals and finishes.
Use bleach only if the manual for your exact model allows it on the specific part you are cleaning. The CDC’s bleach safety guidance is general guidance for hard surfaces, not permission to use bleach on every appliance component. Follow the appliance manual and the bleach label, use ventilation and protective gear, and rinse as directed.
- Never combine vinegar and bleach.
- Never combine bleach with ammonia, detergent, or another cleaner.
- Never use bleach on the filter, cabinet, controls, coils, wiring, or motor unless the manufacturer explicitly approves it.
- Stop if fumes irritate your eyes, throat, or lungs, and move to fresh air.
Maintain Your Dehumidifier Year-Round
A simple schedule prevents most odor and mold problems, but the owner’s manual should set the final timing.
- Daily or as needed: empty the bucket and check for leaks or stagnant water.
- Weekly during heavy use: rinse or wash the bucket if residue is forming.
- Every few weeks or when prompted: inspect and clean the filter according to the manual.
- Monthly: inspect the drain hose, grille, float, bucket seal, and air clearances.
- Before storage: clean, rinse, and dry all removable parts and drain hoses completely.
Do not run the unit without its filter. Replace damaged parts promptly, and arrange service when the fan, pump, sensor, float switch, or drainage system does not work correctly.
Troubleshooting Mold or Odor That Returns
If mold or a musty smell returns soon after cleaning, check for a cause that routine wiping missed:
- Standing water: confirm that the bucket is emptied and the drain hose slopes freely.
- Dirty or damp filter: clean it correctly, dry it fully, or replace it.
- Hidden contamination: inspect accessible areas with a flashlight without opening sealed panels.
- Blocked airflow: clear the grille and leave the manufacturer’s required space around the unit.
- High room humidity: verify the reading with a separate hygrometer and check whether the unit is correctly sized and operating.
- Internal mold: stop using the unit and seek service or replacement when contamination is inside the fan, insulation, electrical area, or sealed cabinet.
Frequently Asked Questions
What kills mold in a dehumidifier?
The goal is to remove mold, not only kill it. For washable, removable, nonporous parts, scrub visible growth with mild detergent and water, rinse, and dry completely. Use bleach or another disinfectant only when the manufacturer approves it for that exact part.
Why do dehumidifiers get moldy?
They collect moisture and can also collect dust, skin particles, pollen, and other debris. Standing water, a dirty filter, a blocked drain, poor airflow, or storing the unit while damp can create conditions that support mold growth.
Are dehumidifiers good for people with COPD?
A dehumidifier may help control excess humidity and mold, but it does not treat COPD. Avoid making the air uncomfortably dry, and discuss the best humidity range with a healthcare professional. People with COPD should not clean mold themselves because exposure and cleaning fumes can worsen breathing problems.
Can I put vinegar in a dehumidifier?
Do not pour vinegar into an assembled dehumidifier or run the unit with vinegar in the bucket. Use it only on a removable part if the owner’s manual specifically permits it. Keep vinegar away from metal and electrical parts, rinse the part well, and never combine vinegar with bleach.
Can mold inside a dehumidifier make you sick?
Mold exposure can irritate the eyes, skin, nose, throat, and lungs, and it can trigger symptoms in sensitive people. Stop using a visibly contaminated unit until it is cleaned safely. People with asthma, COPD, mold allergy, or immune suppression should avoid cleanup and seek help.
When should I replace a moldy dehumidifier?
Consider replacement when mold is deep inside sealed areas, insulation, the fan housing, or electrical components; when water has reached wiring; when the unit cannot drain; or when odor returns quickly after correct cleaning and drying. Compare repair cost with the age and condition of the unit.
Conclusion
Clean mold from a dehumidifier by unplugging the unit, washing the removable bucket with mild soap and water, cleaning the filter only as the manual directs, and removing dry debris from accessible grilles or coils without wetting electrical parts. Avoid routine vinegar or bleach use, never mix cleaners, and dry every part before reassembly. Regular bucket, filter, and drain care will make mold far less likely to return.
Sources
- U.S. EPA: A Brief Guide to Mold, Moisture and Your Home — moisture control, cleanup, personal protection, and indoor humidity guidance
- CDC: Mold Clean Up Guidelines and Recommendations — PPE, high-risk groups, ventilation, and bleach safety
- CDC: How to Safely Clean and Sanitize with Bleach — safe handling, dilution context, rinsing, and never mixing cleaners
- GE Appliances: Dehumidifier Cleaning and Maintenance — tank, filter, grille, and case care
- Frigidaire: Dehumidifier Clean and Care — mild-soap cleaning, bucket care, and storage guidance