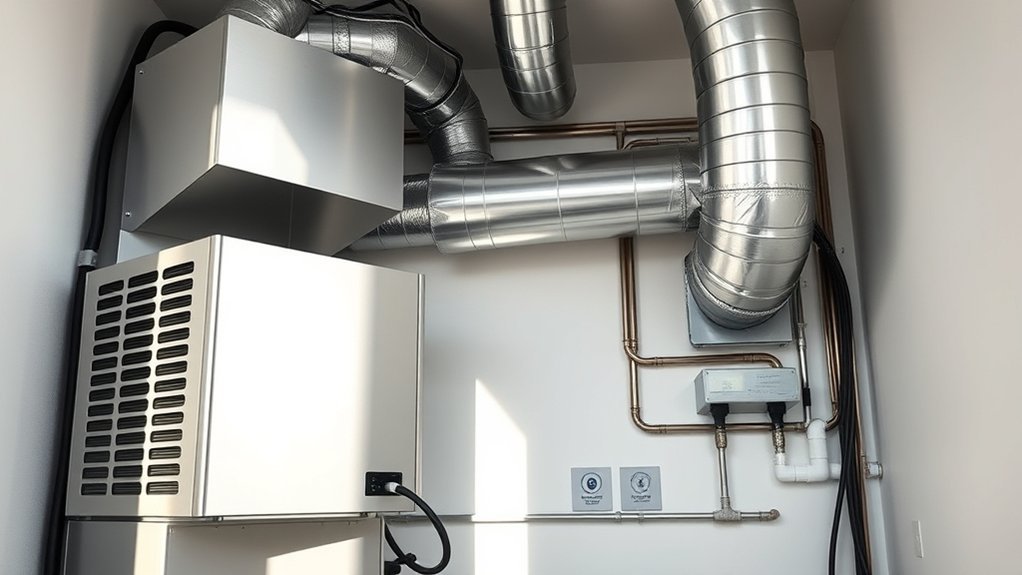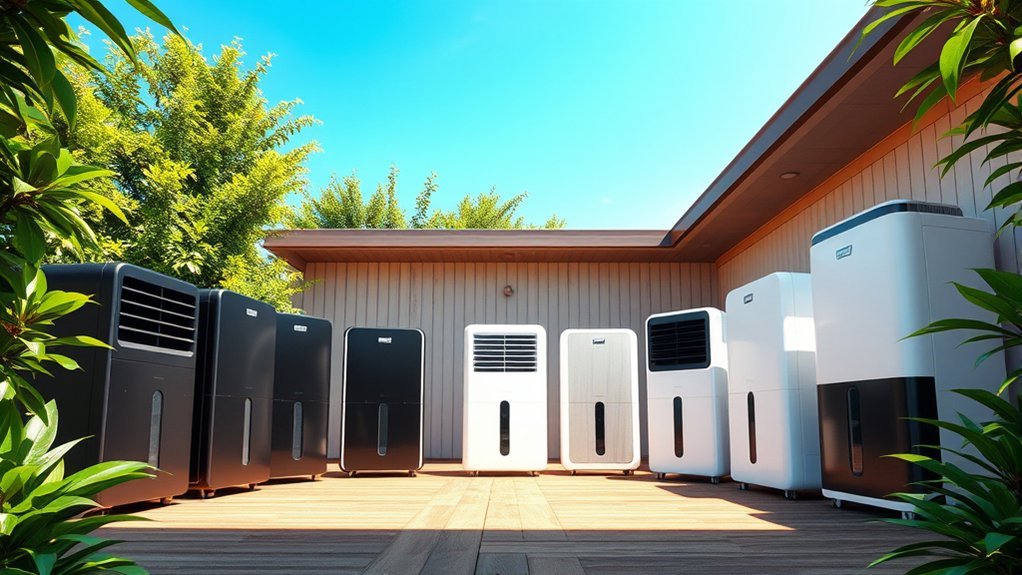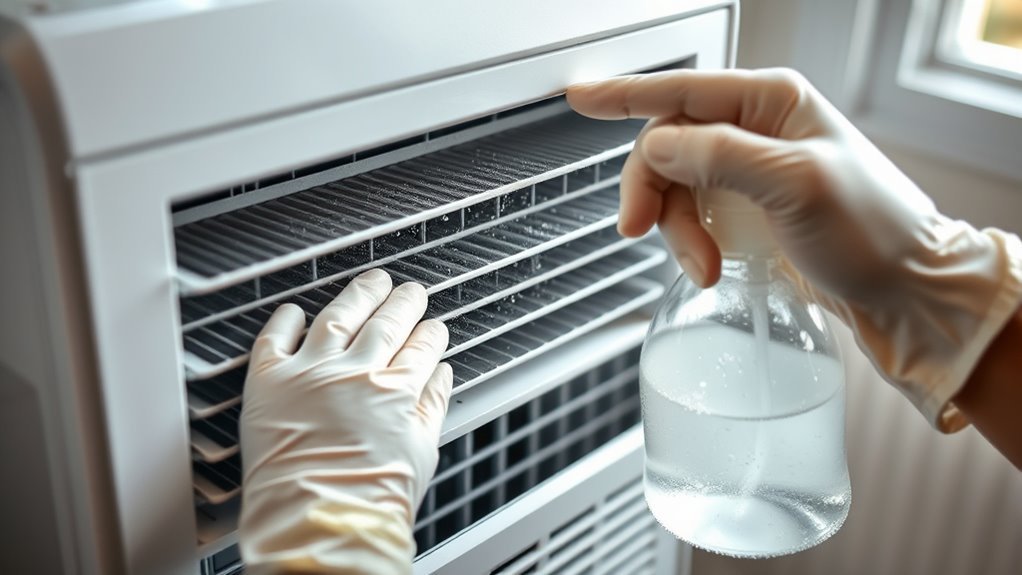
Cleaning dehumidifier coils usually means removing loose dust from a coil that the manufacturer has made safely accessible. Start with the filter and grille, use a soft brush or low-suction vacuum, and keep liquid away from wiring, sensors, and controls. Never soak the coil assembly or open service-only panels unless your model’s manual specifically authorizes those steps.
Quick Answer
Unplug the dehumidifier, remove and clean the filter, then gently vacuum or brush dust from any coil surface your owner’s manual identifies as user-accessible. Do not spray, soak, or rinse the installed coils unless the manual gives a specific procedure. Let every part dry completely before reassembly and testing.
Key Takeaways
- Check the exact owner’s manual before removing a grille, panel, or cabinet screw.
- Clean the filter and exterior air openings before assuming the coils need attention.
- Use dry, gentle cleaning as the default method for accessible coil fins.
- Do not soak, hose, or spray an installed coil assembly or nearby electrical parts.
- Call a technician for inaccessible mold, damaged wiring, severe corrosion, refrigerant-system damage, or persistent performance problems.
At a Glance
| Time Required | 20–30 minutes of hands-on work, plus 2–4 hours of drying time if a damp cloth is used |
| Difficulty | Easy for a user-accessible filter, grille, or coil; technician-level if sealed panels or wiring must be removed |
| Tools Needed | Owner’s manual, soft-bristle brush, vacuum with brush attachment, microfiber cloth, gloves, eye protection, and a small container for screws if removal is authorized |
| Cost | About $0–$15 if you already own a brush and vacuum |
Warning: Disconnect the power before cleaning. Remove only the panels identified as user-removable in your owner’s manual. Do not spray water, soak the coil assembly, mix cleaning products, or work around damaged wiring. Stop and arrange professional service if the procedure requires disconnecting electrical parts or exposing the sealed refrigerant system.
Why Cleaning Dehumidifier Coils Matters
Air must move freely through a dehumidifier for the appliance to remove moisture efficiently. Dust on the filter, intake grille, or accessible coil fins can restrict that airflow. The unit may then run longer, collect water more slowly, frost more easily, or struggle to reach the selected humidity level.
Cleaning does not guarantee lower energy bills or add a specific number of years to the appliance’s life. However, removing airflow restrictions can reduce unnecessary strain and help the dehumidifier operate as designed. The safest approach is to follow the model-specific maintenance instructions rather than applying a universal chemical or rinsing method.
The U.S. Environmental Protection Agency recommends cleaning dehumidifiers regularly according to the manufacturer’s instructions. EPA guidance also suggests keeping indoor relative humidity below 60%, ideally around 30%–50%, to help control excess moisture and mold growth.
The safest cleaning product is the one your dehumidifier’s manufacturer approves for that exact part.
What You Need to Clean Dehumidifier Coils
Gather the basic supplies before unplugging and opening any user-accessible part of the appliance:
- A copy of the exact owner’s manual
- A soft-bristle detailing or appliance brush
- A vacuum with a clean brush attachment and adjustable suction
- A clean microfiber cloth
- Household gloves
- Eye protection
- An N95 respirator if you will disturb visible mold or a large amount of dust
- A shallow container for screws, but only if the manual authorizes panel removal
- A flashlight for inspecting fins, wiring, and hidden residue
Plain water or a mild detergent may be appropriate for a removable bucket, filter, or exterior case when the manual permits it. Do not assume that the same cleaner is safe for an evaporator coil, condenser coil, sensor, motor, insulation, or control board.
| Supply | Safe Use |
|---|---|
| Soft-bristle brush | Loosen dry dust without scraping or flattening fins |
| Vacuum brush attachment | Lift loose debris from filters, grilles, and accessible coils using light suction |
| Slightly damp microfiber cloth | Wipe an approved accessible surface without dripping liquid |
| Mild soap and water | Use only on parts the manual identifies as washable, such as some buckets or filters |
| Manufacturer-approved coil cleaner | Use only when the manual names or permits that product and explains how to protect electrical parts |
Unplug and Open the Dehumidifier
Start by turning the dehumidifier off and unplugging it directly from the wall outlet. Do not rely only on the control-panel power button. Empty the bucket and disconnect any drain hose so water cannot spill while you move or inspect the unit.
Find the model number on the appliance label and review the exact manufacturer instructions. Cleaning guidance differs by design. Some models allow the user to remove only the filter and rear grille. Others may provide access to an exposed coil without requiring electrical disassembly.
| Step | Action |
|---|---|
| 1 | Turn off and unplug the unit |
| 2 | Empty the bucket and disconnect the drain hose |
| 3 | Review the manufacturer’s instructions for your model |
| 4 | Remove the filter and only the panels identified as user-removable |
| 5 | Stop if access requires removing wiring, sensors, sealed covers, or refrigerant parts |
Place the appliance on a dry, stable surface with good lighting. Keep screws organized and avoid forcing clips or panels. Resistance may mean that another fastener is present or that the section is not intended for consumer removal.
Note: Before spending time cleaning an older unit, check its brand and model against the CPSC dehumidifier recall list. Stop using a recalled appliance and follow the recall remedy instead of repairing or cleaning it for continued operation.
Remove Dust From Dehumidifier Coils
Clean the filter first. A clogged filter is a common cause of weak airflow and may make the coil appear to be the problem. Follow the manual’s instructions for vacuuming or washing the filter, and allow a washable filter to dry completely before reinstalling it.
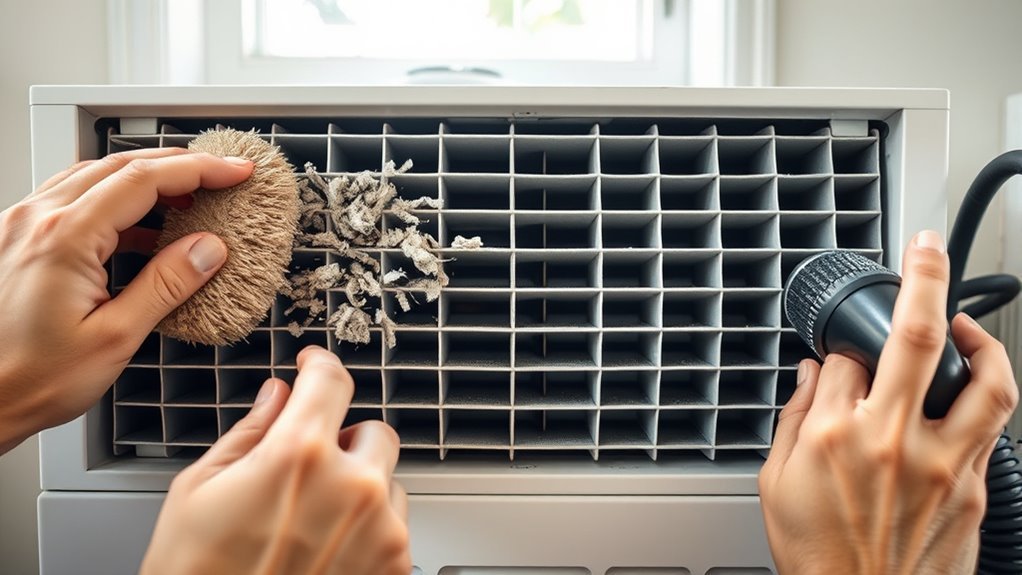
Next, vacuum the intake and outlet grilles. Use a brush attachment and light suction so the nozzle does not strike the plastic louvers or coil fins.
If the coil is visible and the manual allows user cleaning, follow these steps:
- Hold the vacuum nozzle close to the coil without pressing it against the fins.
- Use light suction to collect loose dust.
- Brush gently in the same direction as the fins rather than scrubbing across them.
- Work from the cleaner upper area toward the lower area so loosened debris does not fall onto a finished section.
- Inspect the drain pan and nearby air channel without touching wiring or sensors.
- Vacuum the loose debris that has collected in the bottom of the accessible compartment.
Do not use a stiff brush, metal tool, high-pressure air nozzle, or forceful vacuum contact. The thin aluminum fins bend easily. Flattened fins restrict airflow and may require a technician with the correct fin-straightening tool.
Pro Tip: Take a clear photo before removing an approved grille or panel. The photo can help you return the filter, clips, screws, and drain components to their original positions.
Use Vinegar on Stubborn Grime Only If the Manual Allows It
Vinegar is often suggested as a household cleaner, but it is not a universal dehumidifier-coil treatment. Acids may affect some coatings and metals, and liquid can travel into electrical parts. Never soak a dehumidifier coil assembly or pour vinegar through the cabinet.
When the owner’s manual specifically permits diluted vinegar on an accessible surface, apply it to a cloth rather than spraying it into the appliance. The cloth should be damp, not dripping. Test a small area, avoid wiring and sensors, and remove any permitted residue using the method stated in the manual.
Why You Should Not Soak the Coil Assembly
A portable dehumidifier’s evaporator and condenser coils are connected to the sealed refrigerant circuit and installed near electrical components. They are not normally removable household-wash parts. Soaking them can wet motors, connectors, insulation, sensors, and control boards.
If the contamination cannot be removed with gentle dry cleaning or an approved damp-cloth method, stop and arrange professional appliance service. A technician can isolate electrical components, inspect corrosion, and use a cleaner compatible with the coil material and coating.
Scrubbing Stubborn Grime
For residue that the manual allows you to clean, use the least aggressive method first:
- Vacuum loose particles before adding moisture.
- Apply an approved cleaner to a cloth or soft brush, not directly into the unit.
- Work gently along the coil rows.
- Do not scrape between fins with a knife, screwdriver, or metal pick.
- Keep all liquid away from wiring, motors, switches, sensors, and control boards.
- Blot the surface with a clean cloth instead of flooding it.
- Allow the assembly to air-dry completely before reassembly.
Do not mix vinegar with bleach, ammonia, or another cleaner. Mixing household cleaning products can release dangerous vapors or cause an unexpected chemical reaction.
Clean Dehumidifier Coils Safely
Safe coil cleaning depends on access, contamination level, and the manufacturer’s instructions. A dusty exposed coil may need only a brush and vacuum. Mold deep inside the cabinet, oily residue, corrosion, or damaged components requires a different response.
Why Coil Cleaning Matters for Airflow
The dehumidifier’s fan pulls room air across a cold evaporator coil, where moisture condenses, and then across a warmer condenser coil before the air returns to the room. Dust on the filter, grille, or coil surface restricts this airflow and can reduce moisture-removal performance.
- Open airflow helps the appliance reach the selected humidity level.
- A clean filter reduces dust reaching the internal coil.
- A clear intake and outlet reduce unnecessary runtime.
- A clean drain path helps condensed water reach the bucket or hose.
- Regular inspection can reveal frost, corrosion, leakage, or damaged wiring early.
A dehumidifier is not an air purifier. Cleaning it may prevent the appliance from recirculating accumulated dust or odor, but it does not replace proper ventilation, source control, or an air-cleaning device designed to capture airborne particles.
Safe Cleaning Supplies
Use dry tools whenever possible. A soft brush, vacuum attachment, and microfiber cloth are suitable for most user-accessible maintenance. Mild soap and water may be used on washable filters, buckets, and exterior surfaces when the manual allows it.
Avoid bleach, ammonia, oven cleaner, drain cleaner, abrasive powders, steel wool, hard brushes, pressure washers, and unapproved foaming coil cleaners. Even a product marketed for HVAC coils may not be suitable for a portable dehumidifier’s coatings, electronics, or drainage design.
Gentle Coil Cleaning Steps
- Turn off and unplug the dehumidifier.
- Empty and clean the bucket according to the manual.
- Remove and clean the filter.
- Vacuum the intake and outlet grilles.
- Open only the user-removable access area named in the manual.
- Inspect the coil, drain pan, wiring, and surrounding compartment.
- Vacuum loose dust without touching the fins with the nozzle.
- Brush remaining dry dust in the direction of the fins.
- Use a barely damp cloth only where the manufacturer allows it.
- Let all parts dry completely.
- Reinstall the panels, filter, bucket, and drain hose.
- Test the appliance and watch for leaks, unusual noise, odor, or error codes.
How to Handle Mold Safely
Wear gloves and eye protection before disturbing visible mold. An N95 respirator can help reduce inhalation of airborne particles while cleaning a small accessible area. Keep children and pets away from the work area, and ventilate the room when cleaning products are used.
People with asthma, chronic lung disease, significant mold allergies, or weakened immune systems should avoid mold cleanup. Arrange professional service when mold is extensive, repeatedly returns, lies behind inaccessible panels, or has reached insulation, wiring, or the fan motor. EPA and CDC guidance emphasizes controlling the underlying moisture source and drying cleaned surfaces completely.
When to Call a Technician
Stop the DIY process and contact a qualified appliance technician if you find any of the following:
- Burned, melted, cracked, or loose wiring
- A burned electrical smell or visible scorching
- Oil-like residue on refrigerant tubing or around coil joints
- Severe corrosion or a leaking drain pan
- Coil fins crushed across a large area
- Heavy mold behind sealed or electrical components
- A fan that does not turn freely
- Repeated frosting despite a clean filter and suitable room temperature
- Error codes that return after the unit is unplugged and restarted
- Water leaking into the electrical compartment
Dry Dehumidifier Coils Before Reassembling
Any surface cleaned with a damp cloth must be completely dry before the dehumidifier is reassembled or plugged in. Blot accessible moisture with a clean microfiber cloth, then leave the appliance unplugged in a ventilated room.
Drying may take two to four hours, and longer may be necessary in a cool or humid room. Do not use a heat gun, hair dryer, open flame, or space heater to speed the process. High heat can damage plastic, insulation, sensors, and wiring.
Before closing the housing, check that:
- No liquid remains in crevices or on wiring.
- No cloth fibers or brush bristles remain on the fins.
- The drain pan and outlet are clear.
- All electrical connectors remain untouched and secure.
- The fan can move without hitting debris or a loose panel.
- The filter is completely dry and installed in the correct direction.
Reinstall every approved panel and screw before restoring power. Replace the bucket fully, reconnect the drain hose if used, and place the unit upright on a level surface.
Test the Dehumidifier After Cleaning
Plug the unit directly into a properly grounded wall outlet and select a normal humidity setting. Listen for unusual rattling, grinding, or clicking. Check that air moves through the outlet and that no water leaks from the bucket, hose connection, or cabinet.
Depending on room temperature and humidity, the tank may not begin filling immediately. Give the unit time to operate before judging moisture collection. Turn it off and unplug it promptly if you notice smoke, a burning smell, repeated breaker trips, severe vibration, or water near electrical parts.
How Often to Clean Dehumidifier Coils?
There is no universal coil-cleaning interval for every dehumidifier. Follow the manufacturer’s schedule first. During periods of regular use, inspect the filter and air openings about once a month and clean them sooner when dust is visible or the filter indicator appears.
Inspect an accessible coil when you service the filter, but clean the coil only when you can see buildup or the manual specifies an interval. Conditions that may require more frequent inspection include:
- Daily operation
- A dusty basement, workshop, or renovation area
- Homes with shedding pets
- Placement near a laundry area
- Visible lint on the intake grille
- Recent construction or sanding dust
- Smoke, cooking residue, or oily airborne deposits
A seasonal inspection is often reasonable for occasional household use. A unit operating continuously in a dusty environment may need filter attention every few weeks. Do not repeatedly open the cabinet when the manual limits maintenance to the filter, grille, bucket, and drain system.
Signs Your Dehumidifier Coils Need Cleaning
Visible dust on an accessible coil is the clearest sign that cleaning is needed. Performance symptoms alone do not prove that the coil is dirty because room conditions, settings, drainage, sensors, and mechanical faults can create similar problems.
| Sign | What It May Mean | First Check |
|---|---|---|
| Visible dust or lint | Airflow through the filter, grille, or coil is restricted | Clean the filter and grille, then inspect the accessible coil |
| Weak airflow | Dirty filter, blocked grille, dirty fan, damaged motor, or coil buildup | Remove nearby obstructions and inspect the filter |
| Musty odor | Moisture, a dirty bucket, clogged drain, or microbial growth | Clean the bucket, filter, drain, and accessible surfaces |
| Slow water collection | Low room humidity, low temperature, wrong setting, blocked airflow, undersizing, or a mechanical fault | Check room humidity, temperature, settings, filter, and door or window openings |
| Frost on the coil | Low room temperature, restricted airflow, defrost fault, sensor fault, or refrigerant problem | Clean the filter, verify clearances, and check the manual’s minimum operating temperature |
| Short cycling | Humidity setting, temperature, bucket switch, sensor, compressor protection, or electrical fault | Confirm the bucket position, setting, airflow, and displayed error codes |
Do not blame the coil immediately when the tank fills slowly. A dehumidifier collects less water when the room is already near its target humidity or when the air is cool. Open doors or windows, a blocked intake, an incorrect continuous-drain setup, or an undersized appliance can also reduce results.
Frequently Asked Questions
How do you deep-clean dehumidifier coils?
Unplug the unit, clean the filter and grille, and gently vacuum or brush a user-accessible coil. Use moisture or a coil-cleaning product only when the exact owner’s manual permits it. Do not soak or hose the assembly. Arrange professional service when contamination lies behind sealed panels or near electrical components.
Can a dehumidifier cause a sore throat?
It may contribute to throat dryness if it lowers indoor humidity too far, but infections, allergies, smoke, dust, and other irritants can also cause a sore throat. Use a hygrometer and aim for roughly 30%–50% relative humidity. Seek medical advice for severe, persistent, or recurring symptoms.
Can I run vinegar water through my humidifier to clean it?
Do not operate a humidifier with vinegar in the reservoir unless its manufacturer specifically instructs you to do so. Some humidifier manuals allow vinegar on a detachable tank or base during cleaning, followed by thorough rinsing. Humidifiers and dehumidifiers are different appliances, so use the manual for the exact device.
Can I use Dawn dish soap to clean my humidifier?
Use dish soap only on detachable parts that the humidifier manual identifies as washable. Rinse until no foam, scent, or residue remains. Do not run the humidifier with soap in the tank because the appliance may aerosolize residue or produce excessive foam.
Can I spray no-rinse coil cleaner inside a dehumidifier?
Only when the dehumidifier manufacturer approves that cleaner and provides application instructions. A product intended for a central air-conditioning coil may not be safe for a portable appliance’s coatings, drain system, sensors, motor, or control board.
Why are the coils freezing after cleaning?
Check that the dry filter is installed correctly, both grilles are unobstructed, and the room is above the model’s minimum operating temperature. Persistent heavy frost may indicate a fan, temperature-sensor, automatic-defrost, airflow, or sealed-system problem that requires service.
Conclusion
To clean dehumidifier coils safely, begin with the filter and exterior grilles, then remove dry dust from a coil only when the manufacturer makes it user-accessible. Use a soft brush and light vacuum suction, protect the delicate fins, and keep liquids away from electrical components.
Do not soak the coil assembly or treat vinegar, soap, bleach, or a commercial coil cleaner as universally safe. Follow the exact owner’s manual, dry every cleaned part completely, and arrange professional service when contamination or damage extends beyond routine user maintenance. A careful approach protects both the appliance and the person cleaning it.
Sources
- GE Appliances: Dehumidifier Cleaning and Maintenance — supports unplugging, filter care, washable-part guidance, and drying before reinstallation.
- Frigidaire: Dehumidifier Clean and Care — supports disconnecting power, using mild cleaning methods, and keeping excess water away from controls.
- U.S. EPA: Mold House Tour — supports regular manufacturer-directed dehumidifier cleaning and indoor moisture control.
- U.S. EPA: Improving Your Indoor Environment — supports maintaining indoor relative humidity around 30%–50%.
- U.S. Consumer Product Safety Commission: Dehumidifier Recalls — provides current recall and fire-hazard information for affected models.
- Mayo Clinic: Humidifiers and Indoor Humidity — supports the effects of overly dry or overly humid indoor air.